
 Production of French Bonsai


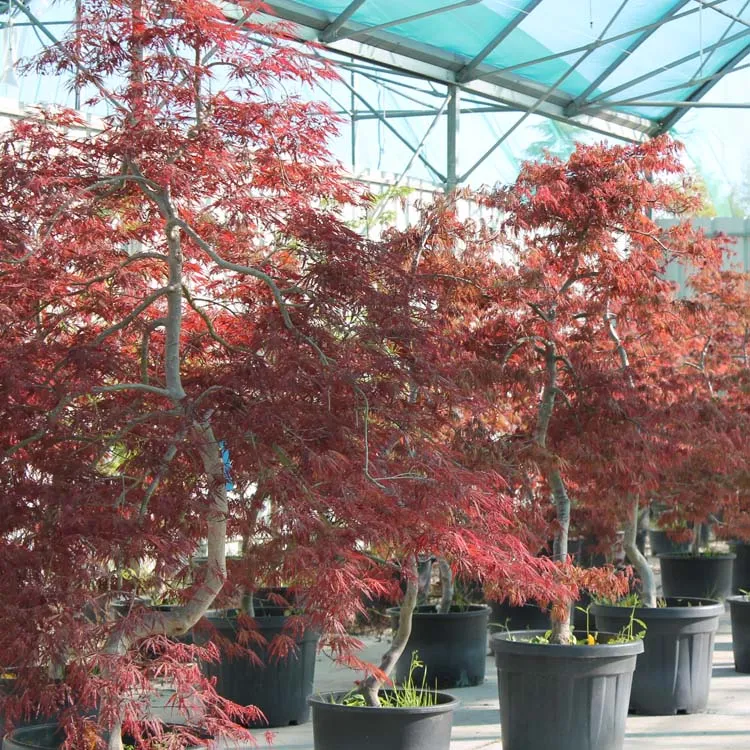
We love Japanese maples, and they are certainly our favorite bonsai trees because they are beautiful all year round, and find their place in the collections of beginners and experienced amateurs alike. However, we also notice that many people find themselves a little distraught when they see them grow, not knowing whether to prune or not.
Knowing how to prune is an essential skill for a bonsaika. But it's much more than just a few scissors. Because you don't prune a bonsai like you trim a hedge. It is a question of putting into practice a set of very specific techniques, at certain times of the year, and in order to obtain a very specific objective.
In other words, you need to know when to prune, what to prune, and why.
We have already written a complete guide to the Japanese maple in bonsai, but in this one we are going to focus precisely on pruning.
The article you are reading will be quite technical. Beginners may find this a bit complicated. So in order to make the text more understandable, we have chosen to approach the different sizes in a chronological form. We're going to take the life of a Japanese maple tree over the course of a year, and explain what you need to do, how to do it, and most importantly why.
We also advise you to read "Why and how to prune a bonsai " which is a good complement to this article.
Bud selection
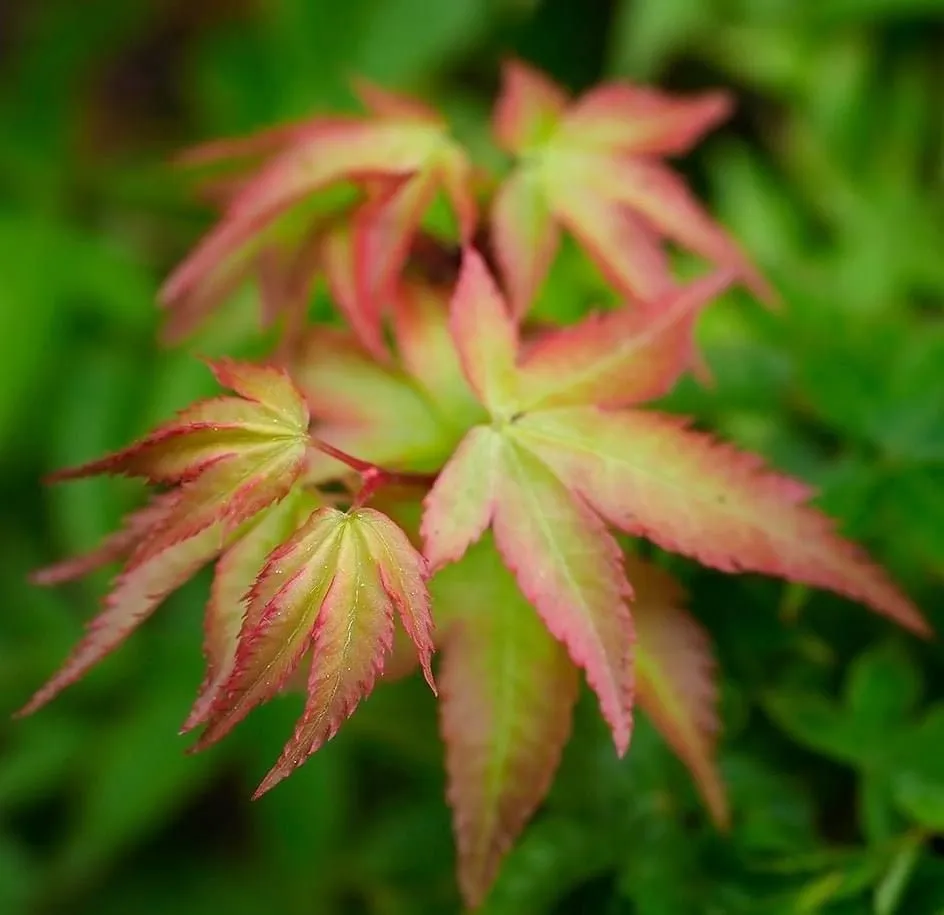
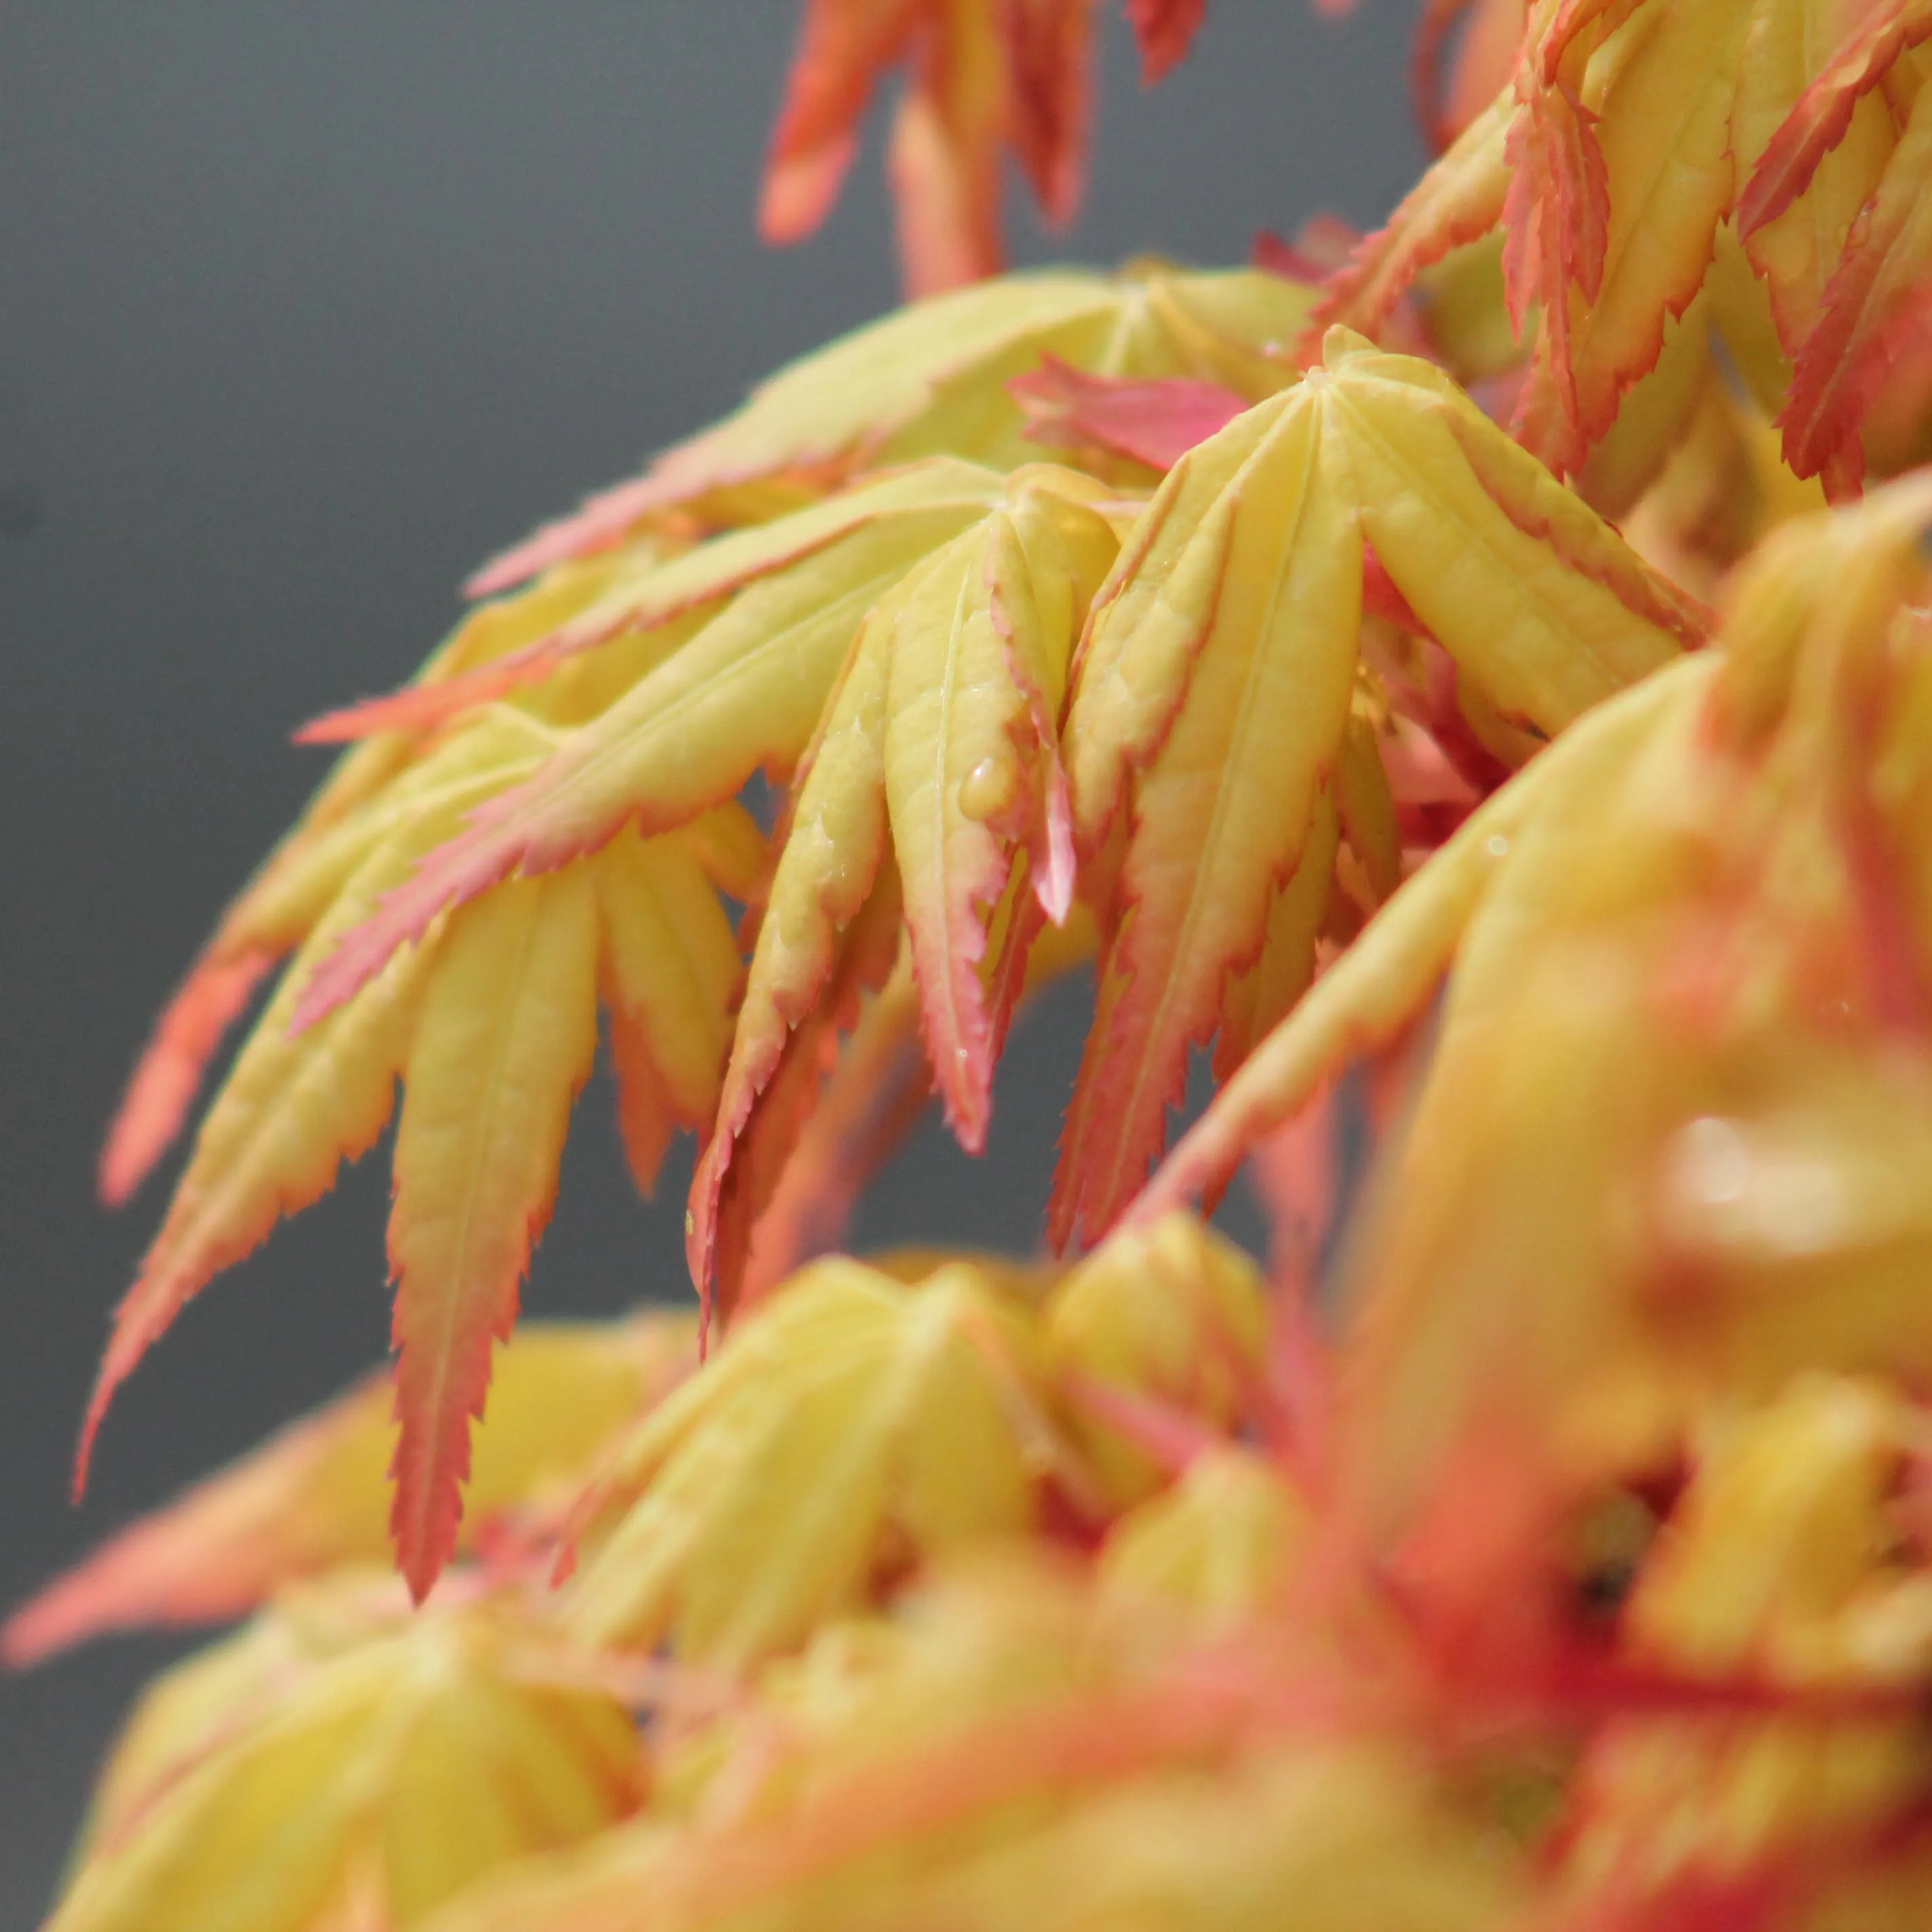
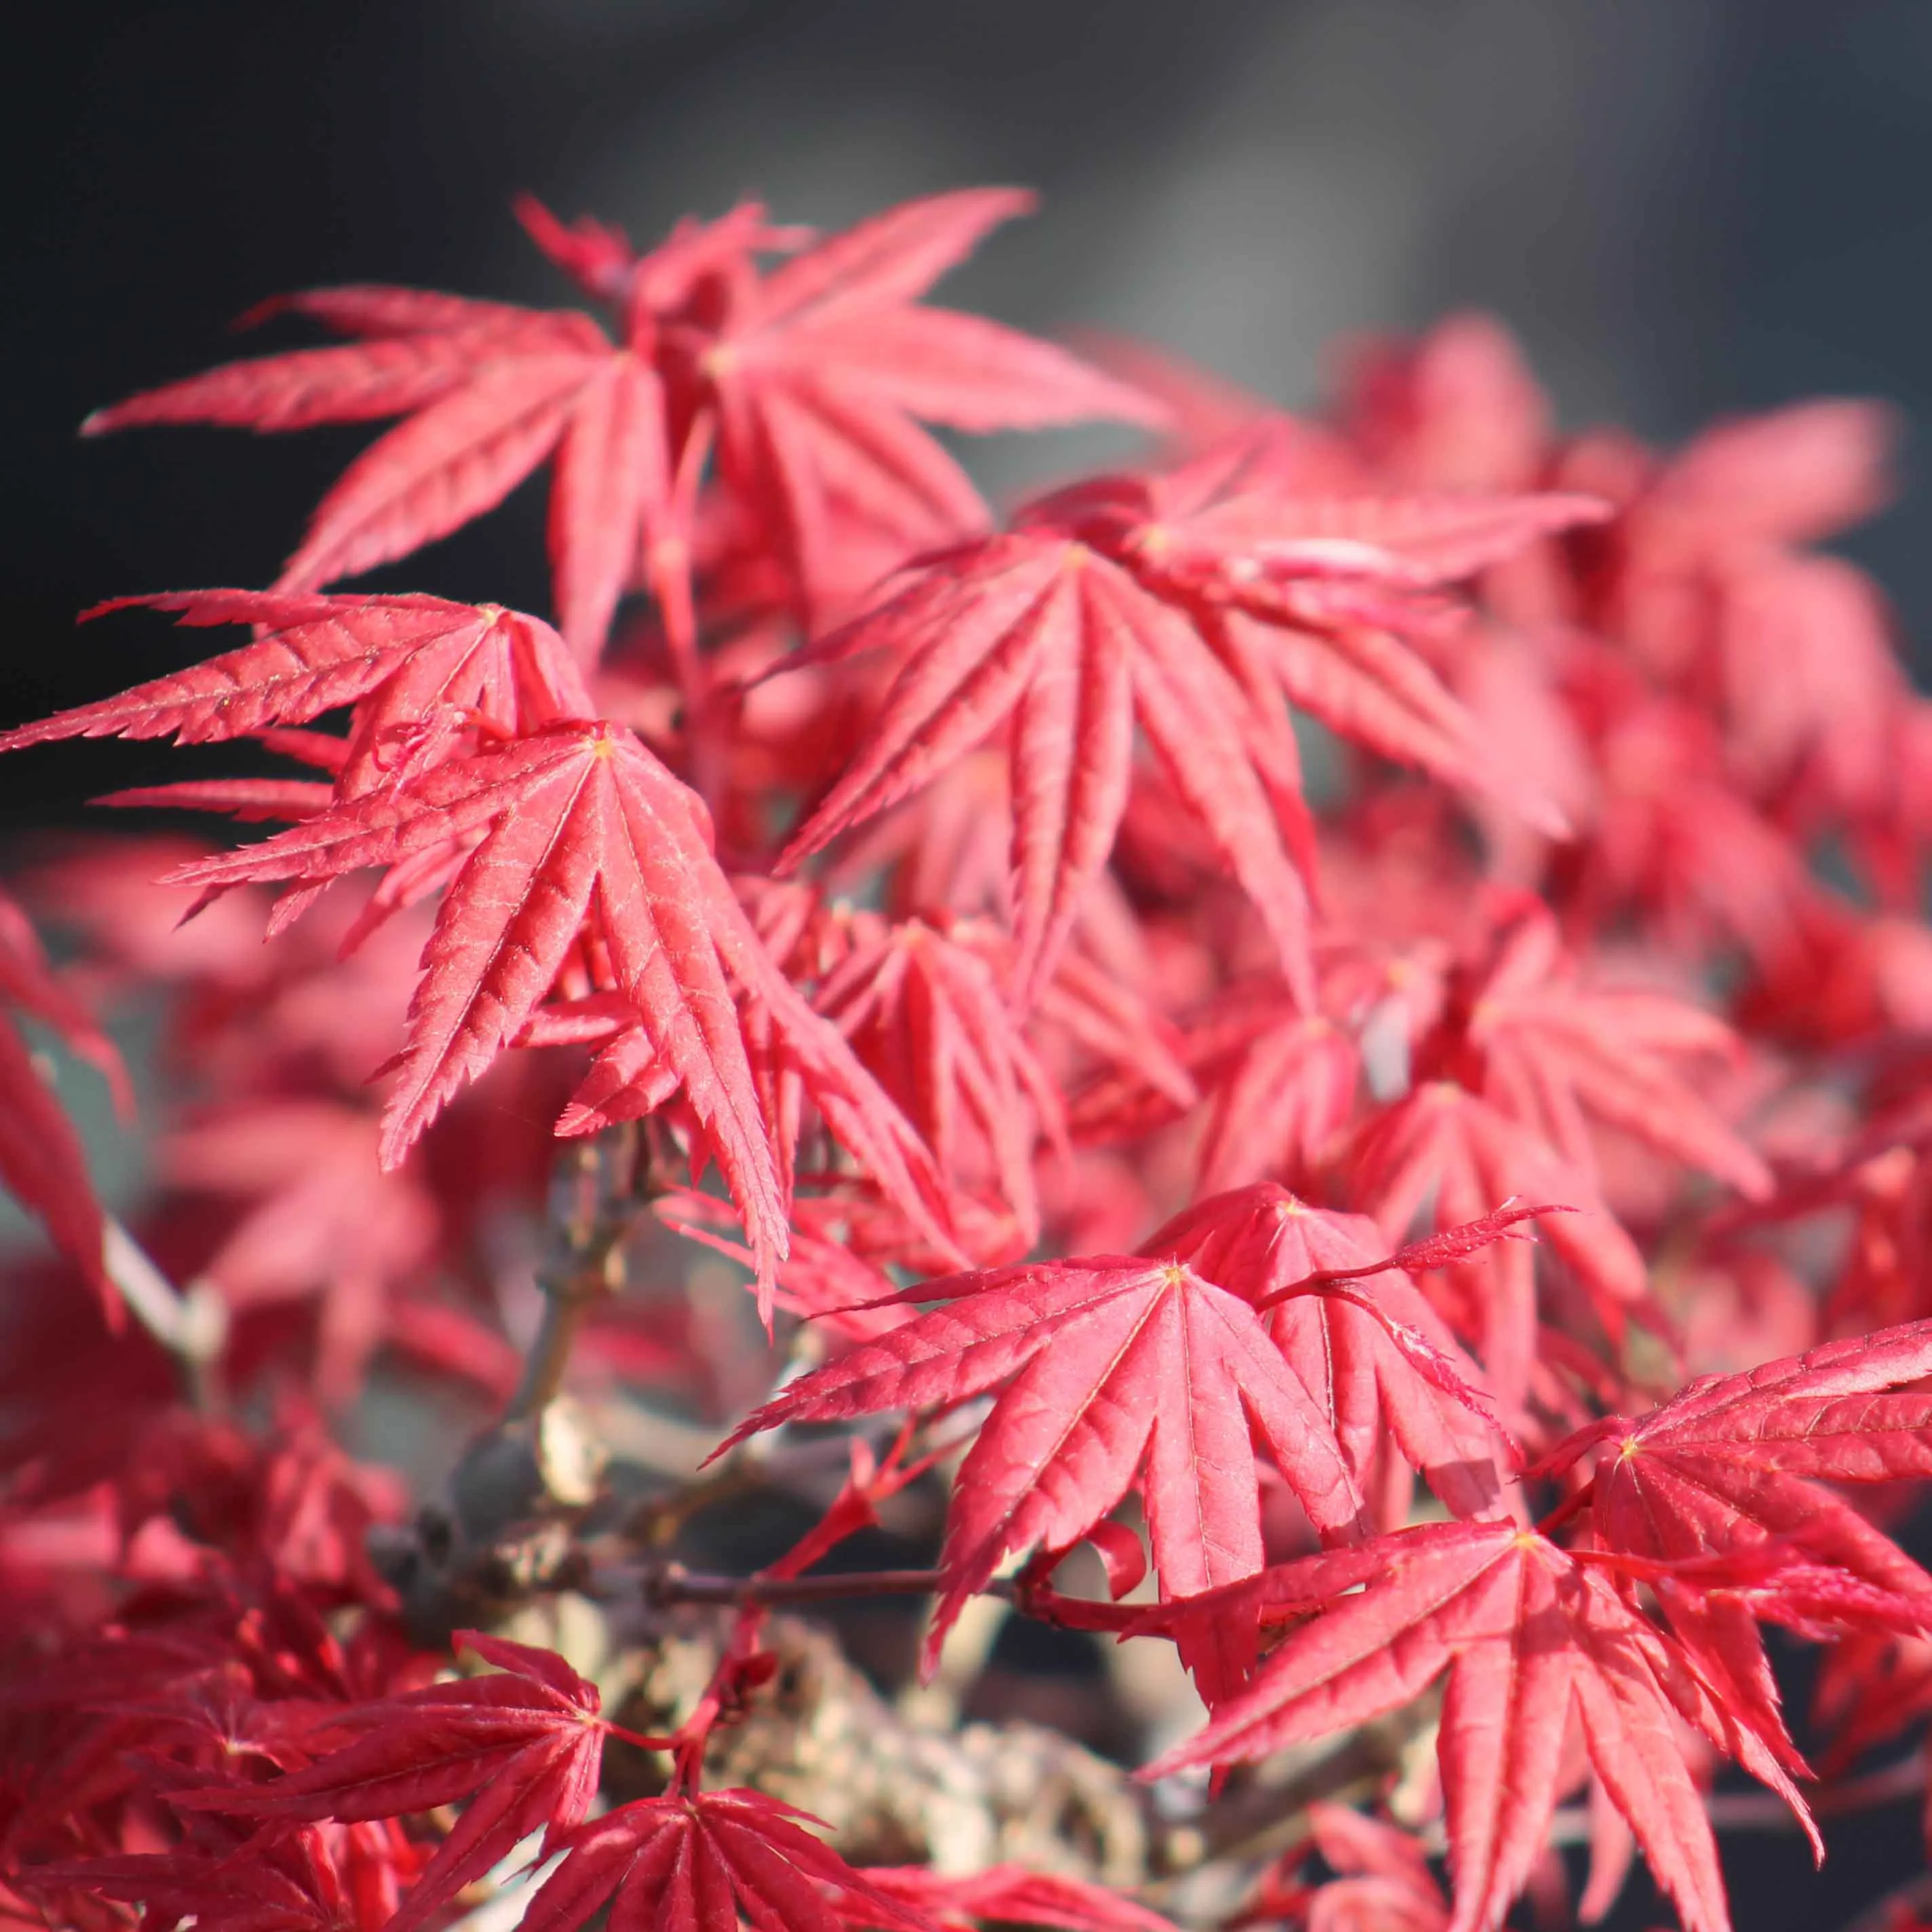
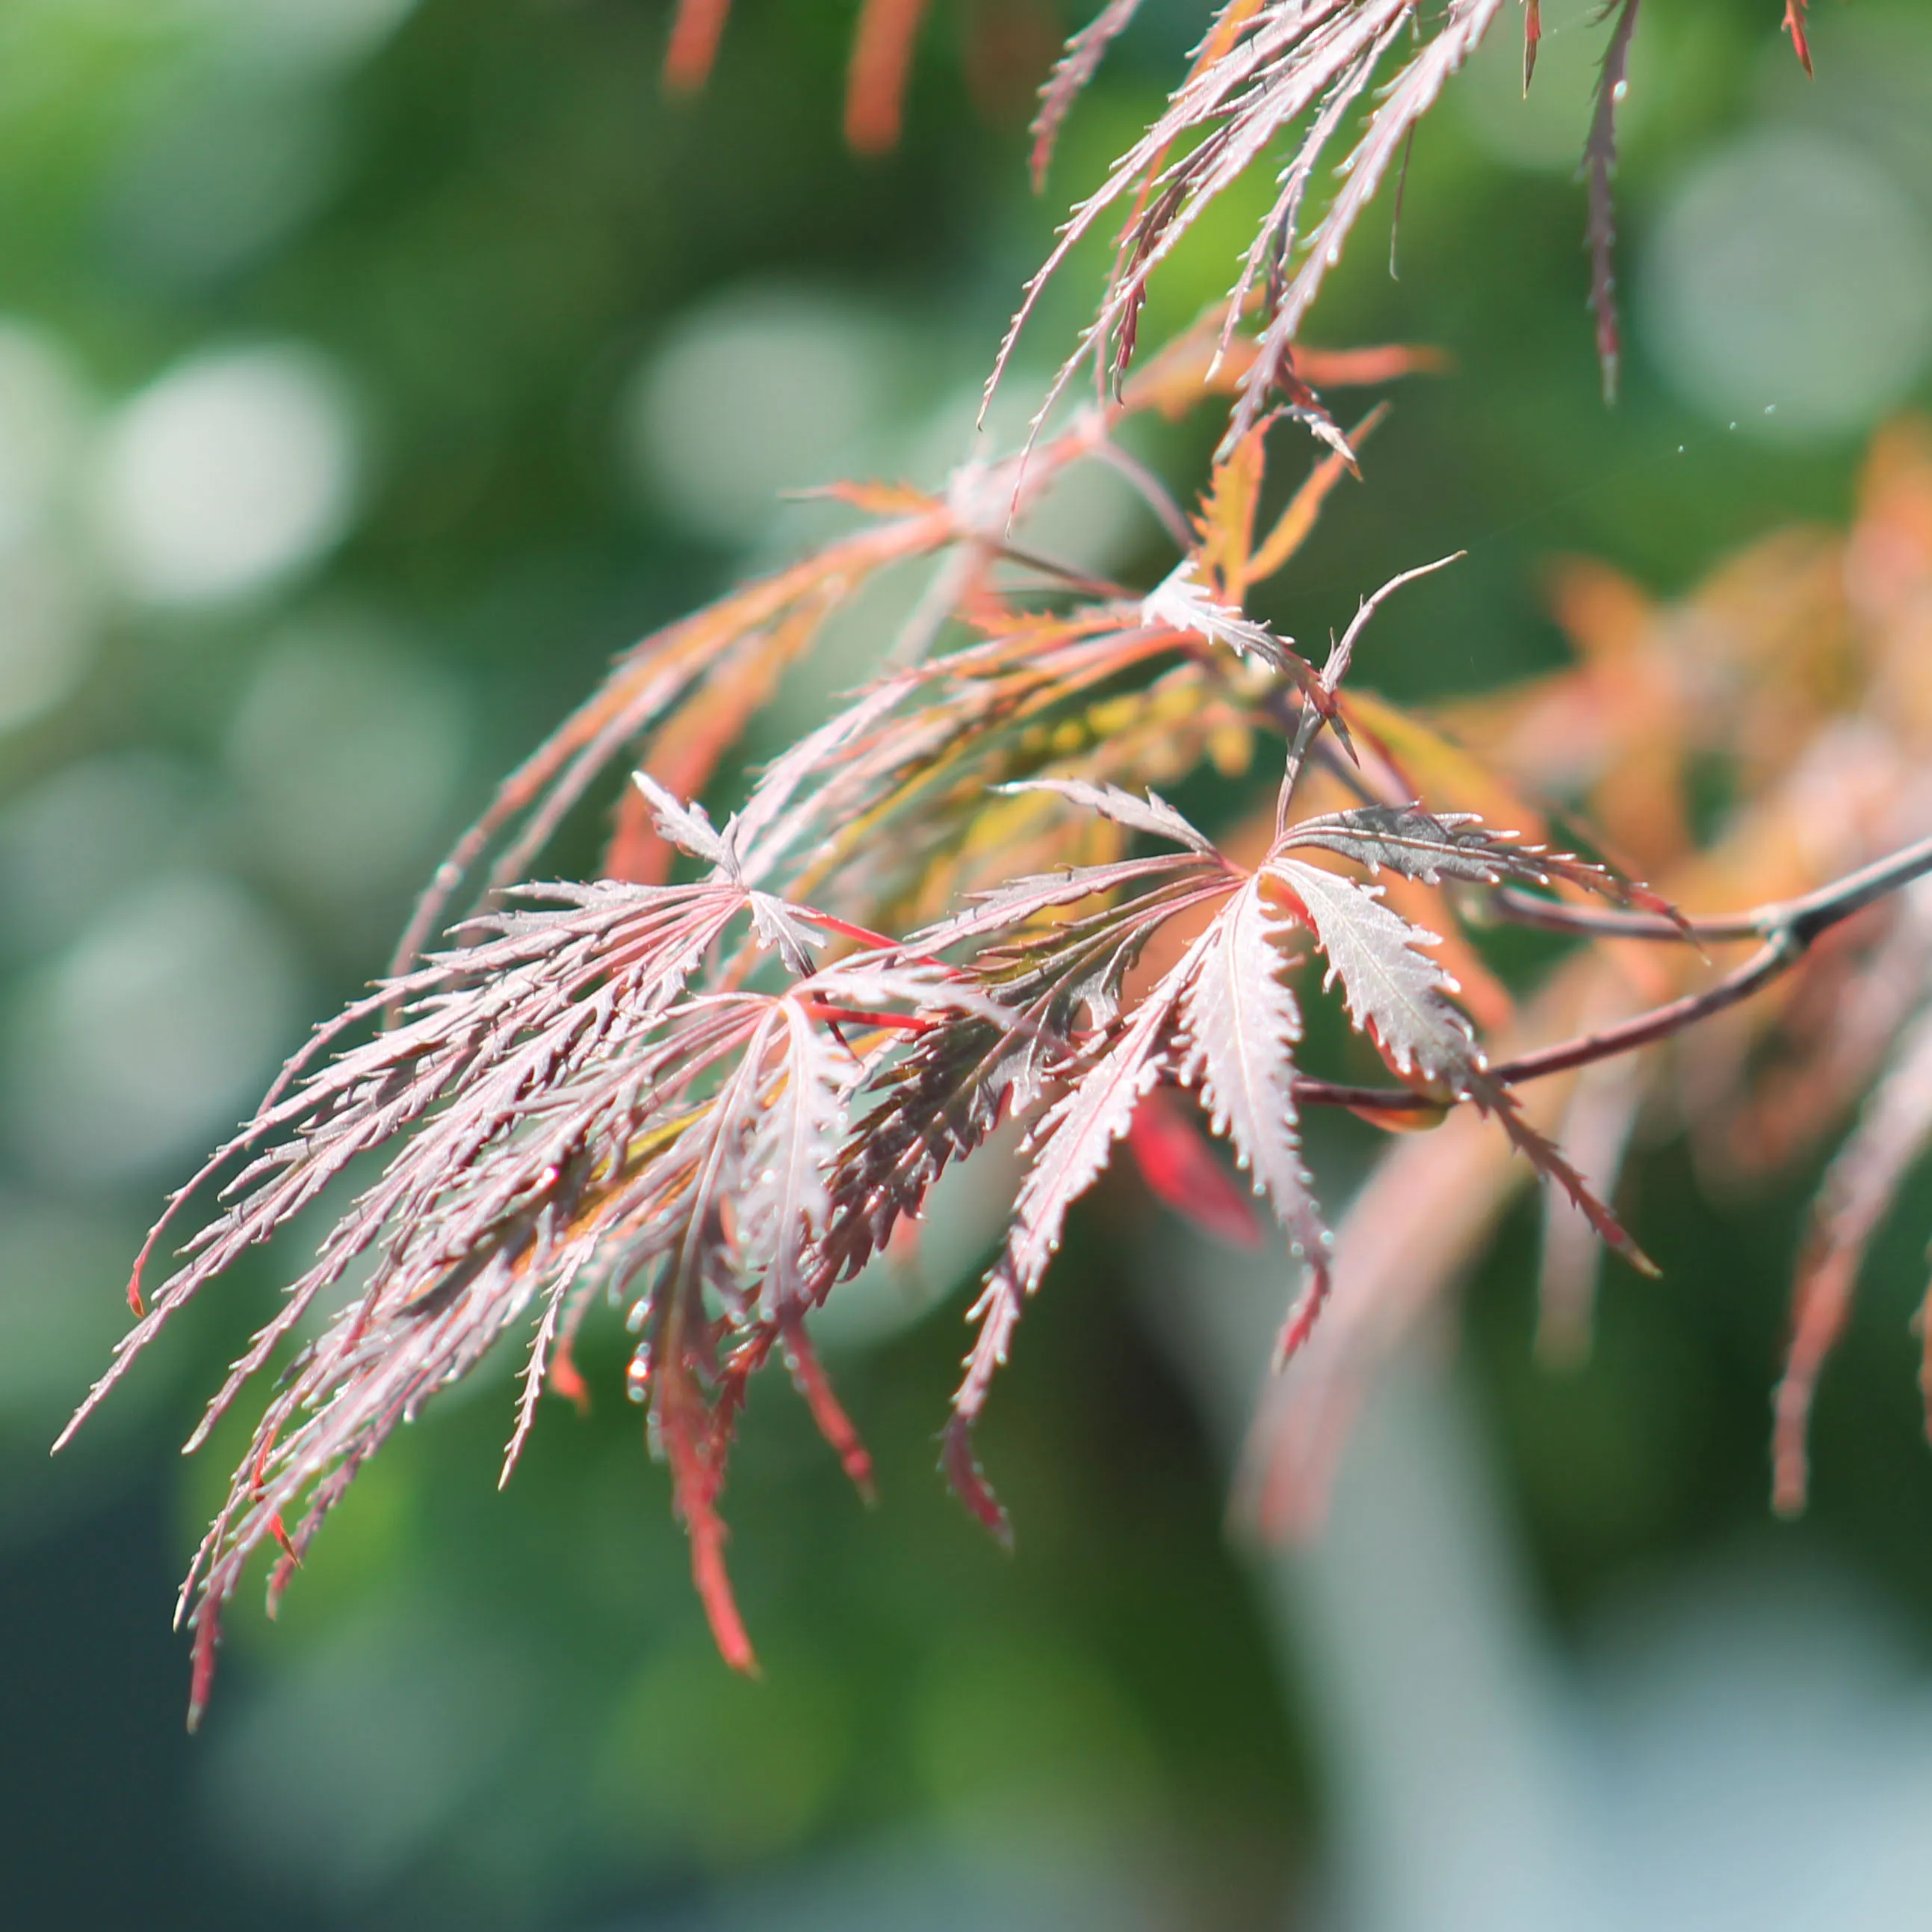
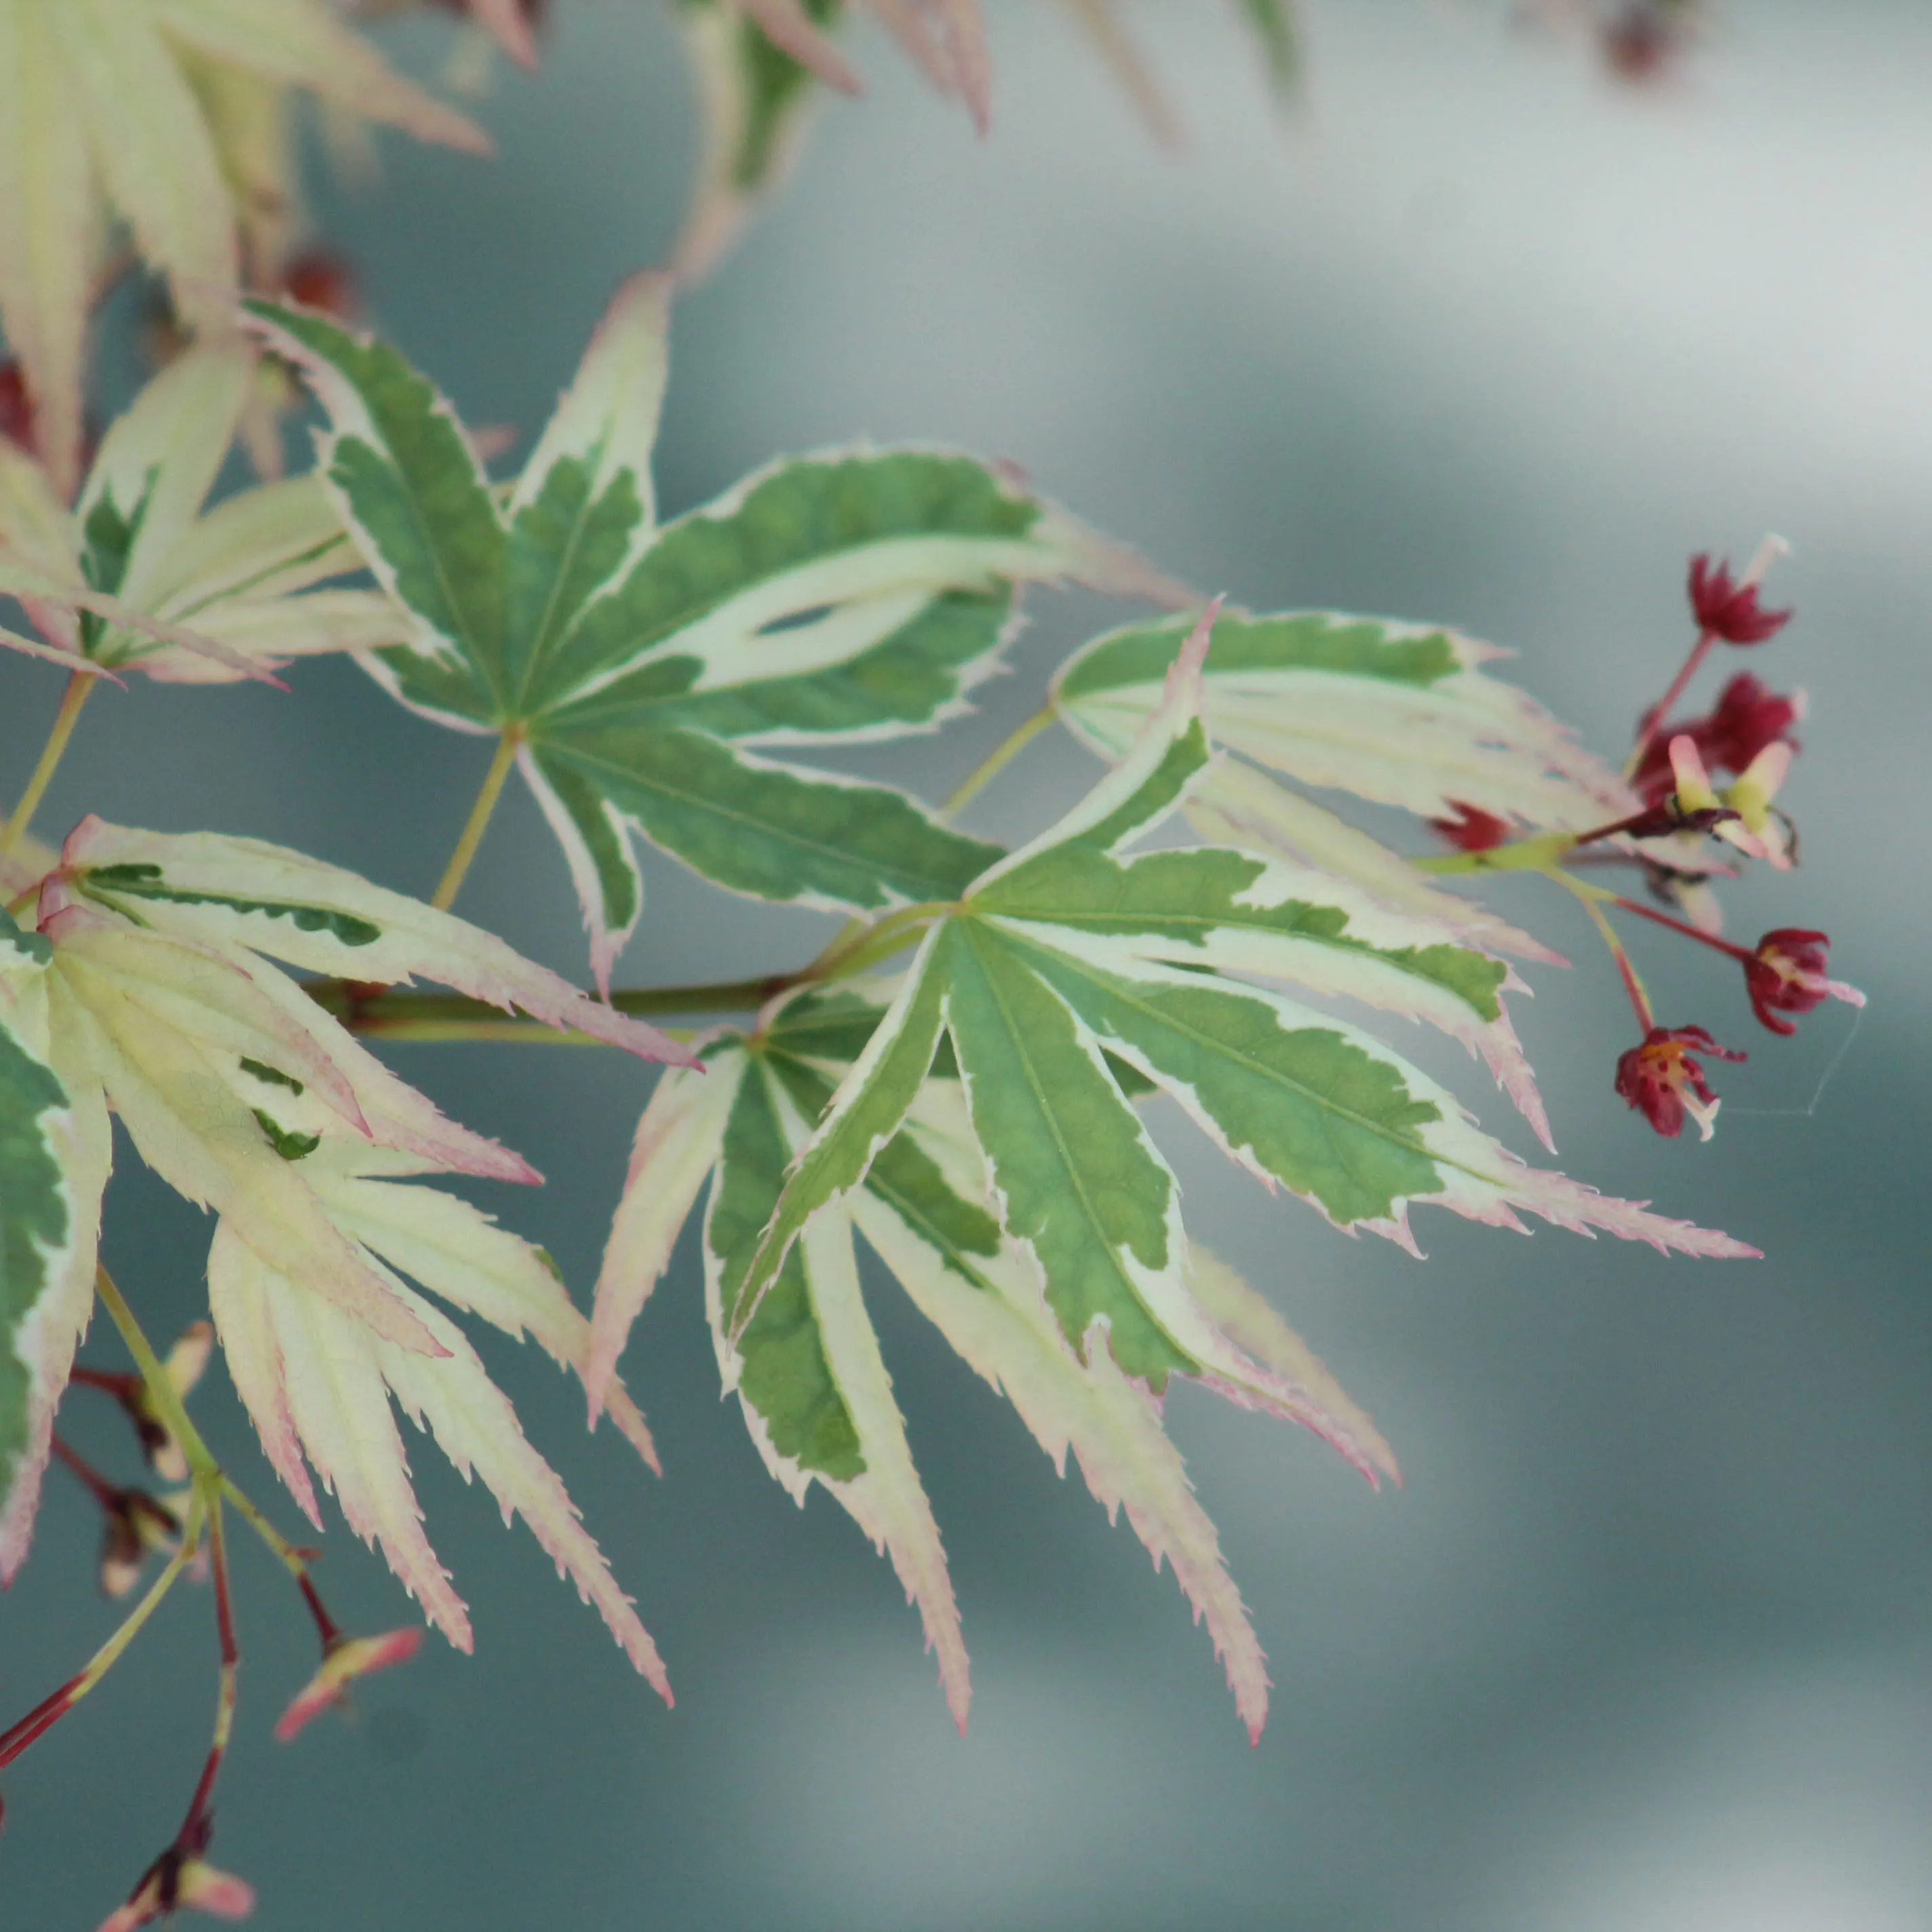
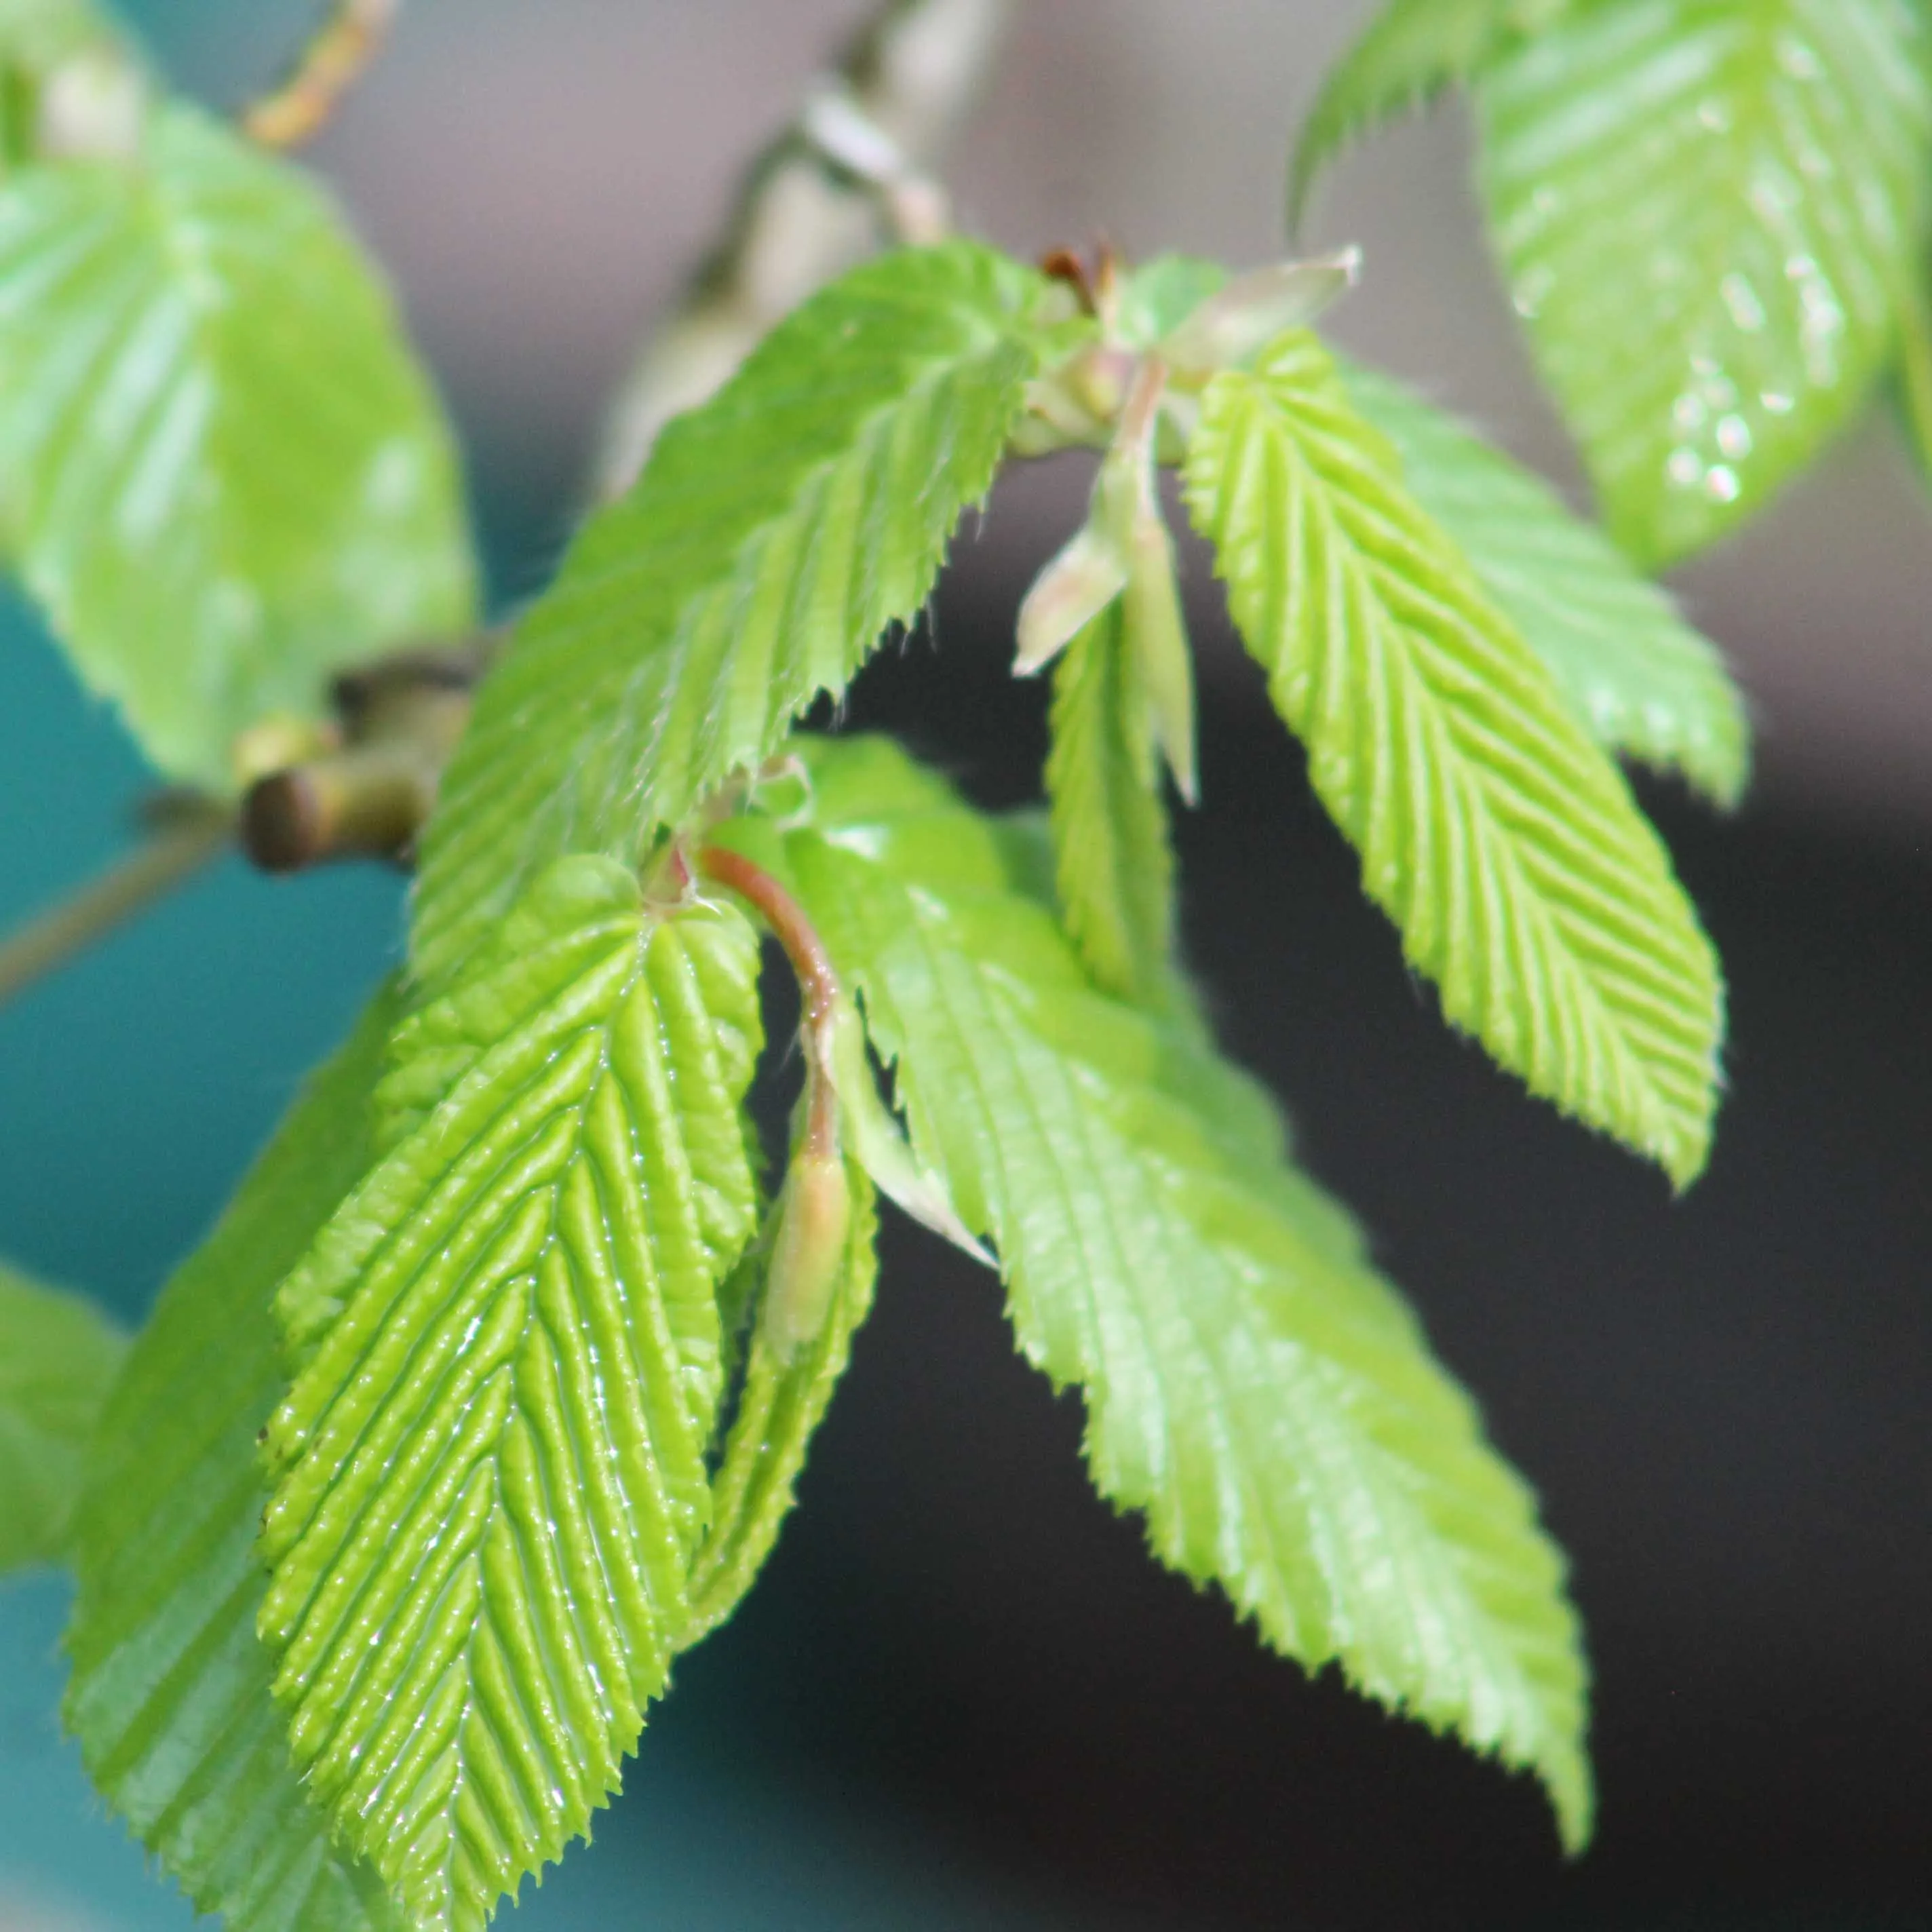
We start our adventure in early spring. Even though the frosts are still there, you're starting to see the buds on your Japanese maple starting to swell, turning a redder color.
You also see heaps of buds on the trunk and on the branches. Most bonsaikas leave them. It's not detrimental to the tree, but when you want to do a quality job, the first technique you're going to apply is bud selection.
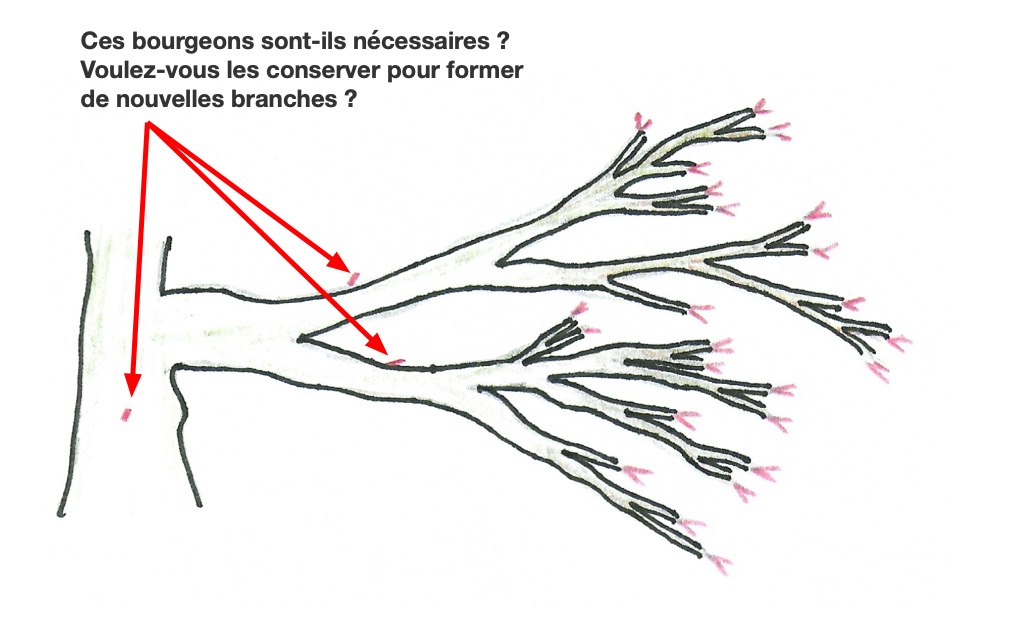
In Japanese, this is called MEKAKI (芽 ME=bud, 掻き PERSIMMON=scratch), so it's literally " scratching the buds ".
Japanese maples rebud very easily backwards, sometimes even too easily. Each bud can give rise to a twig and a branch. But will this branch be useful for the training of your bonsai? Does it have an aesthetic interest?
If many of these buds are useless, why keep them? If you leave them, you will then have to prune those twigs and small branches that are useless. So take advantage of having your maple tree completely bare to remove anything that won't be used.
To make a MEKAKI, simply lightly scratch the bud with your finger, it will then break and fall off.
To work cleanly and keep the surface of the substrate clean, consider putting a cloth over the pot. All the buds will fall on it and you will pick them all up without having to look for them with tweezers in the middle of the substrate grains.
When to make MEKAKI? At the end of winter, before the buds open.
The pinching of Japanese maples
Maple trees are very vigorous trees, they are sometimes even real bombs that start very quickly as soon as spring arrives. One of the difficulties (if not the main difficulty) is to manage to control this spring ardour.
Look at the beautiful Japanese maples in large exhibits, they usually have nice movements, branches that undulate gracefully, and above all a fine branching. It is the latter that is the most difficult to obtain. What for? Because you have to have very short internodes.
An internode is the distance between two pairs of buds. And since at spring bud break, maple trees are just waiting to grow as fast as they can, they tend to create long internodes. And if the weather is rainy, they will be even longer.
And what's most important is the length of the first internode, because as we're going to see in the next step, we're only going to keep the first pair of leaves, and prune above the first internode.
So, if you end up with a first shoot of the year that is too vigorous, with a first internode that is too long, you will have no choice but to completely cut off this first shoot of the year.
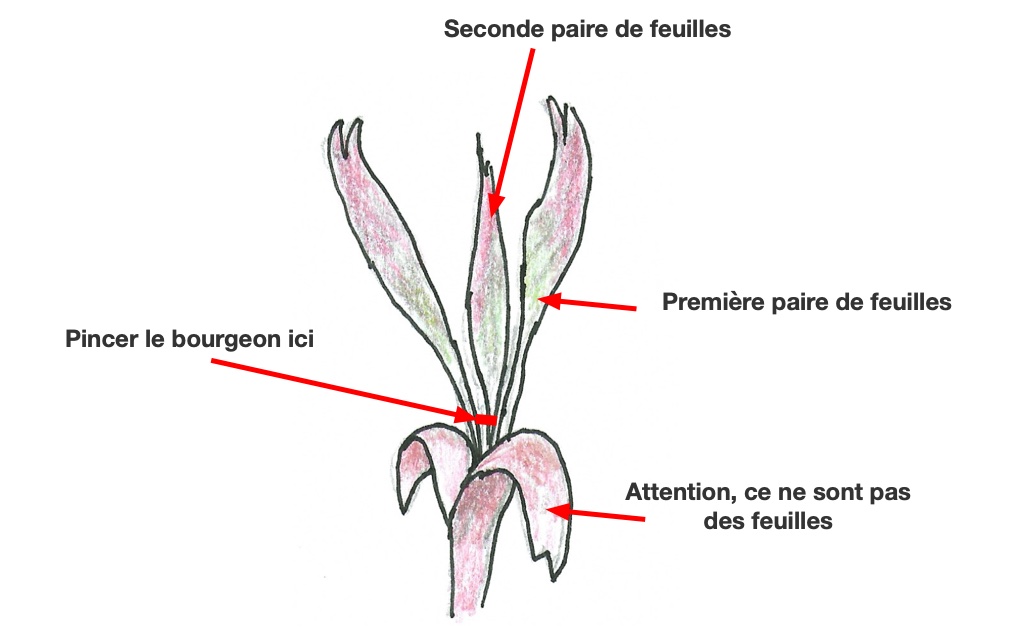
So, how do you control the length of this first internode? By making a pinch. In Japanese, this is called METSUMI (芽 ME=bud, 摘ま TSUMI=pinch).
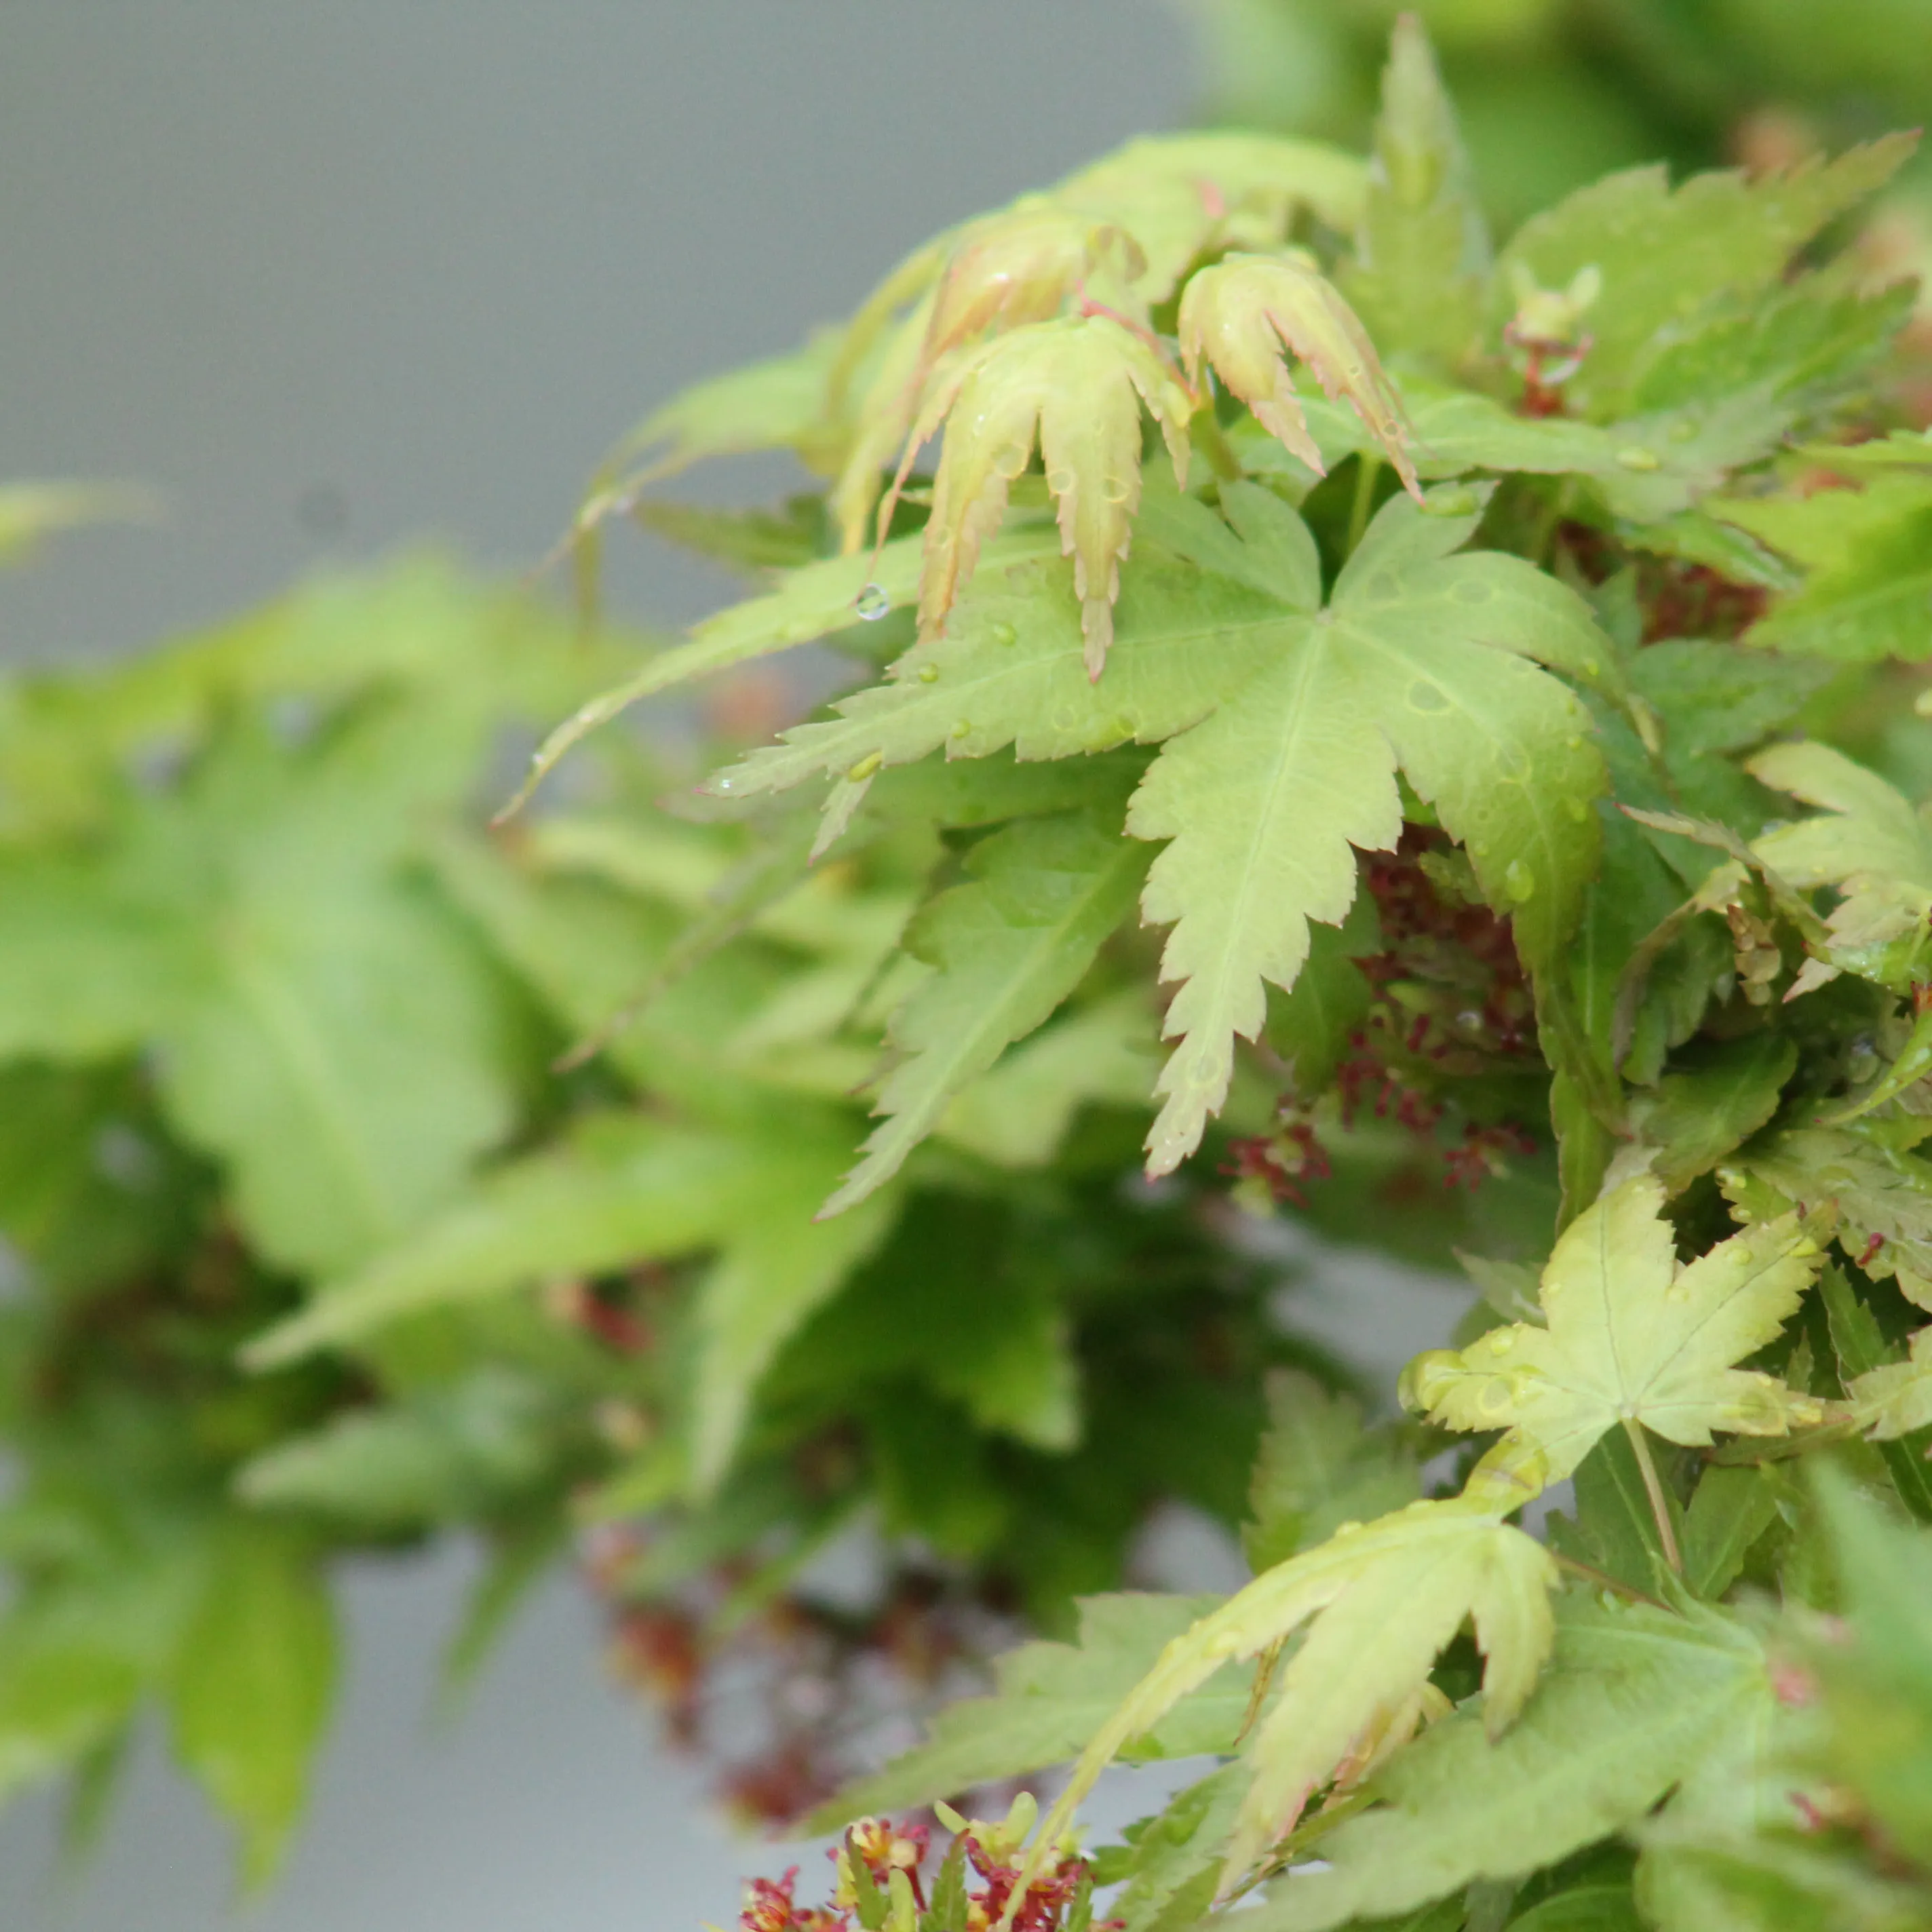
The METSUMI technique consists of cutting just above the first pair of leaves when it is just coming out of the bud. You can do this with your fingers (hence the name pinching) or with a pair of scissors or tweezers.
What happens after pinching? The tip of the shoot has been cut off, which will completely block its growth. The internode will hardly get any longer. So the sooner you pinch, the shorter the internode you'll have.
It will also stimulate back buds that may not have opened at all, or may have only produced weak shoots. Pinching therefore allows you to balance the forces and better distribute the growth of a branch.
The difficulty is that not all the buds open at the same time. The pinch will be spread over several days. Sometimes you even have to go twice a day, especially since you're bound to miss a few!
Do we necessarily have to pinch all the maple trees in Japan? It is a technique that is reserved for bonsai trees that are in a phase of refining branching. The purpose of pinching is not to branch out, nor to cause back budding. The purpose of pinching is only to control spring vigor.
So, if you have a bonsai tree that is already well advanced in its formation but on which you still want to create back branching, don't pinch. Again, this is a technique that should be reserved for the most mature bonsai in their training.
Do you have to pinch off all the buds? The most important thing is to apply the technique to the first shoots, as these are the ones that are the most vigorous and that you need to control. After a few days, your maple tree will be covered in leaves and it will be difficult to see the buds. You can leave it at that, because the ones that will open up next will be weaker and cause fewer problems.
It is also important to understand one essential thing: never pinch off a branch or twig that you want to make bigger or longer. This is because pinching will block growth. If the desired length or diameter has not been reached, do not METSUMI on this part in order to let it grow. Depending on the stage of formation of your bonsai, this technique can be applied to one part and not to others.
The maintenance pruning of Japanese maple trees
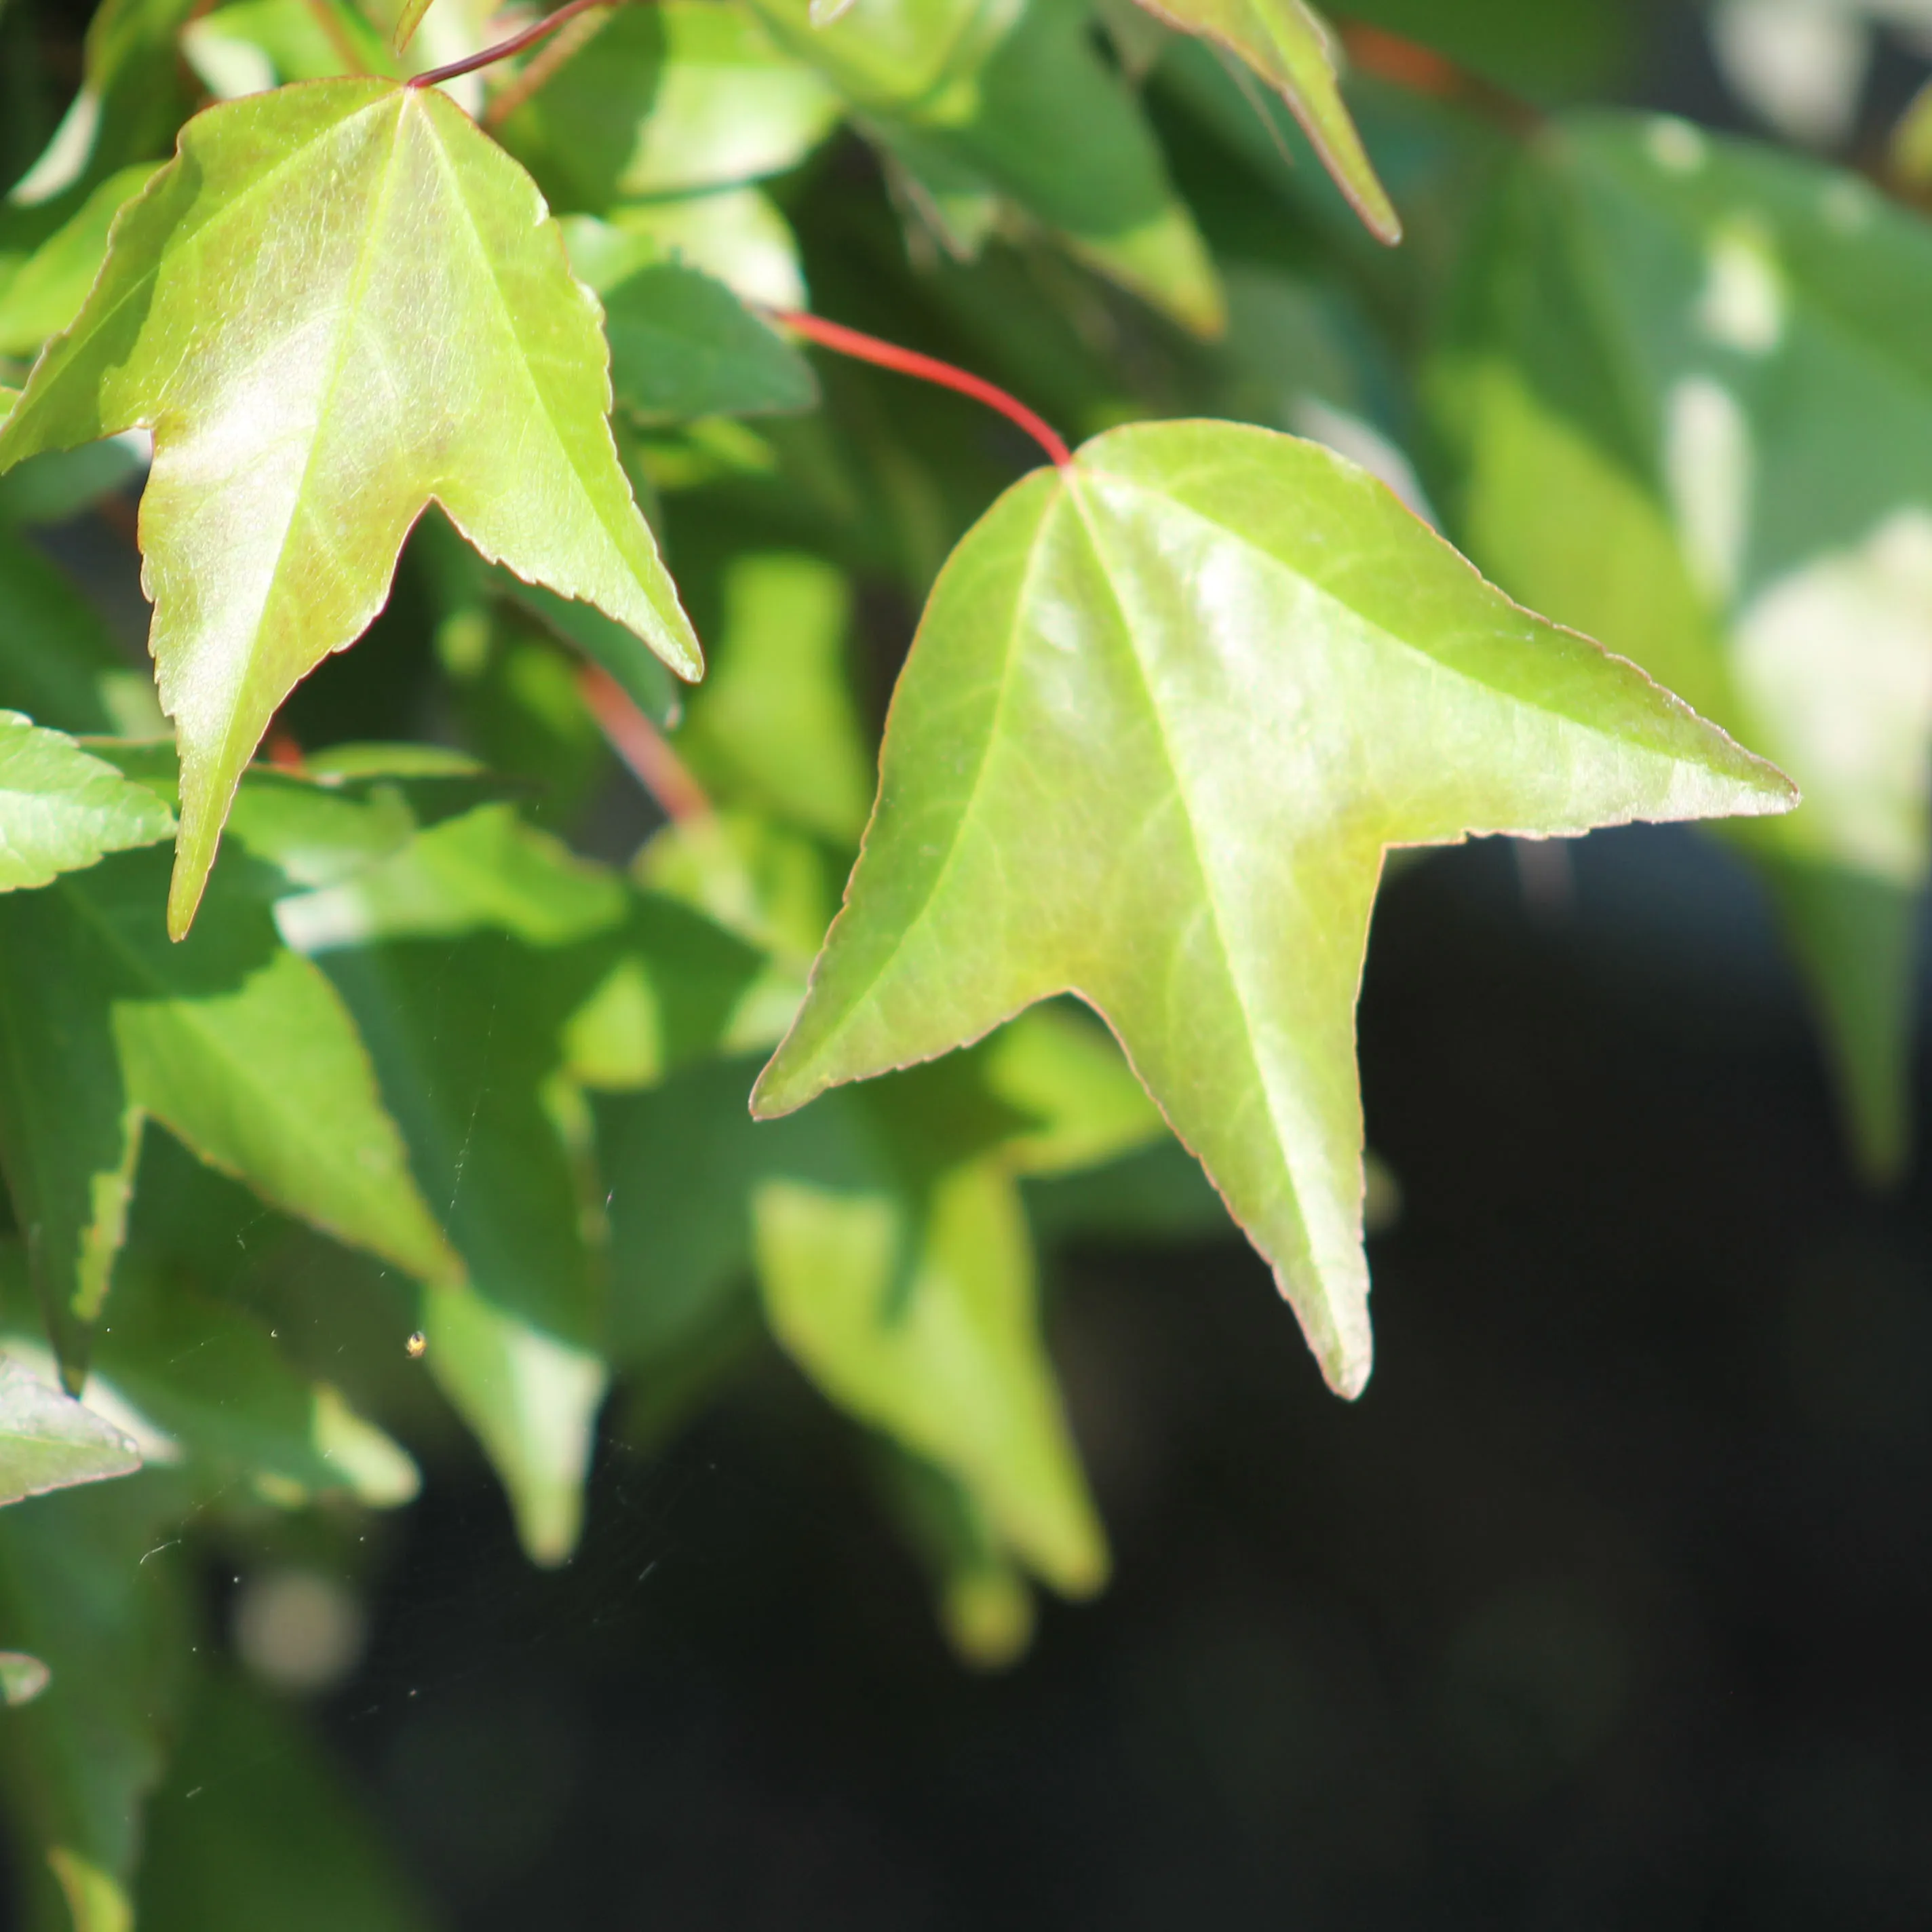
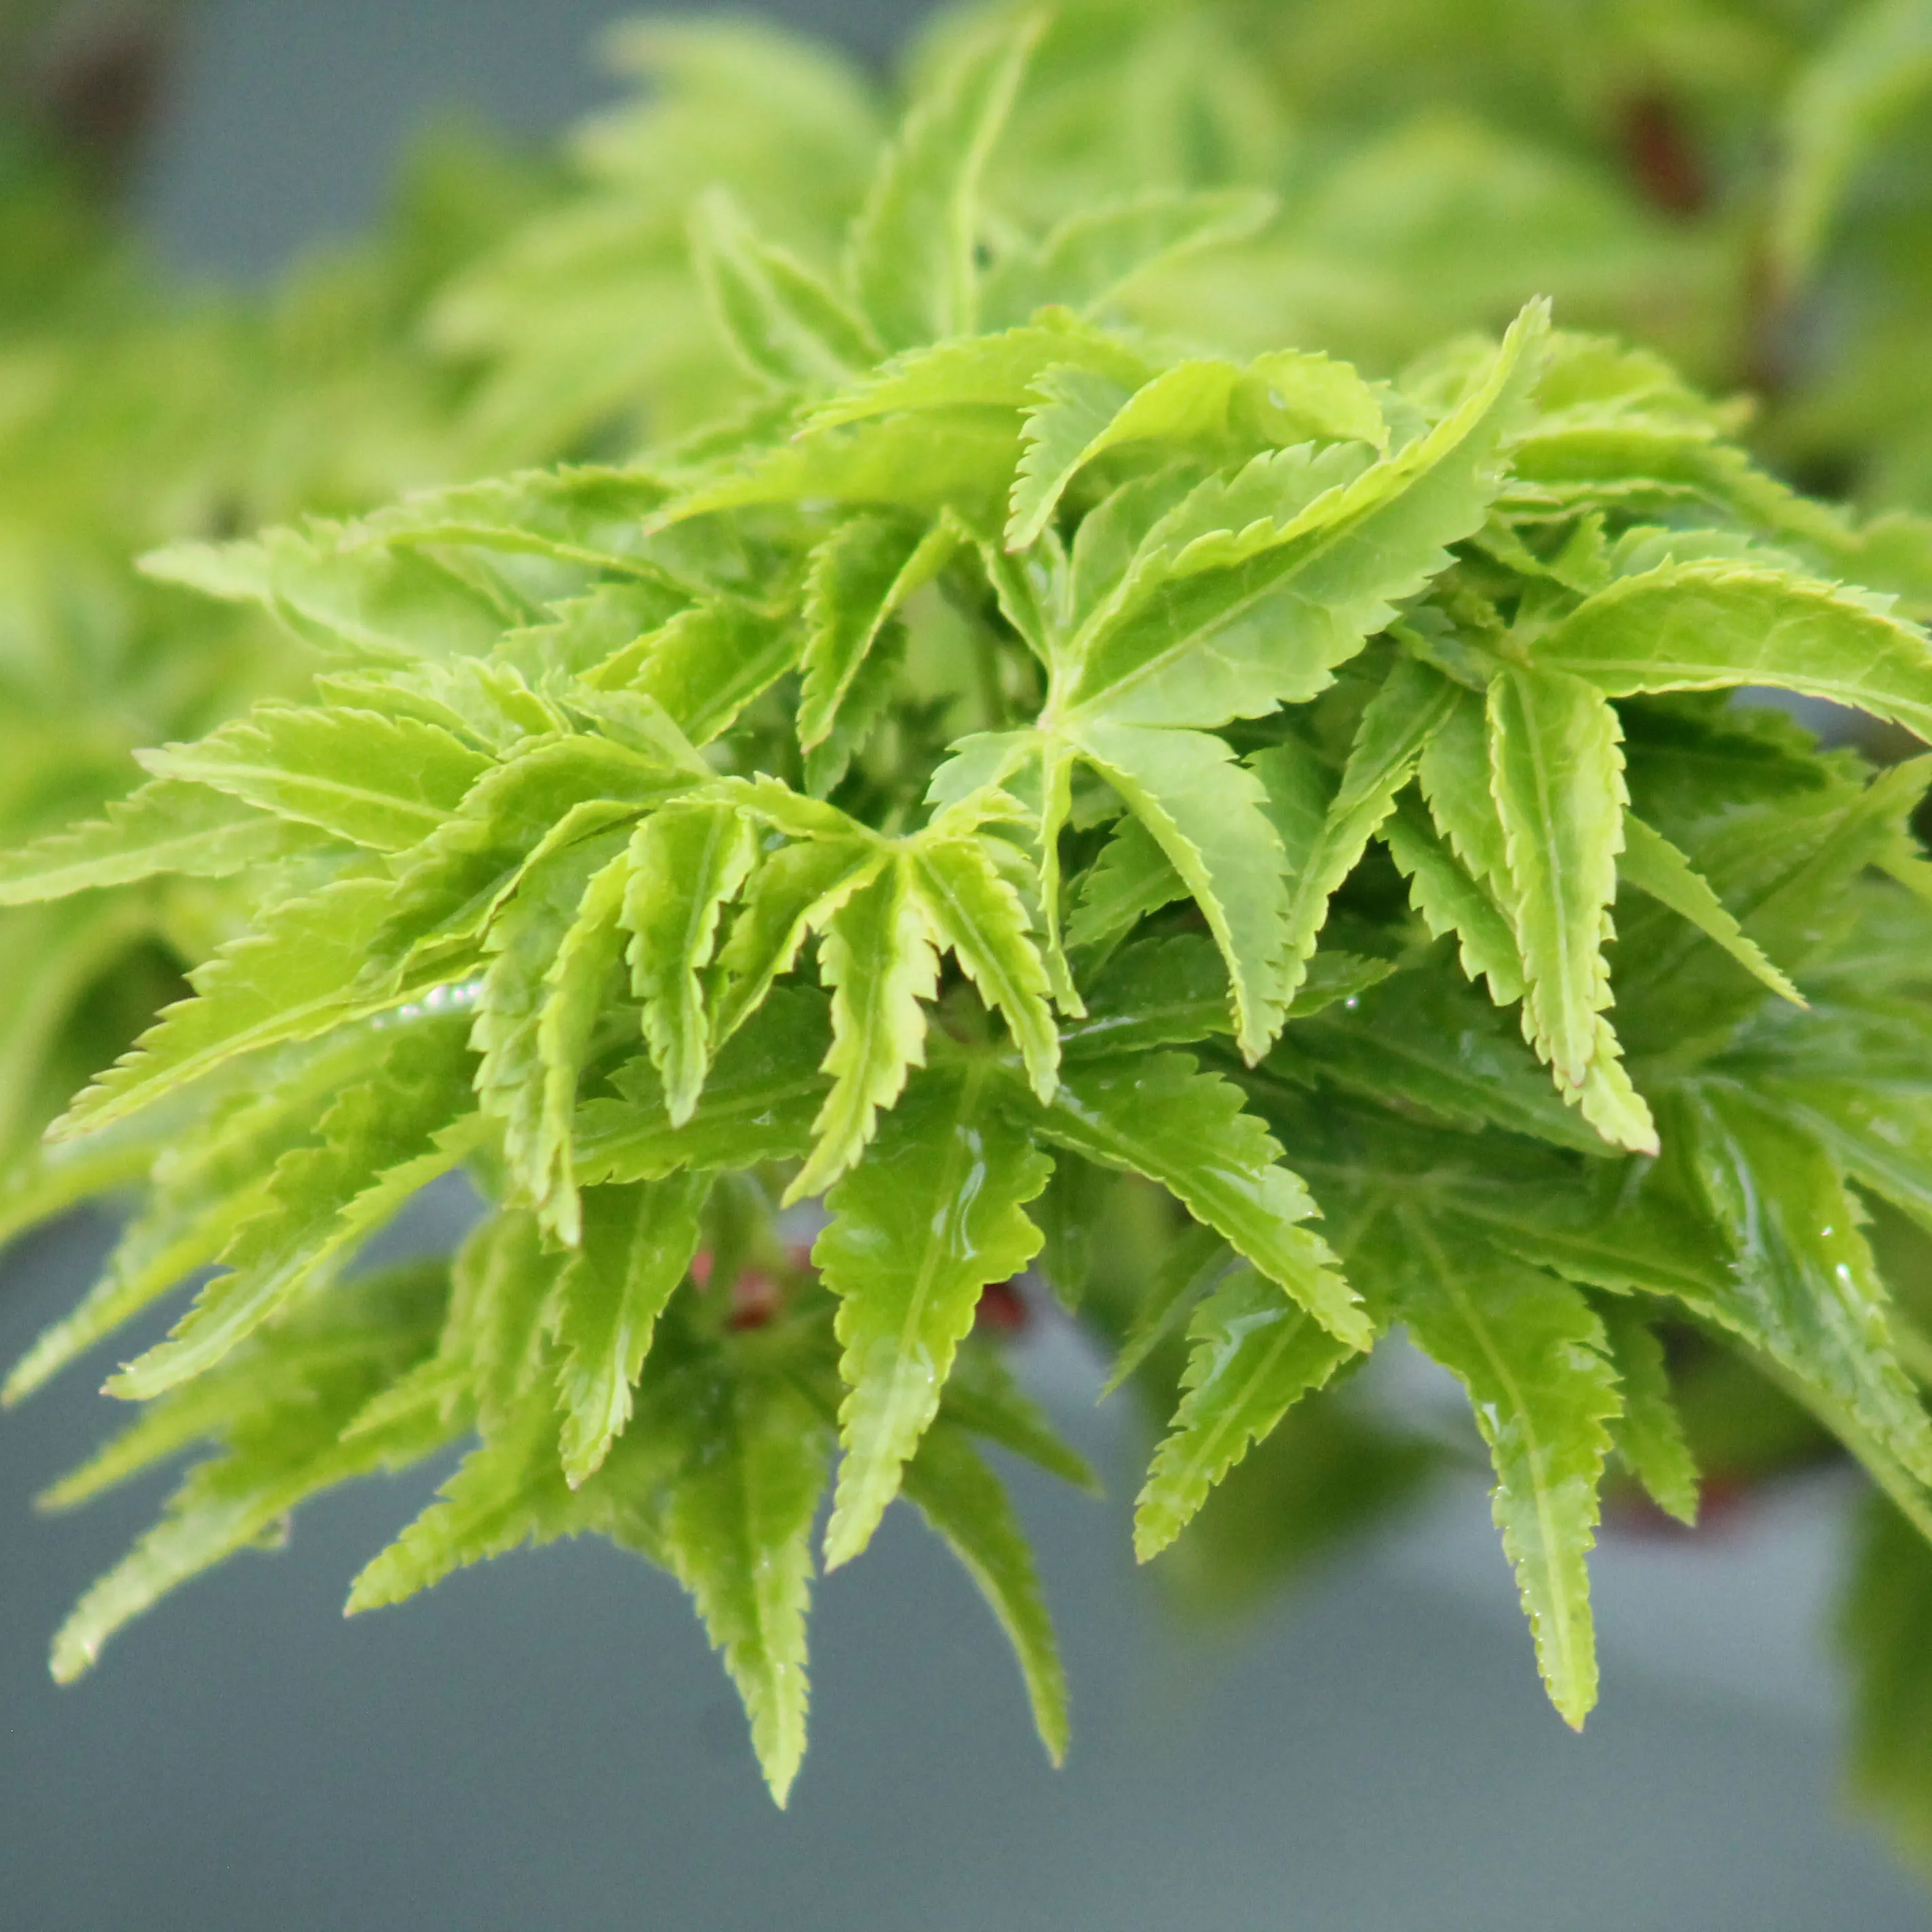
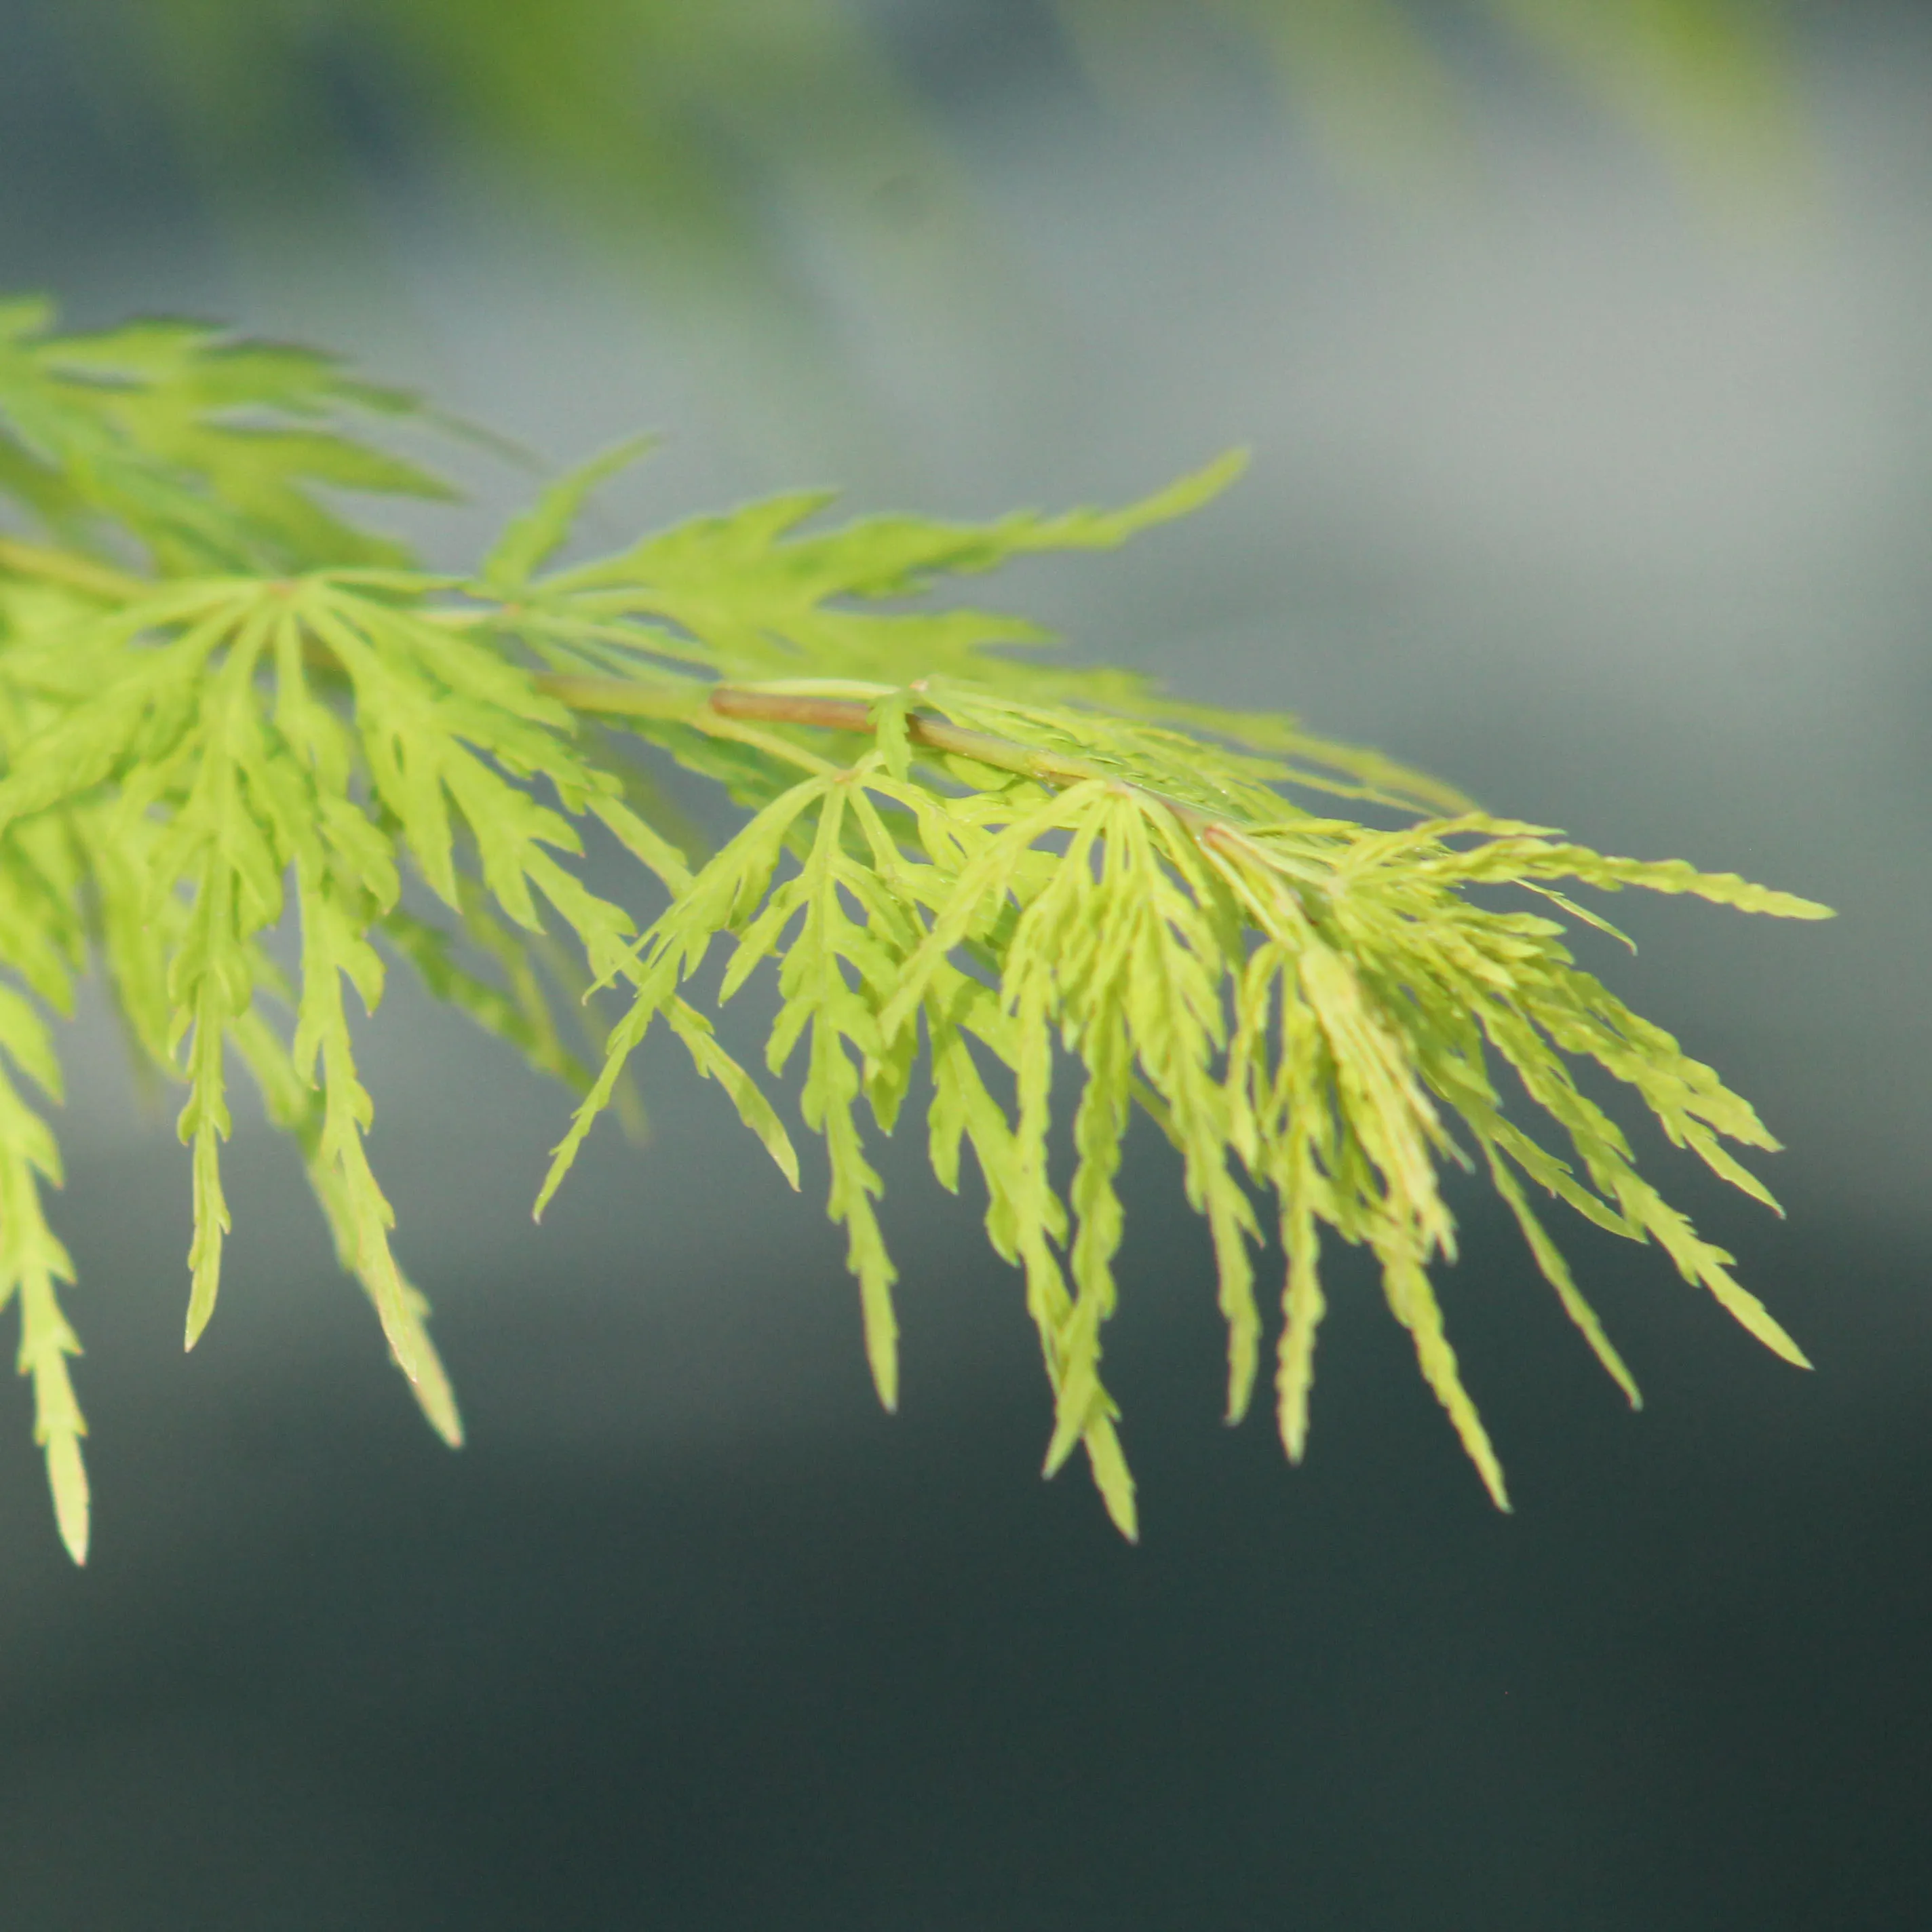
Here we are at the end of spring, your Japanese maple is covered in leaves that have lost their reddish color to turn green. The stems are getting longer, so it's a good time to sharpen your pair of scissors. But should you just cut off everything that sticks out of the tree's profile? No, the art of bonsai is not the art of topiary.
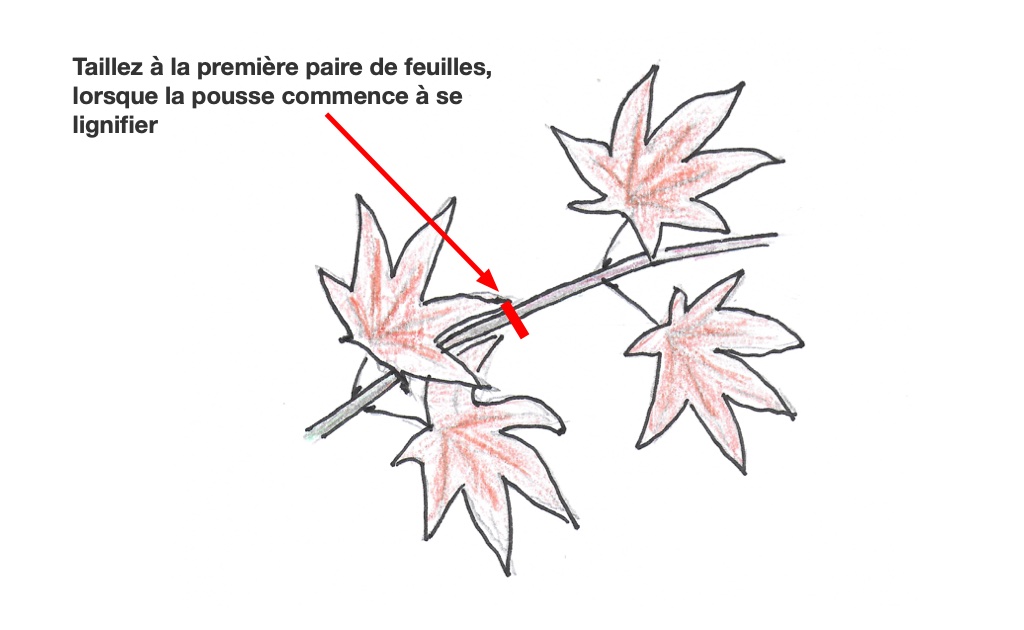
The MEKIRI technique (芽 ME=bud, 切り KIRI=cut) consists of cutting a twig when it has started to lignify. That is, it gradually turns into wood; It loses its soft green color, and turns slightly brown while becoming harder. Generally, the twig has grown to five to seven pairs of leaves.
Why prune precisely at this time? Because when the twig is green, it consumes resources from the tree to grow and form leaves. On the contrary, the part that turns into wood begins to accumulate energy.
The principle of MEKIRI is therefore to prune when the shoot begins to store energy, and use this energy to branch out and cause buds to appear back
Where should you prune? To form a beautiful branching and pretty branches, we try to avoid parts that are too straight and prefer to create a slight movement. To do this, cut just above the first pair of leaves. That's why it's important to have a short first internode. Don't prune too close so as not to damage the latent buds, leave half a centimeter.
Where you have pruned, buds will appear at the level of the pair of leaves, giving rise to two new branches.
MEKIRI also causes budding from behind, on branches and even on the trunk. And that's exactly what we're looking for in bonsai: to have compact vegetation close to the trunk.
A mistake often made by beginners is to prune their Japanese maple in one go. That is, when long stems protrude from the profile of the tree, all shoots are shortened to a pair of leaves, those that are lignified, as well as those that are not.
However, in order for the MEKIRI to have its effect properly, it is necessary to prune on a lignified part. Therefore, MEKIRI should not be considered as a one-time operation, but a technique that you should apply throughout the growing season, as the new branches lengthen.
This also means that if your bonsai is vigorous, you will prune for the first time at the beginning of summer, which will give rise to new branches, which you will prune again when they are lignified.
And as with pinching, if you want to lengthen or make a branch bigger, don't prune it. Because the more leaves there are, the more energy circulates and it is when it starts to lignify that it will grow.
The size of the leaves
We are now in early summer, your Japanese maple bonsai is covered in leaves, sometimes large, and the canopy tends to look like a large helmet resting on a trunk. And that's not optimal for the tree. What for? Because the light no longer penetrates inside.
We want the branches to branch out as close as possible to the trunk. If they end up in the shade, if the leaves don't get enough light, photosynthesis won't be able to take place. The leaves will start to turn yellow, fall off, and the small branch may dry out completely.
MEKIRI is a great technique for budding backwards, but buds will only appear on the parts that receive light. In the shade of large leaves, no direct sunlight, so no new buds.
The risk, if you don't do anything, is to have long branches with only branching and leaves at the end. So how do you avoid this? By cutting leaves.
In Japanese, this is called HAGARI (葉 HA=leaf, 刈り GARI=cut), and it consists of removing every other leaf. If the leaves are really too big, you can also cut them in half. You don't touch the leaves of the weaker twigs.
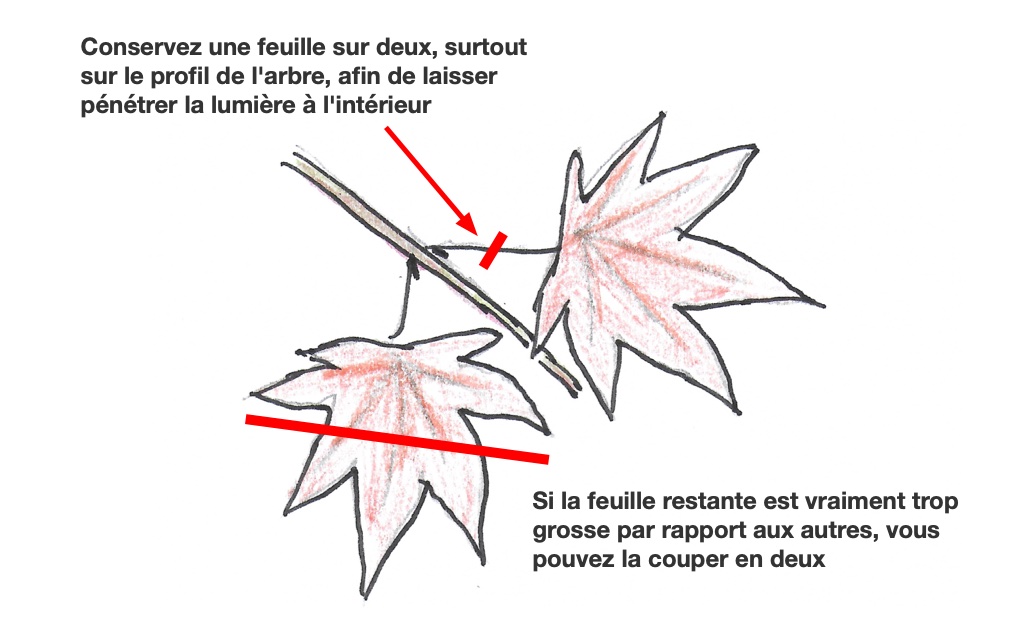
The goal is to allow light to penetrate inside the tree, to reach the branches that are weaker and have difficulty developing.
In its most extreme version, HAGARI consists of removing all leaves. This is called defoliation. We do not recommend doing this, as it is an operation that can be traumatic for the bonsai.
In effect, it forces it to " make a new spring ", while removing its main means of supplying energy: leaves, which are like photovoltaic panels.
By completely defoliating a Japanese maple, it is forced to draw on its reserves to bud and make new leaves. They will be smaller, which is why some bonsaikas do a complete defoliation. But if they're smaller, you've weakened your bonsai, and that's never a good thing.
You can also combine the MEKIRI with the HAGARI. That is to say, when you shorten the twig to the first pair of leaves, if they are too large you can keep only one and even cut the remaining one in half in order to reduce the leaf area.
By removing leaves or reducing its surface area, you decrease the ability to photosynthesize without removing it completely. As a result, there will be less energy at the buds, resulting in shorter internodes and smaller leaves. It is therefore a gentler technique than complete defoliation.
The structural size of a Japanese maple tree
You've applied the previous techniques throughout the growing season, and here we are in the fall. From September, we advise you not to prune your Japanese maple. Let it grow freely as it will create its reserves for the following spring.
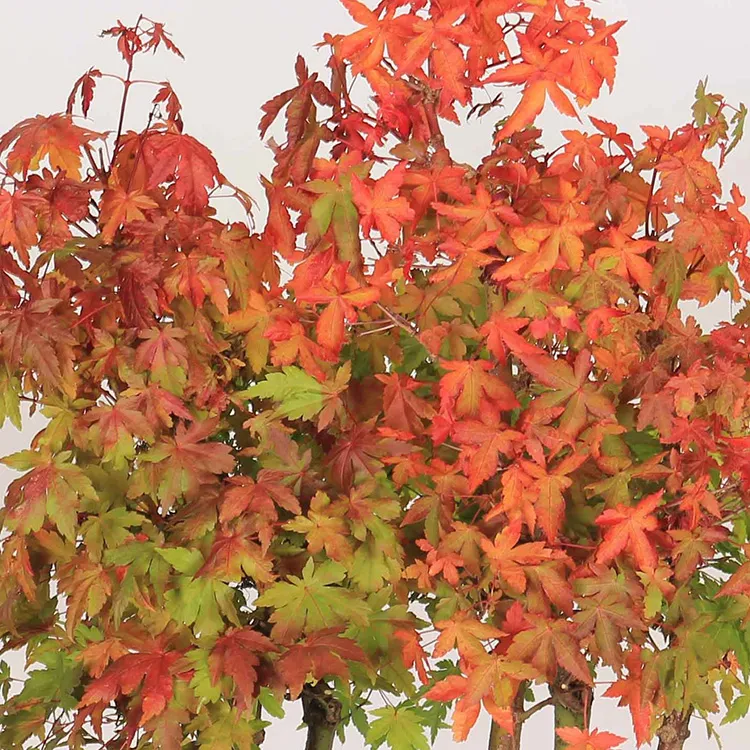
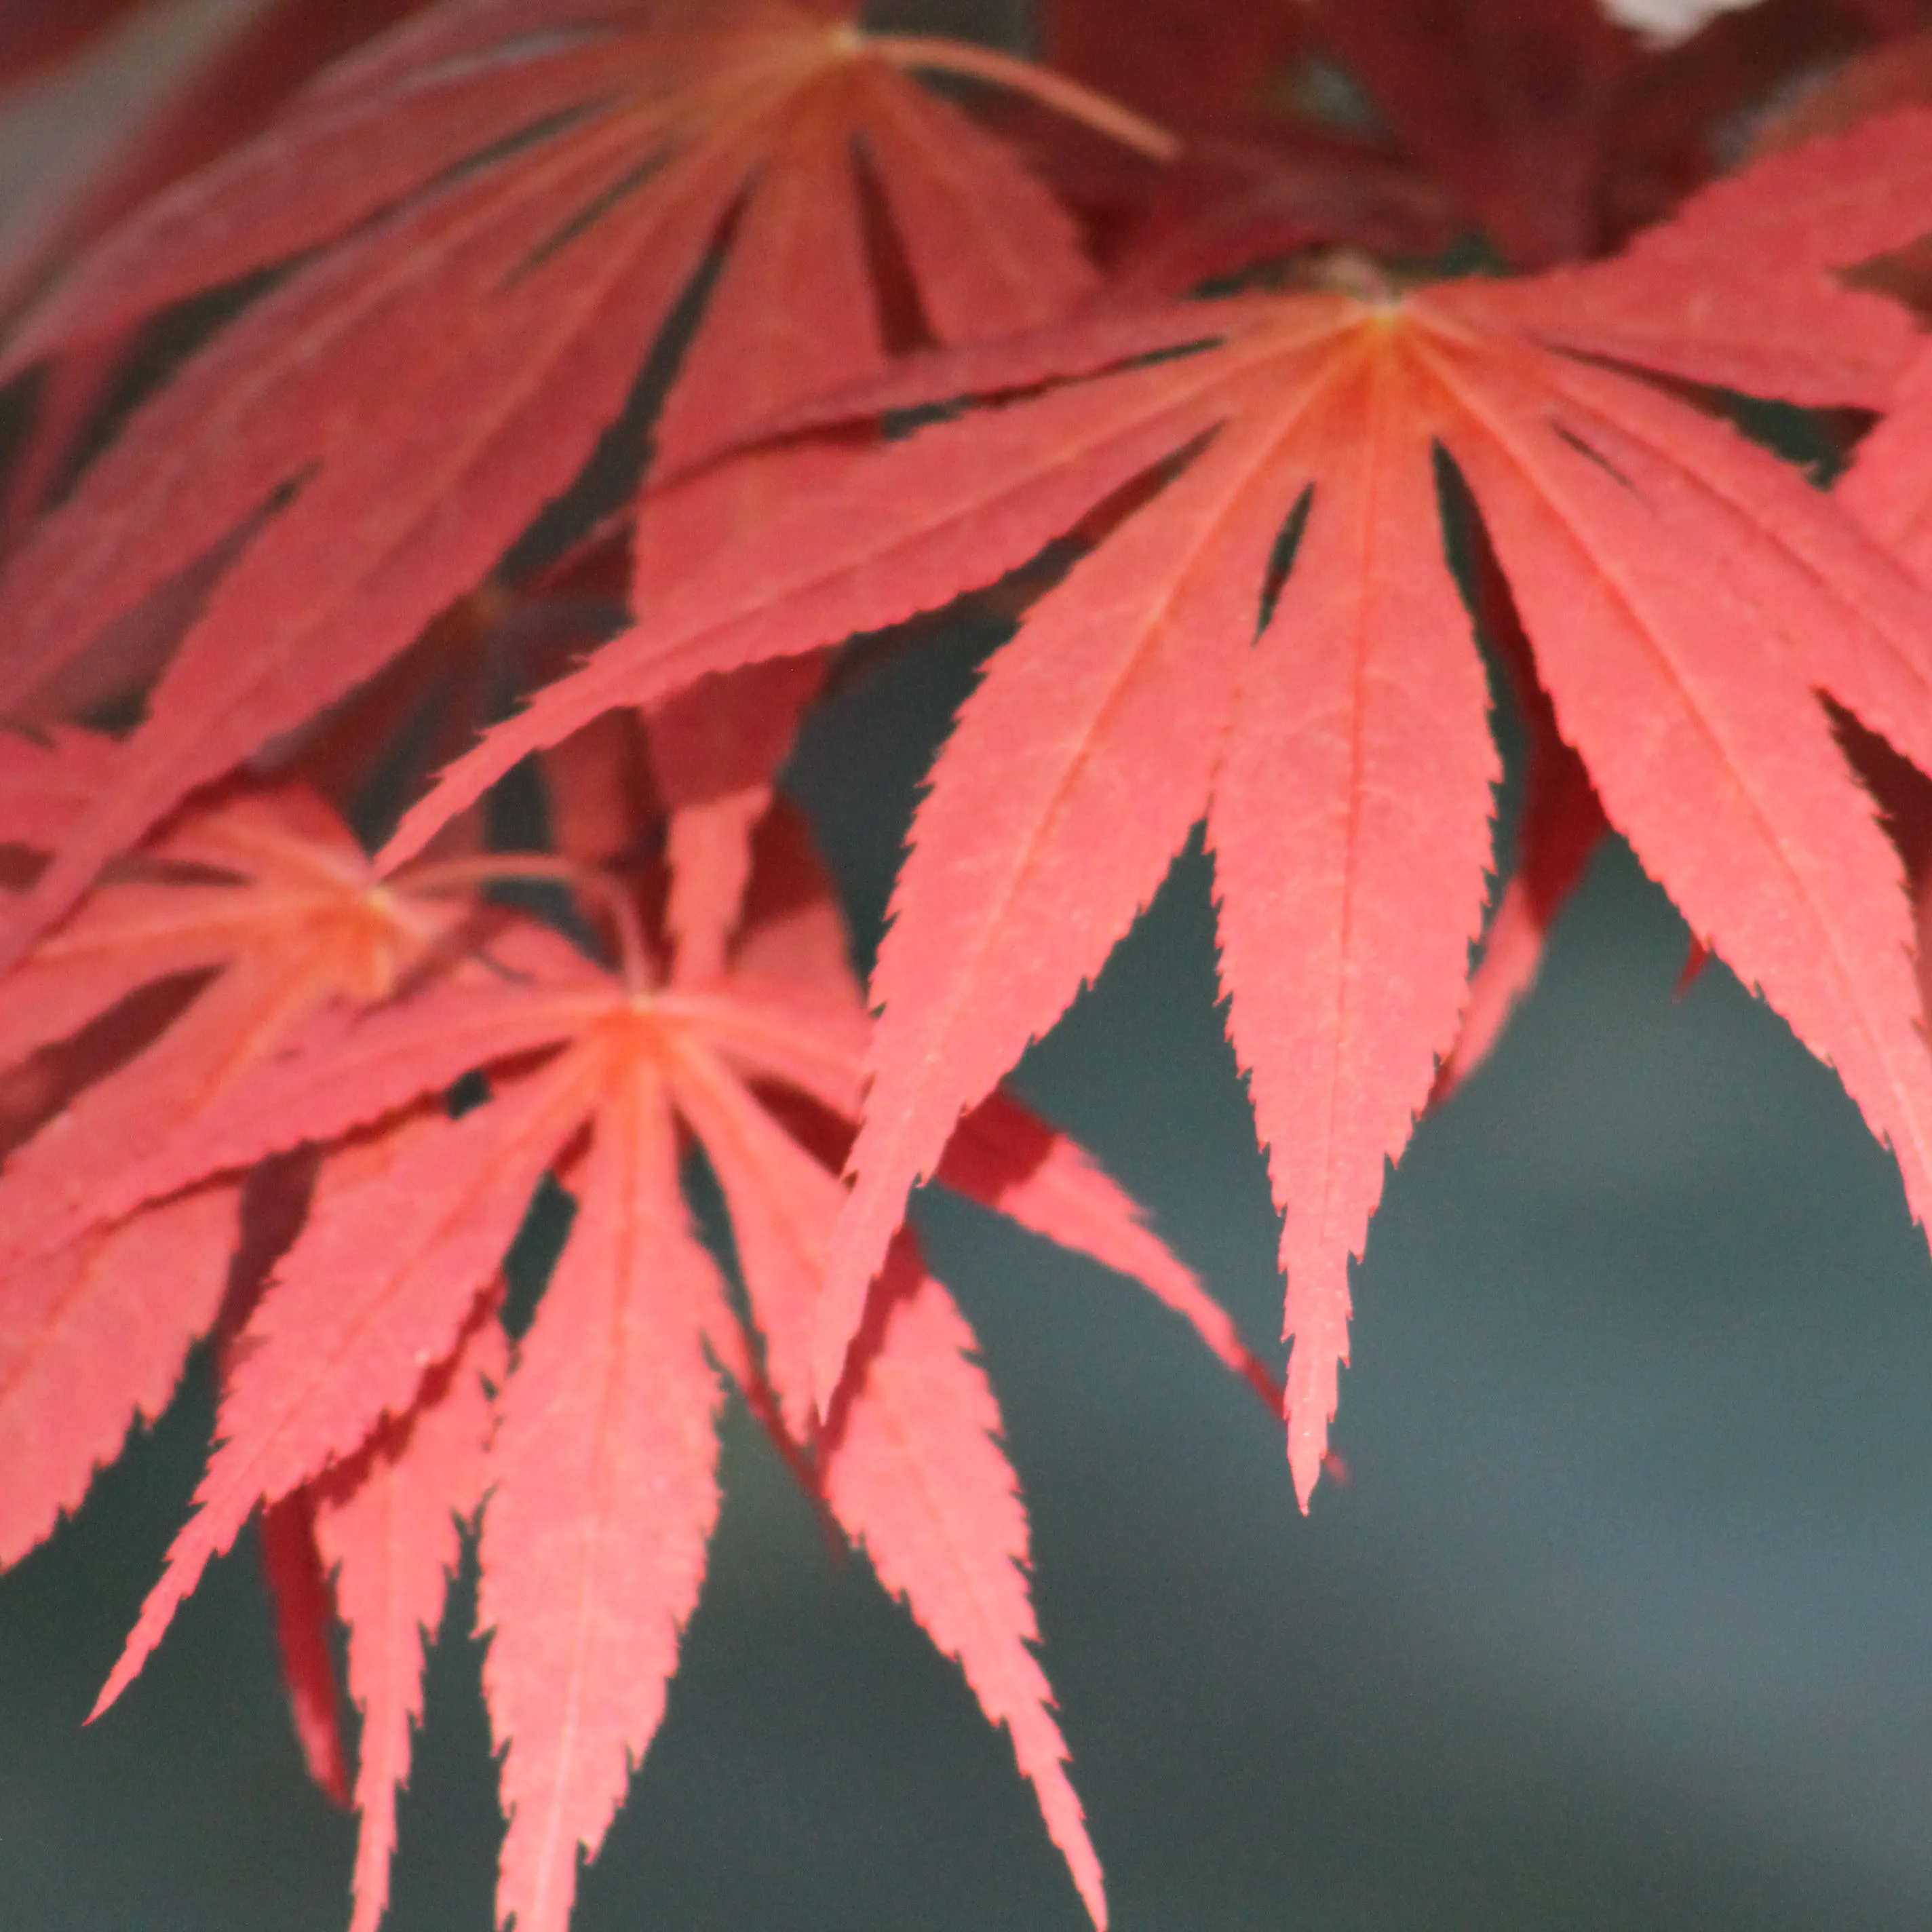
And take advantage of the beautiful colors that will gradually arrive, and which are an asset of maple trees! We also remind you that in order for a maple tree to have beautiful colors in the fall, it must be put in the sun. So there's a happy medium to be found, between sun protection so that the leaves don't get burned, and a minimum of sunlight to have beautiful colors.
So we come to winter, all the leaves have fallen, and you can appreciate the branching and the work you have done during this year. This is the time to sit still, observe, and perfect the structure of the bonsai.
The goal is to eliminate structural problems, to perfect the ramification that has developed, and which has perhaps become a real mess.
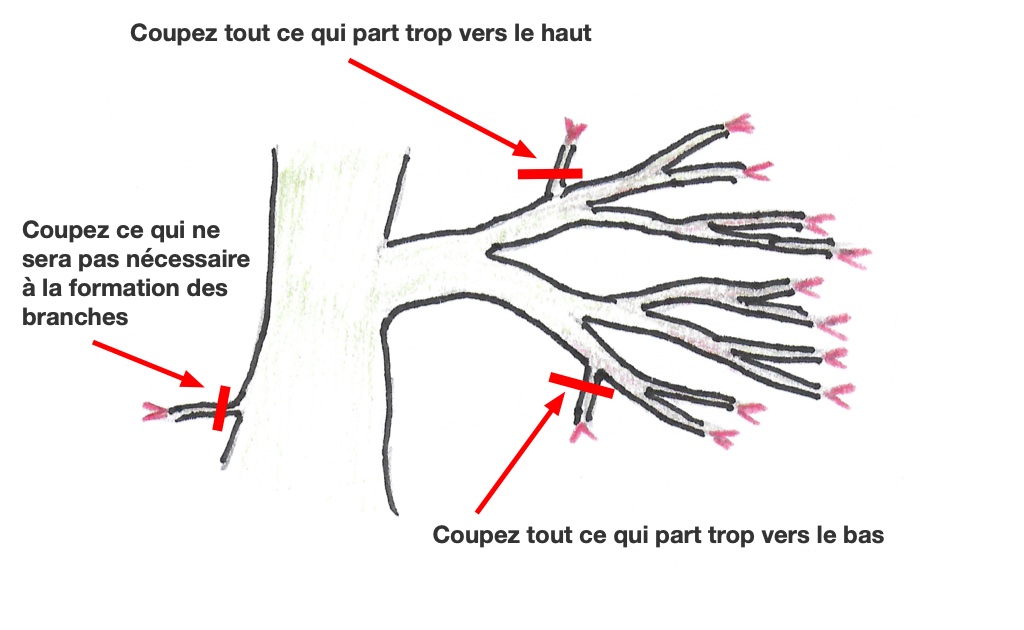
Start by trimming everything that is wrong, all the obvious flaws:
- Small branches that grow upwards : if you leave them on, they will grow very quickly and become a kind of unsightly " tube ";
- The small branches that grow downwards, as they will then go up to seek the light, forming an unsightly curve;
- Small branches that are not useful to the structure of the bonsai, for example those that have started to develop directly on the trunk, or on large branches.
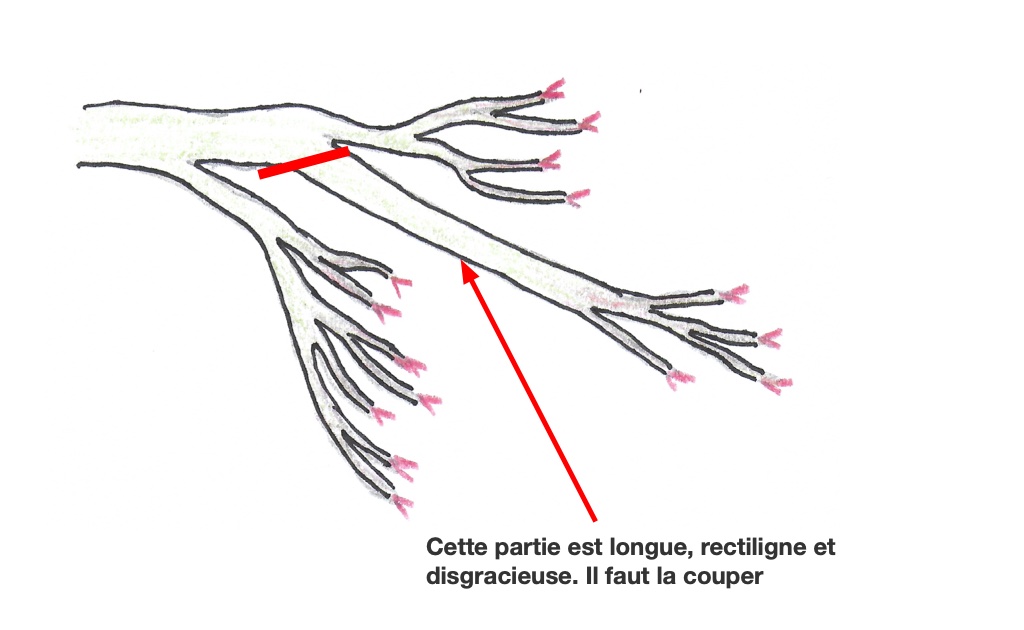
Once this work is done, look to improve the shape and taper of the branches. On a Japanese maple, you don't want parts that are too straight, that look like tubes. On the contrary, what we are looking for is a slight movement and branches that become thinner and thinner as we get closer to the profile of the tree.
A common mistake is to prune only what protrudes from the profile of the tree. No, bonsai is not topiary. Don't hesitate to dive into the heart of the branches and select the most beautiful parts.
When you notice that a branch has a portion that is too straight, with no taper, look upstream to see if another could take over. If this is the case, then cut right after. Don't hesitate to sacrifice a part of a branch in favor of another that will become more beautiful in a few years.
Similarly, Japanese maples have a strong apical dominance, i.e. they are very vigorous at the head. If you haven't pinched or pruned enough, you'll see that the branches at the top have gotten bigger, bigger than the ones below. And that's not good.
We want the head to be made up of only thin branches. Don't hesitate to cut off the ones that have become too big and start with thinner ones. Since maple trees grow very fast, and nature abhors a vacuum, there will quickly be buds and new branches the following spring.
Finally, make sure that the branching is always in pairs. A branch should always split in two. If there are three departures at the same location, delete one. If you don't make this selection, there will be an influx of sap there, which will cause a "ball " or inversion of taper. You'll regret it one day, so prune now!
Why is my Japanese maple crying? This is a phenomenon that you may encounter; You prune a branch and you see a drip at the cut. It was as if the tree was crying.
Japanese maples restart their activity very early, well before bud break. The sap begins to rise in the branches as early as late December or early January. If you prune at this time, then you will see sap flows. It's not a big deal, and this flow will stop pretty quickly. To avoid making your maple trees cry, do your pruning at the beginning of winter and avoid doing it after December.
Conclusion
After a year of pruning in the life of a Japanese maple, you can see that there is plenty to keep you busy when you want to train a high-quality bonsai. It is also a set of work to be carried out regularly. You don't make a beautiful tree by simply putting two scissors on it a year.
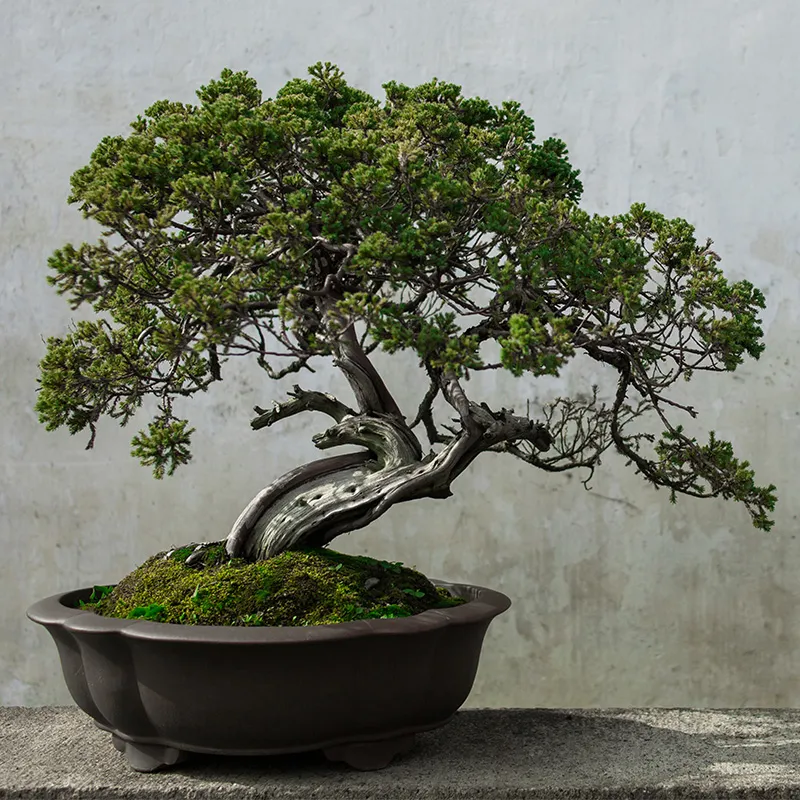
Bonsai is not an immediate art, it is a school of patience. What makes a bonsai emerge from a tree is not bending branches and laying down miles of ligatures, but applying the right techniques, at the right time, for years.
How are these beautiful bonsai trees that you see in the catalogues of major Japanese exhibitions formed? Simply by applying these pruning and densification techniques, for 20, 30, even 50 years.
Does that make you dizzy? Sounds unachievable? It's normal, we don't have the same culture or the same relationship with nature as the Japanese. On the other hand, you now have all the keys in hand to improve your maple trees.
And if you want to complete your collection, don't hesitate to visit our online store or contact us directly.