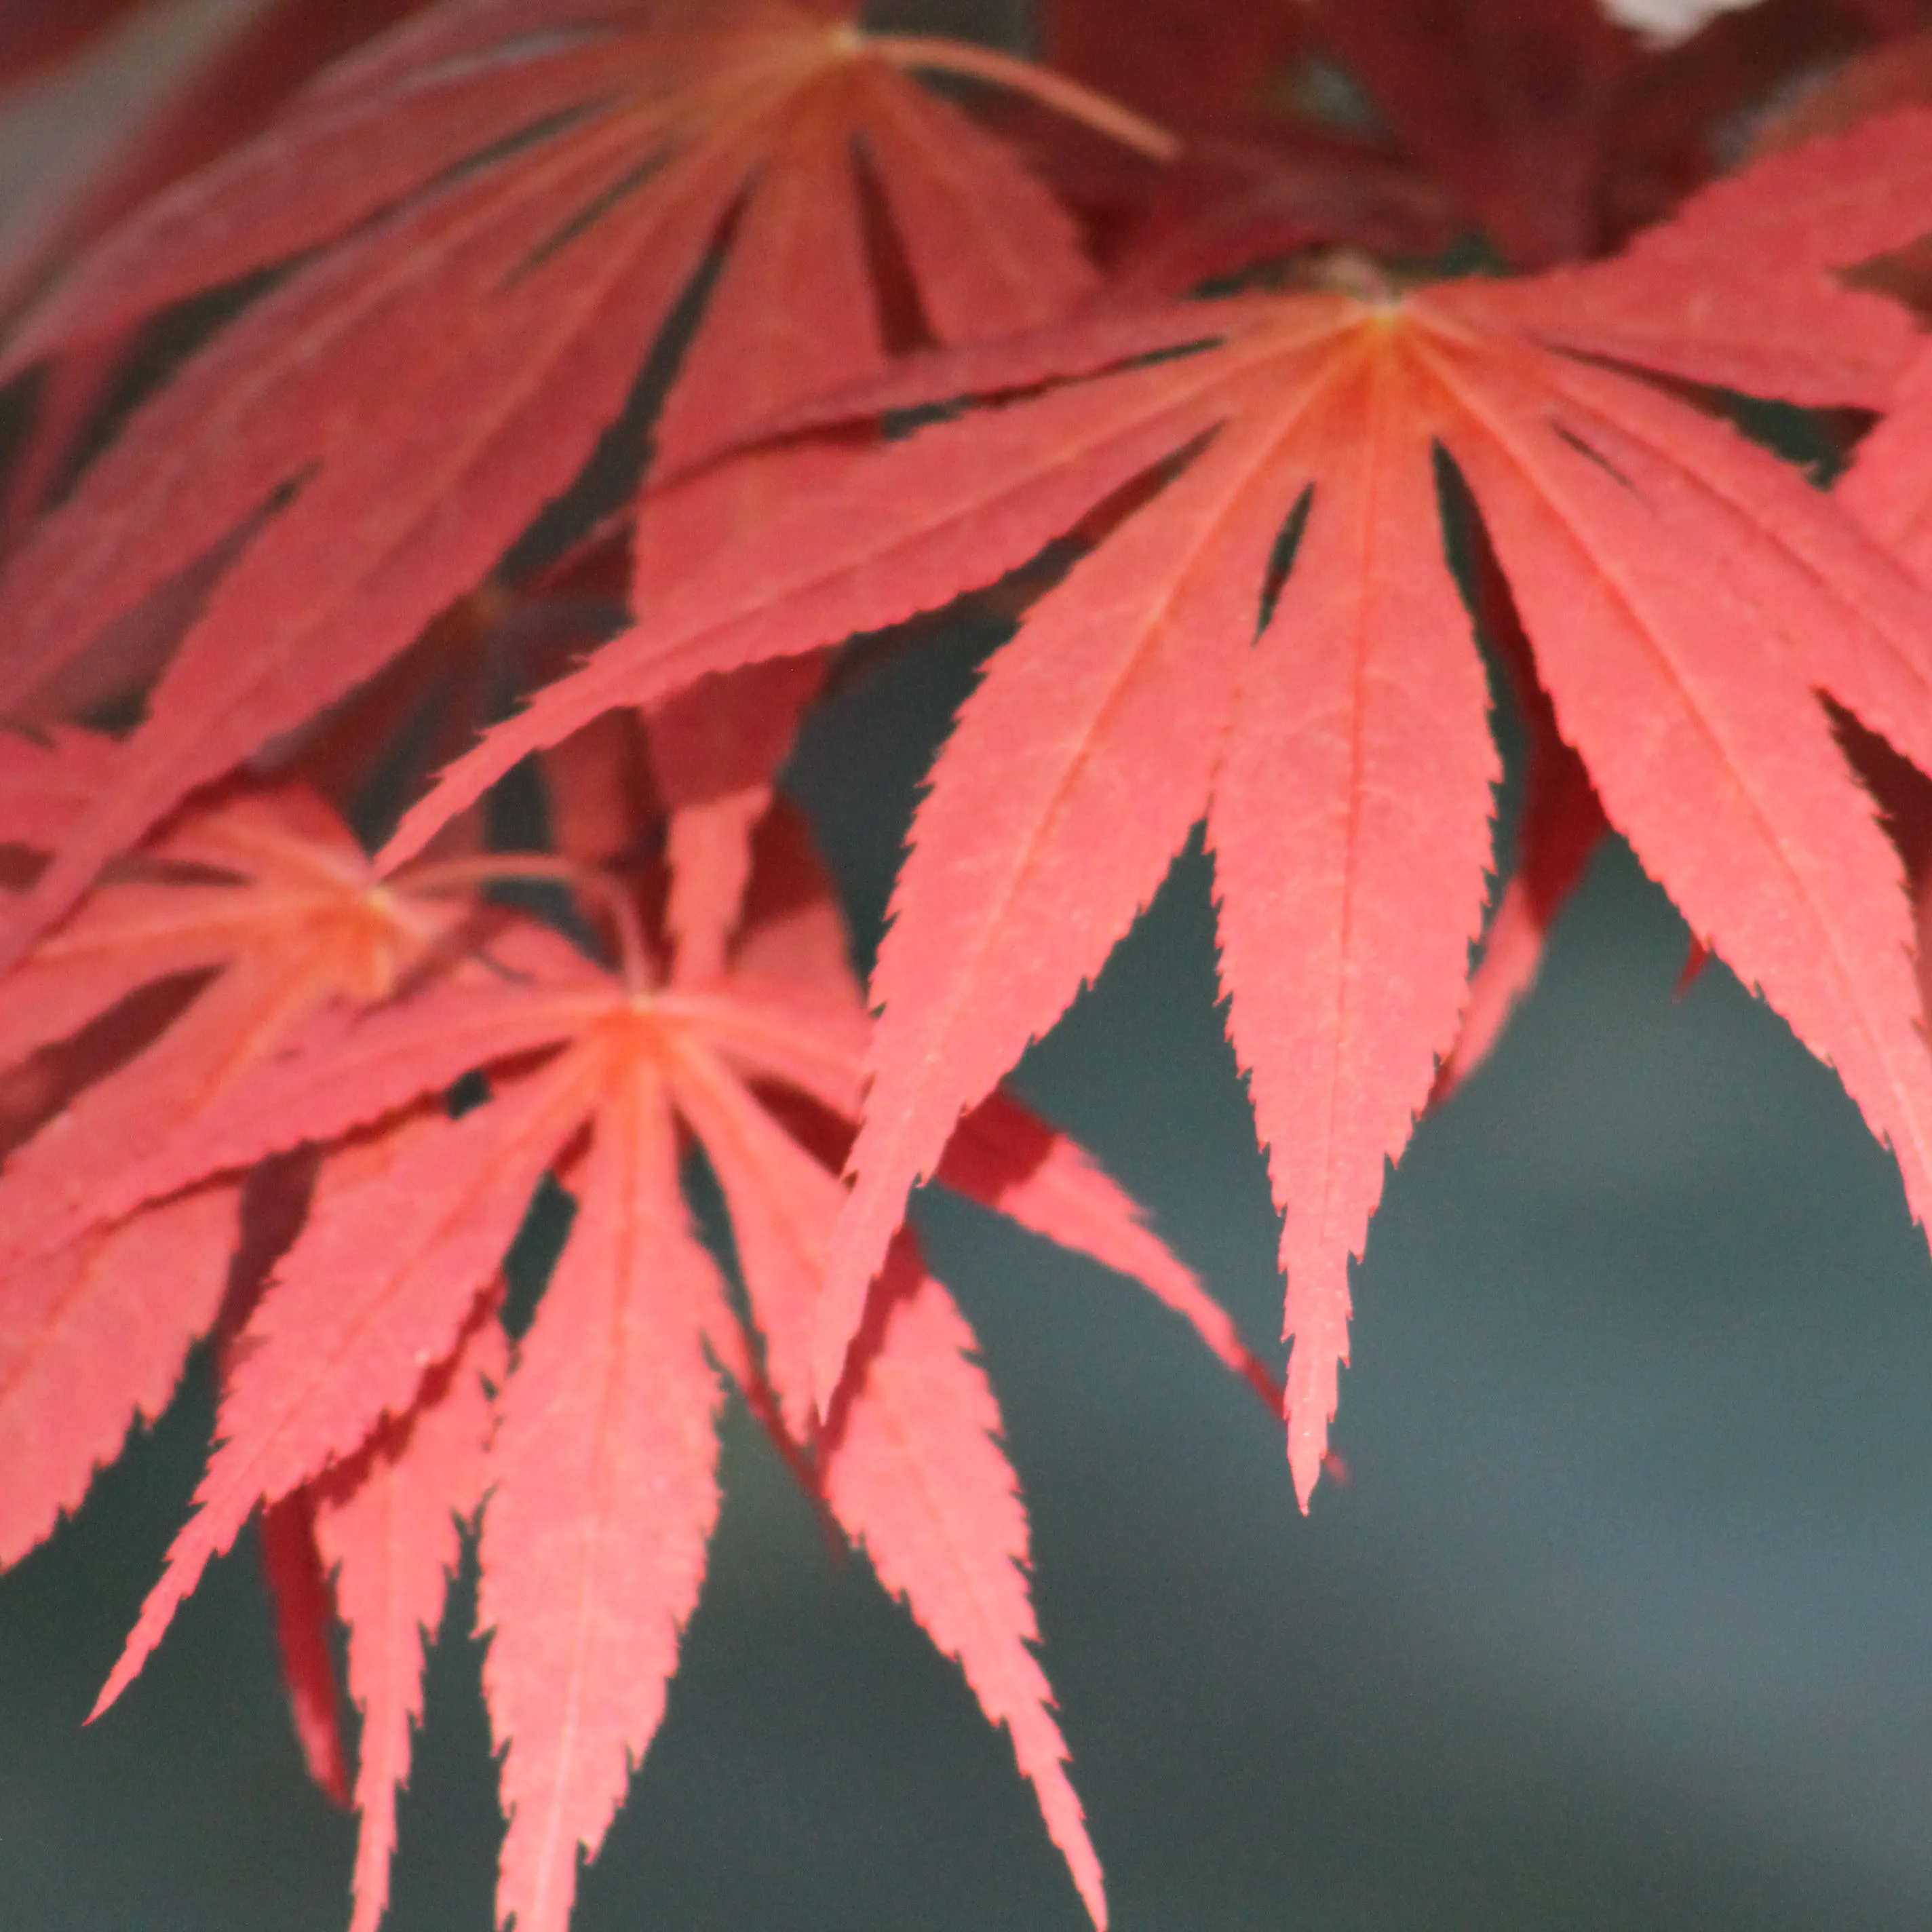
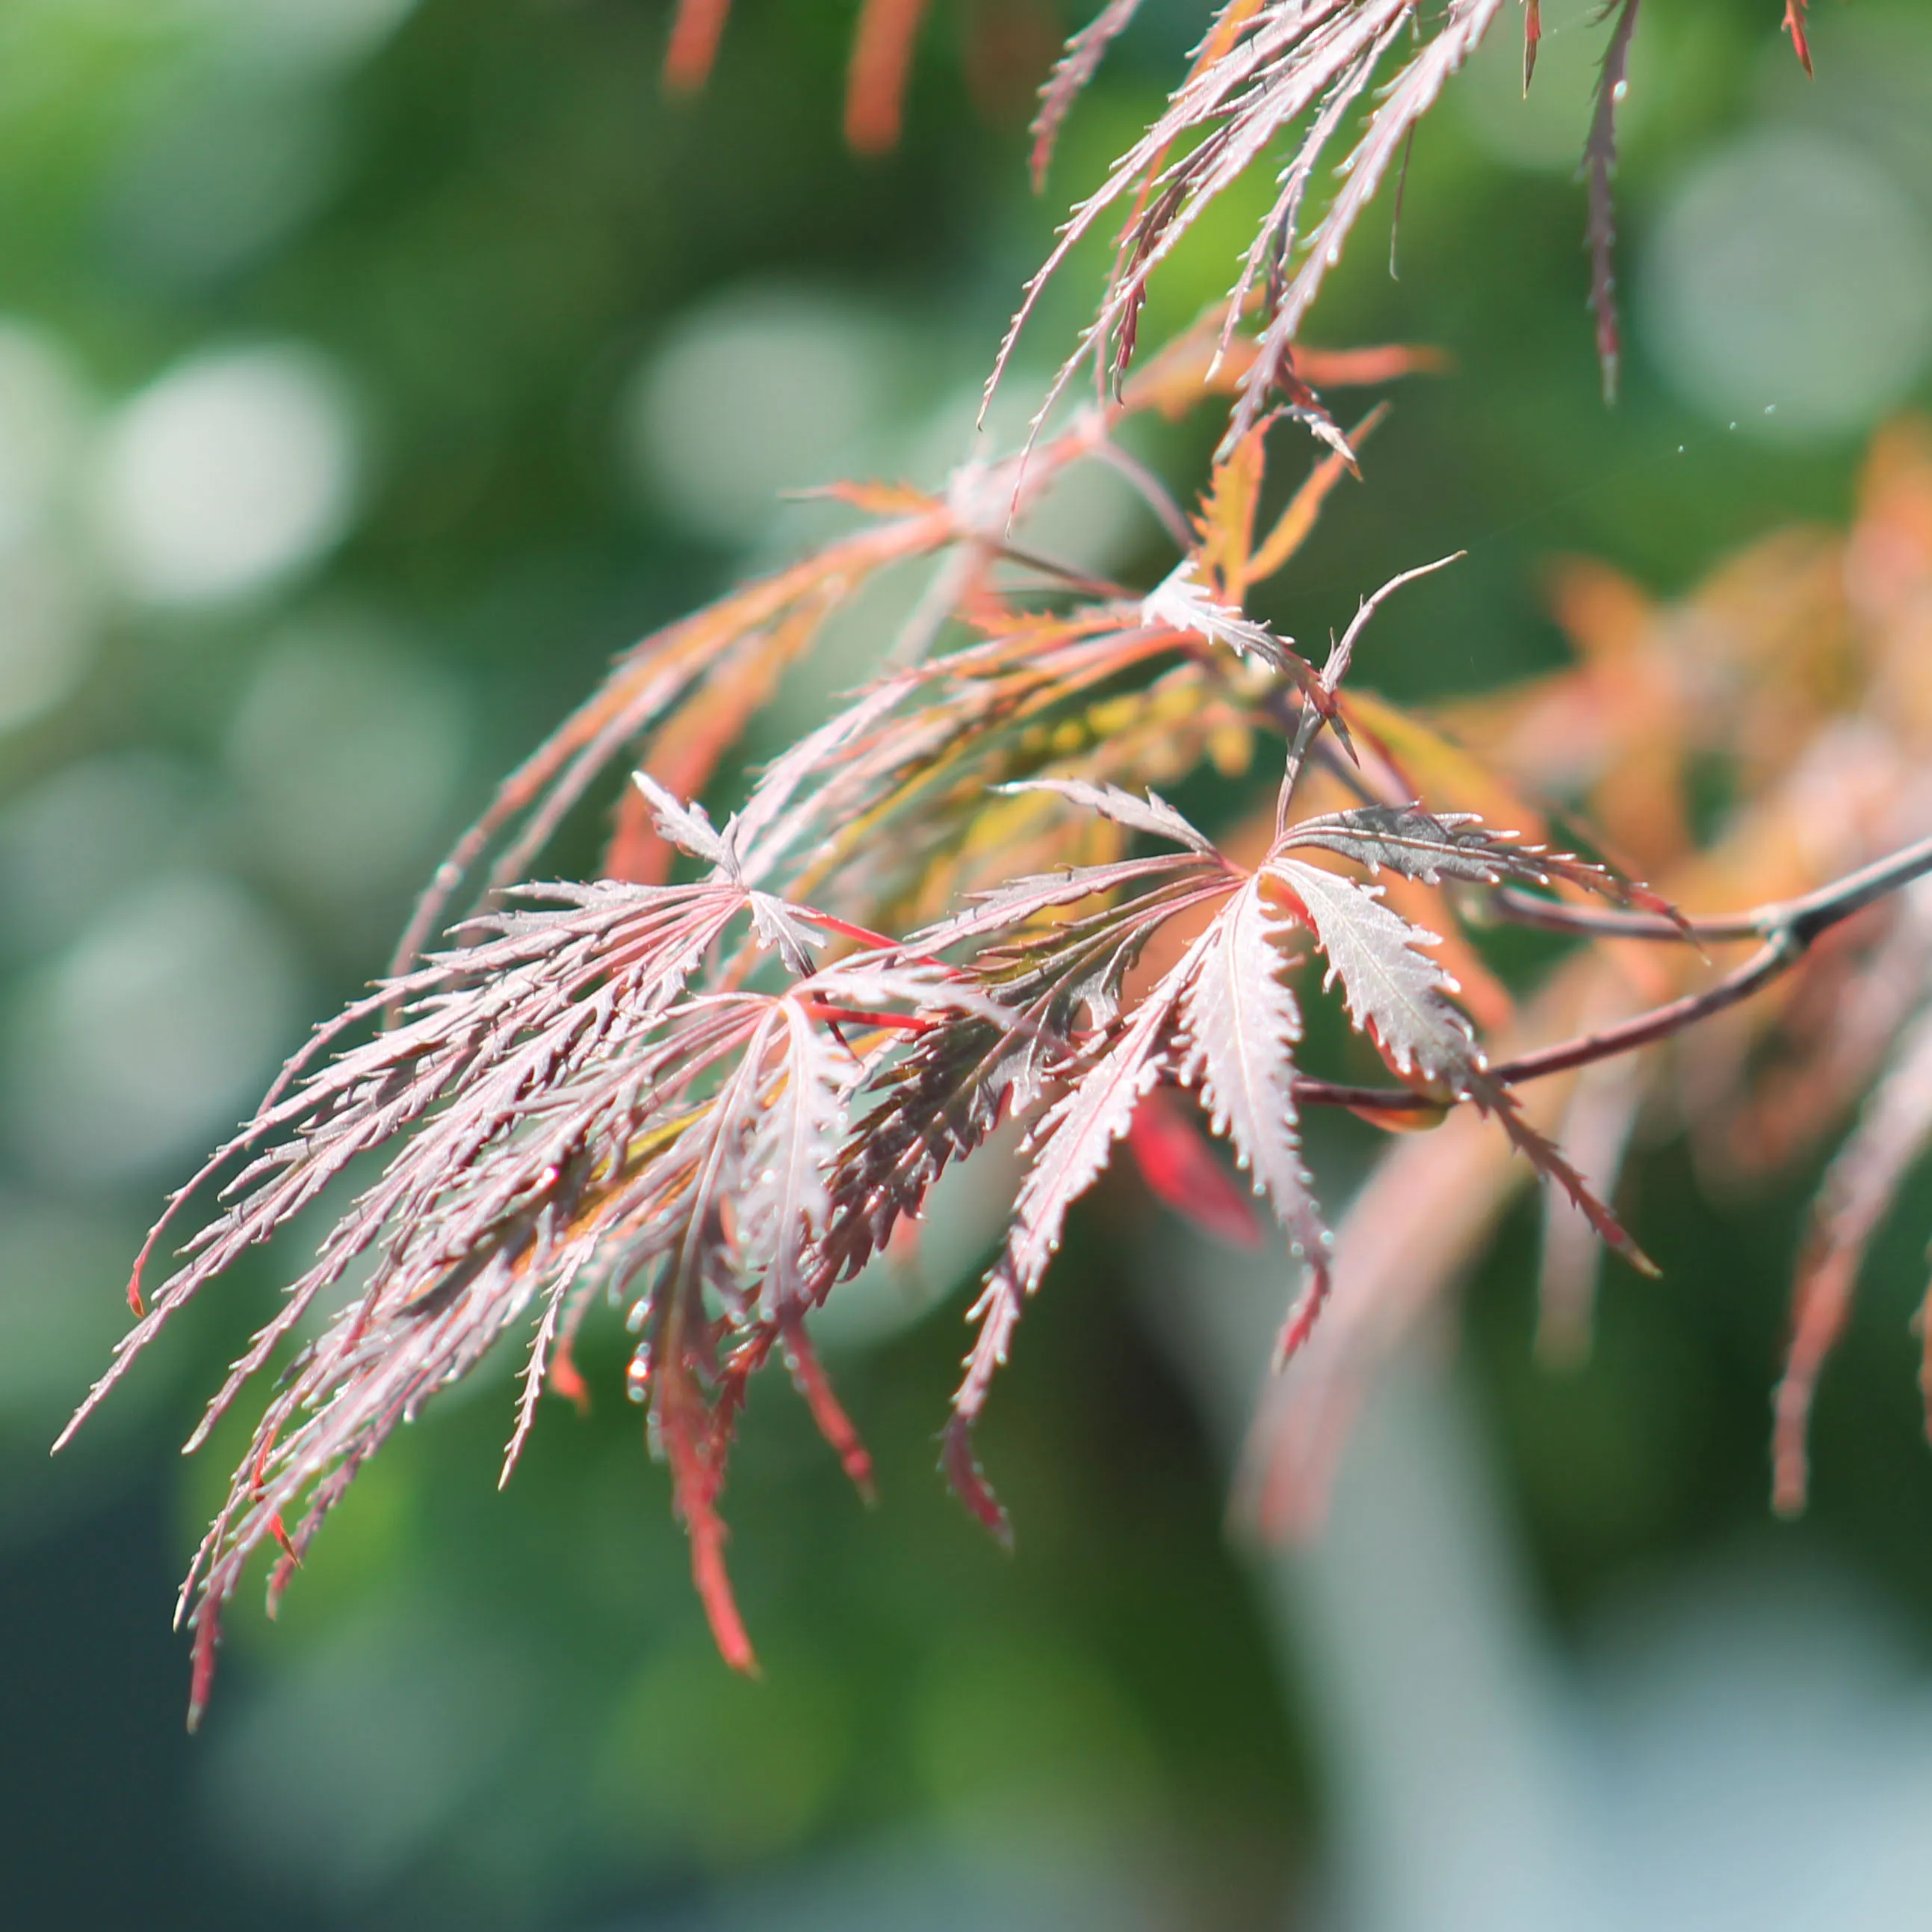
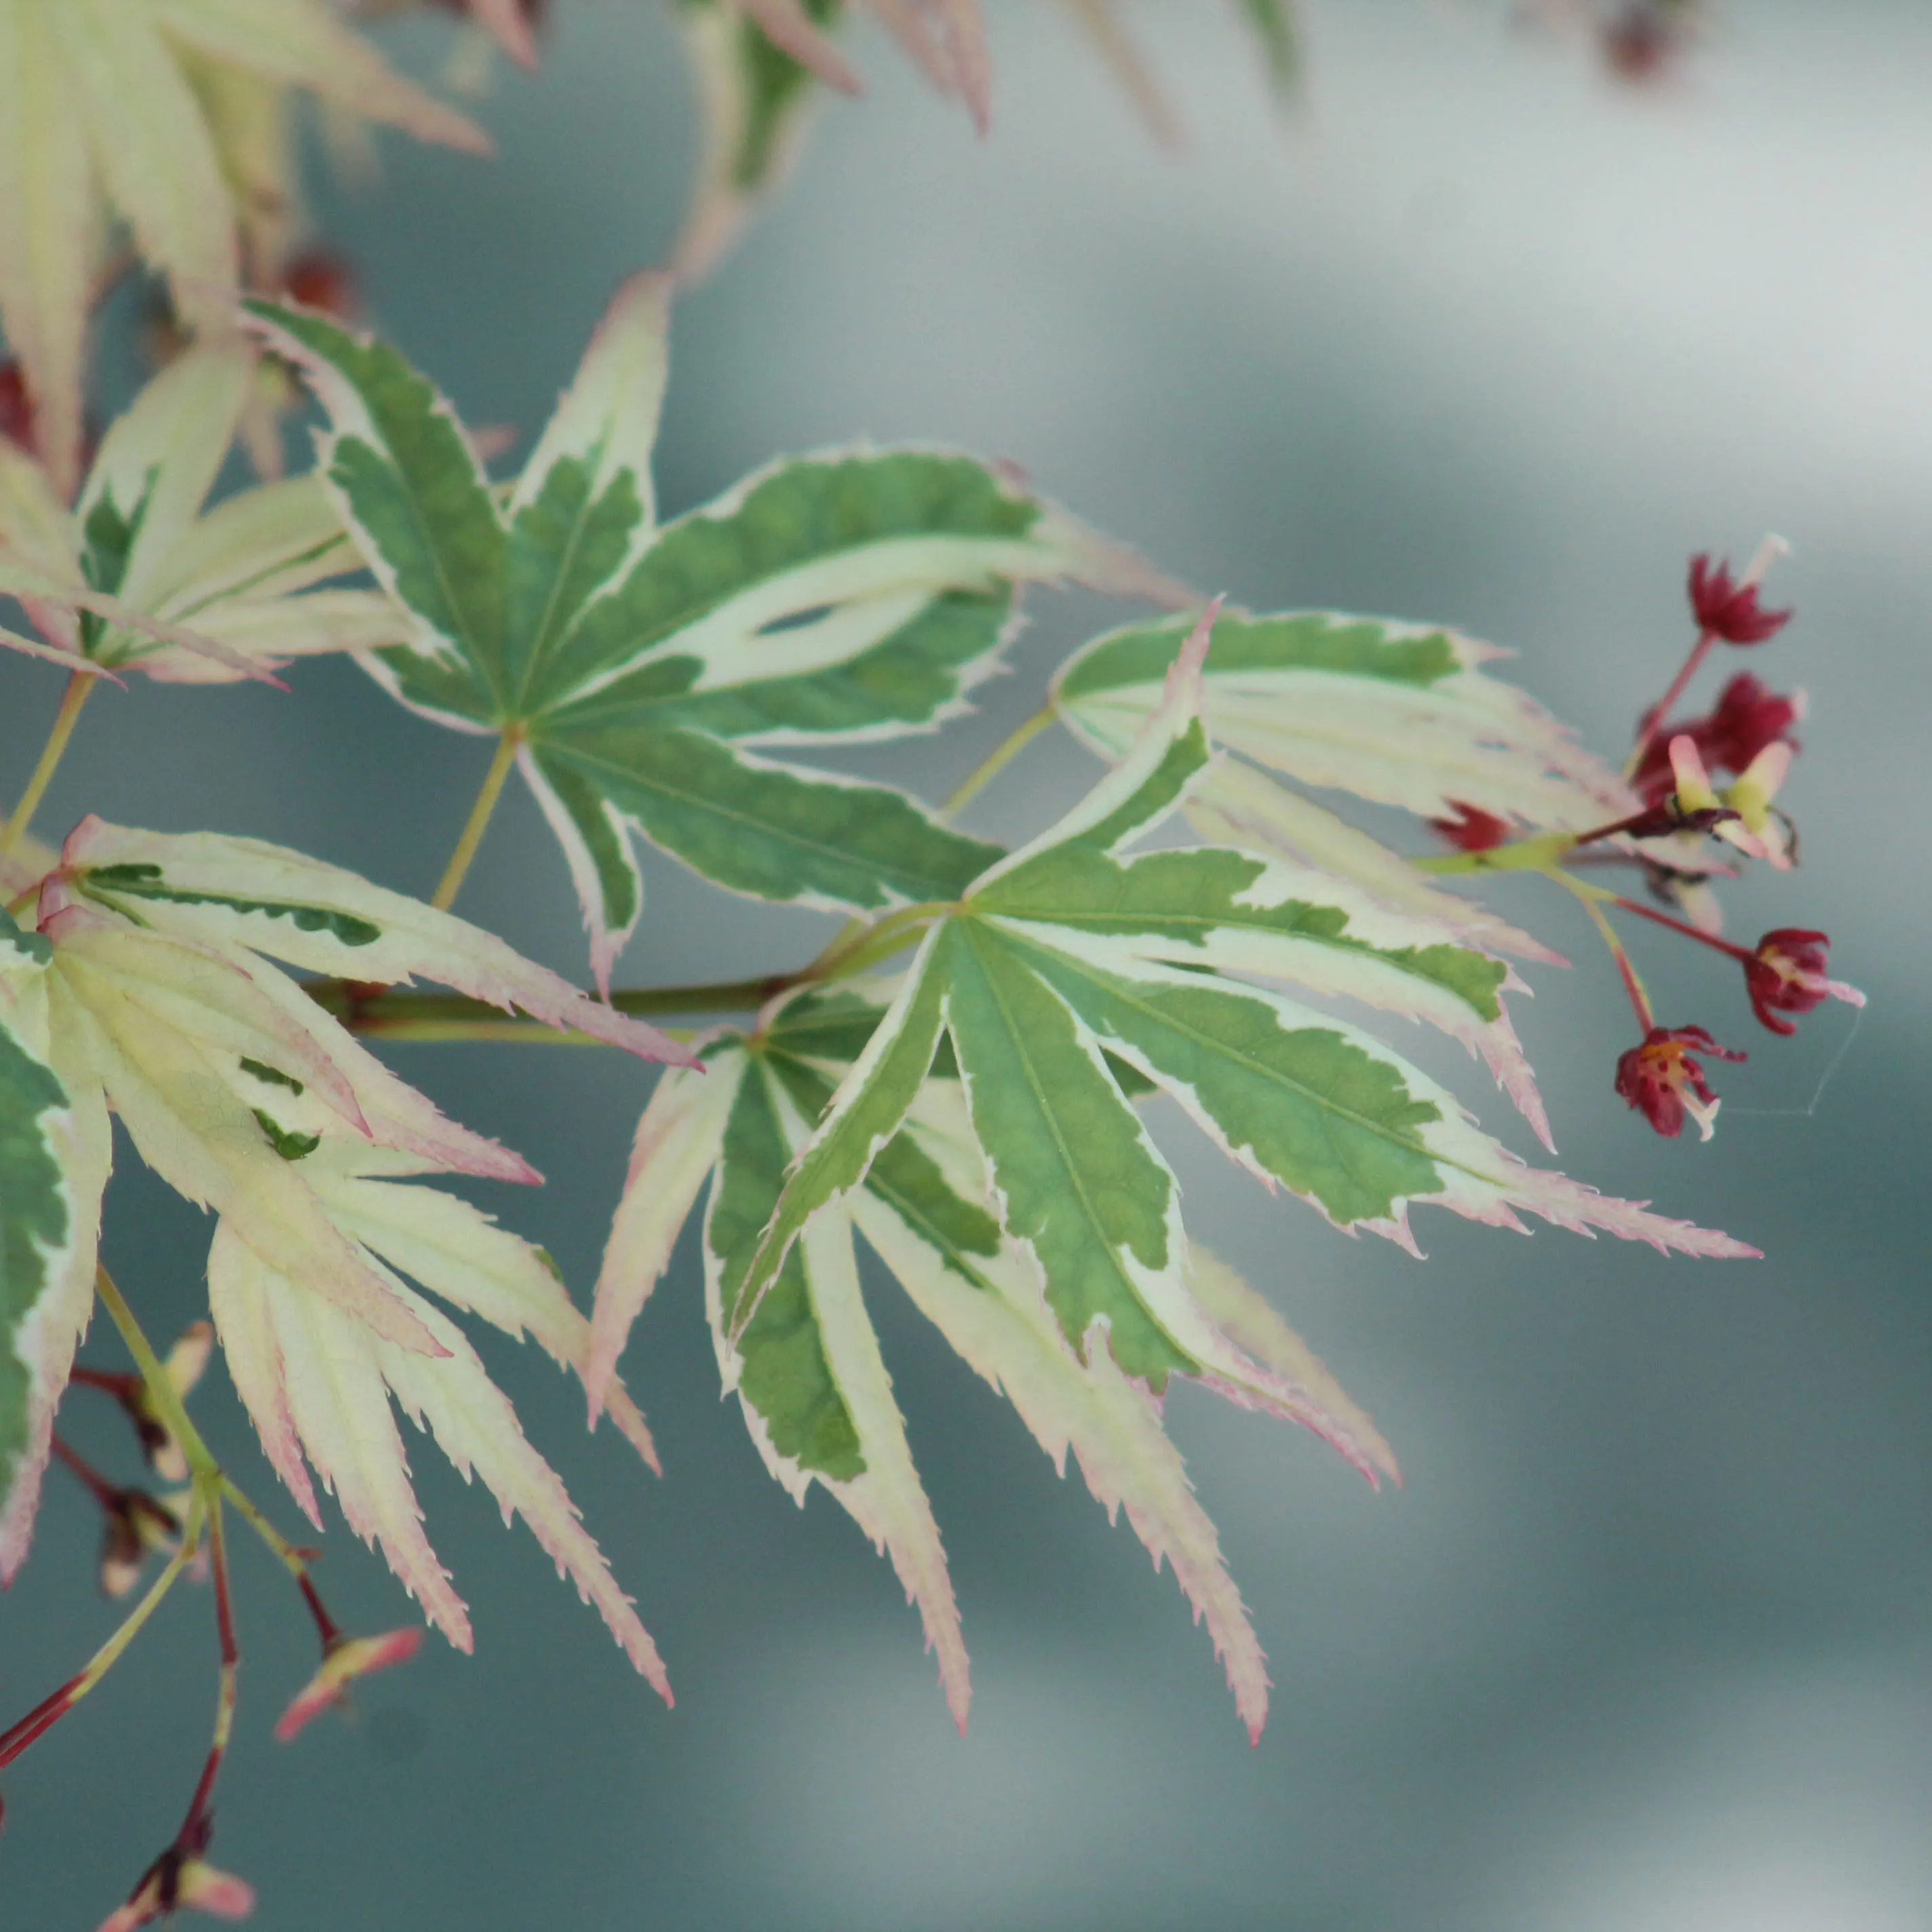
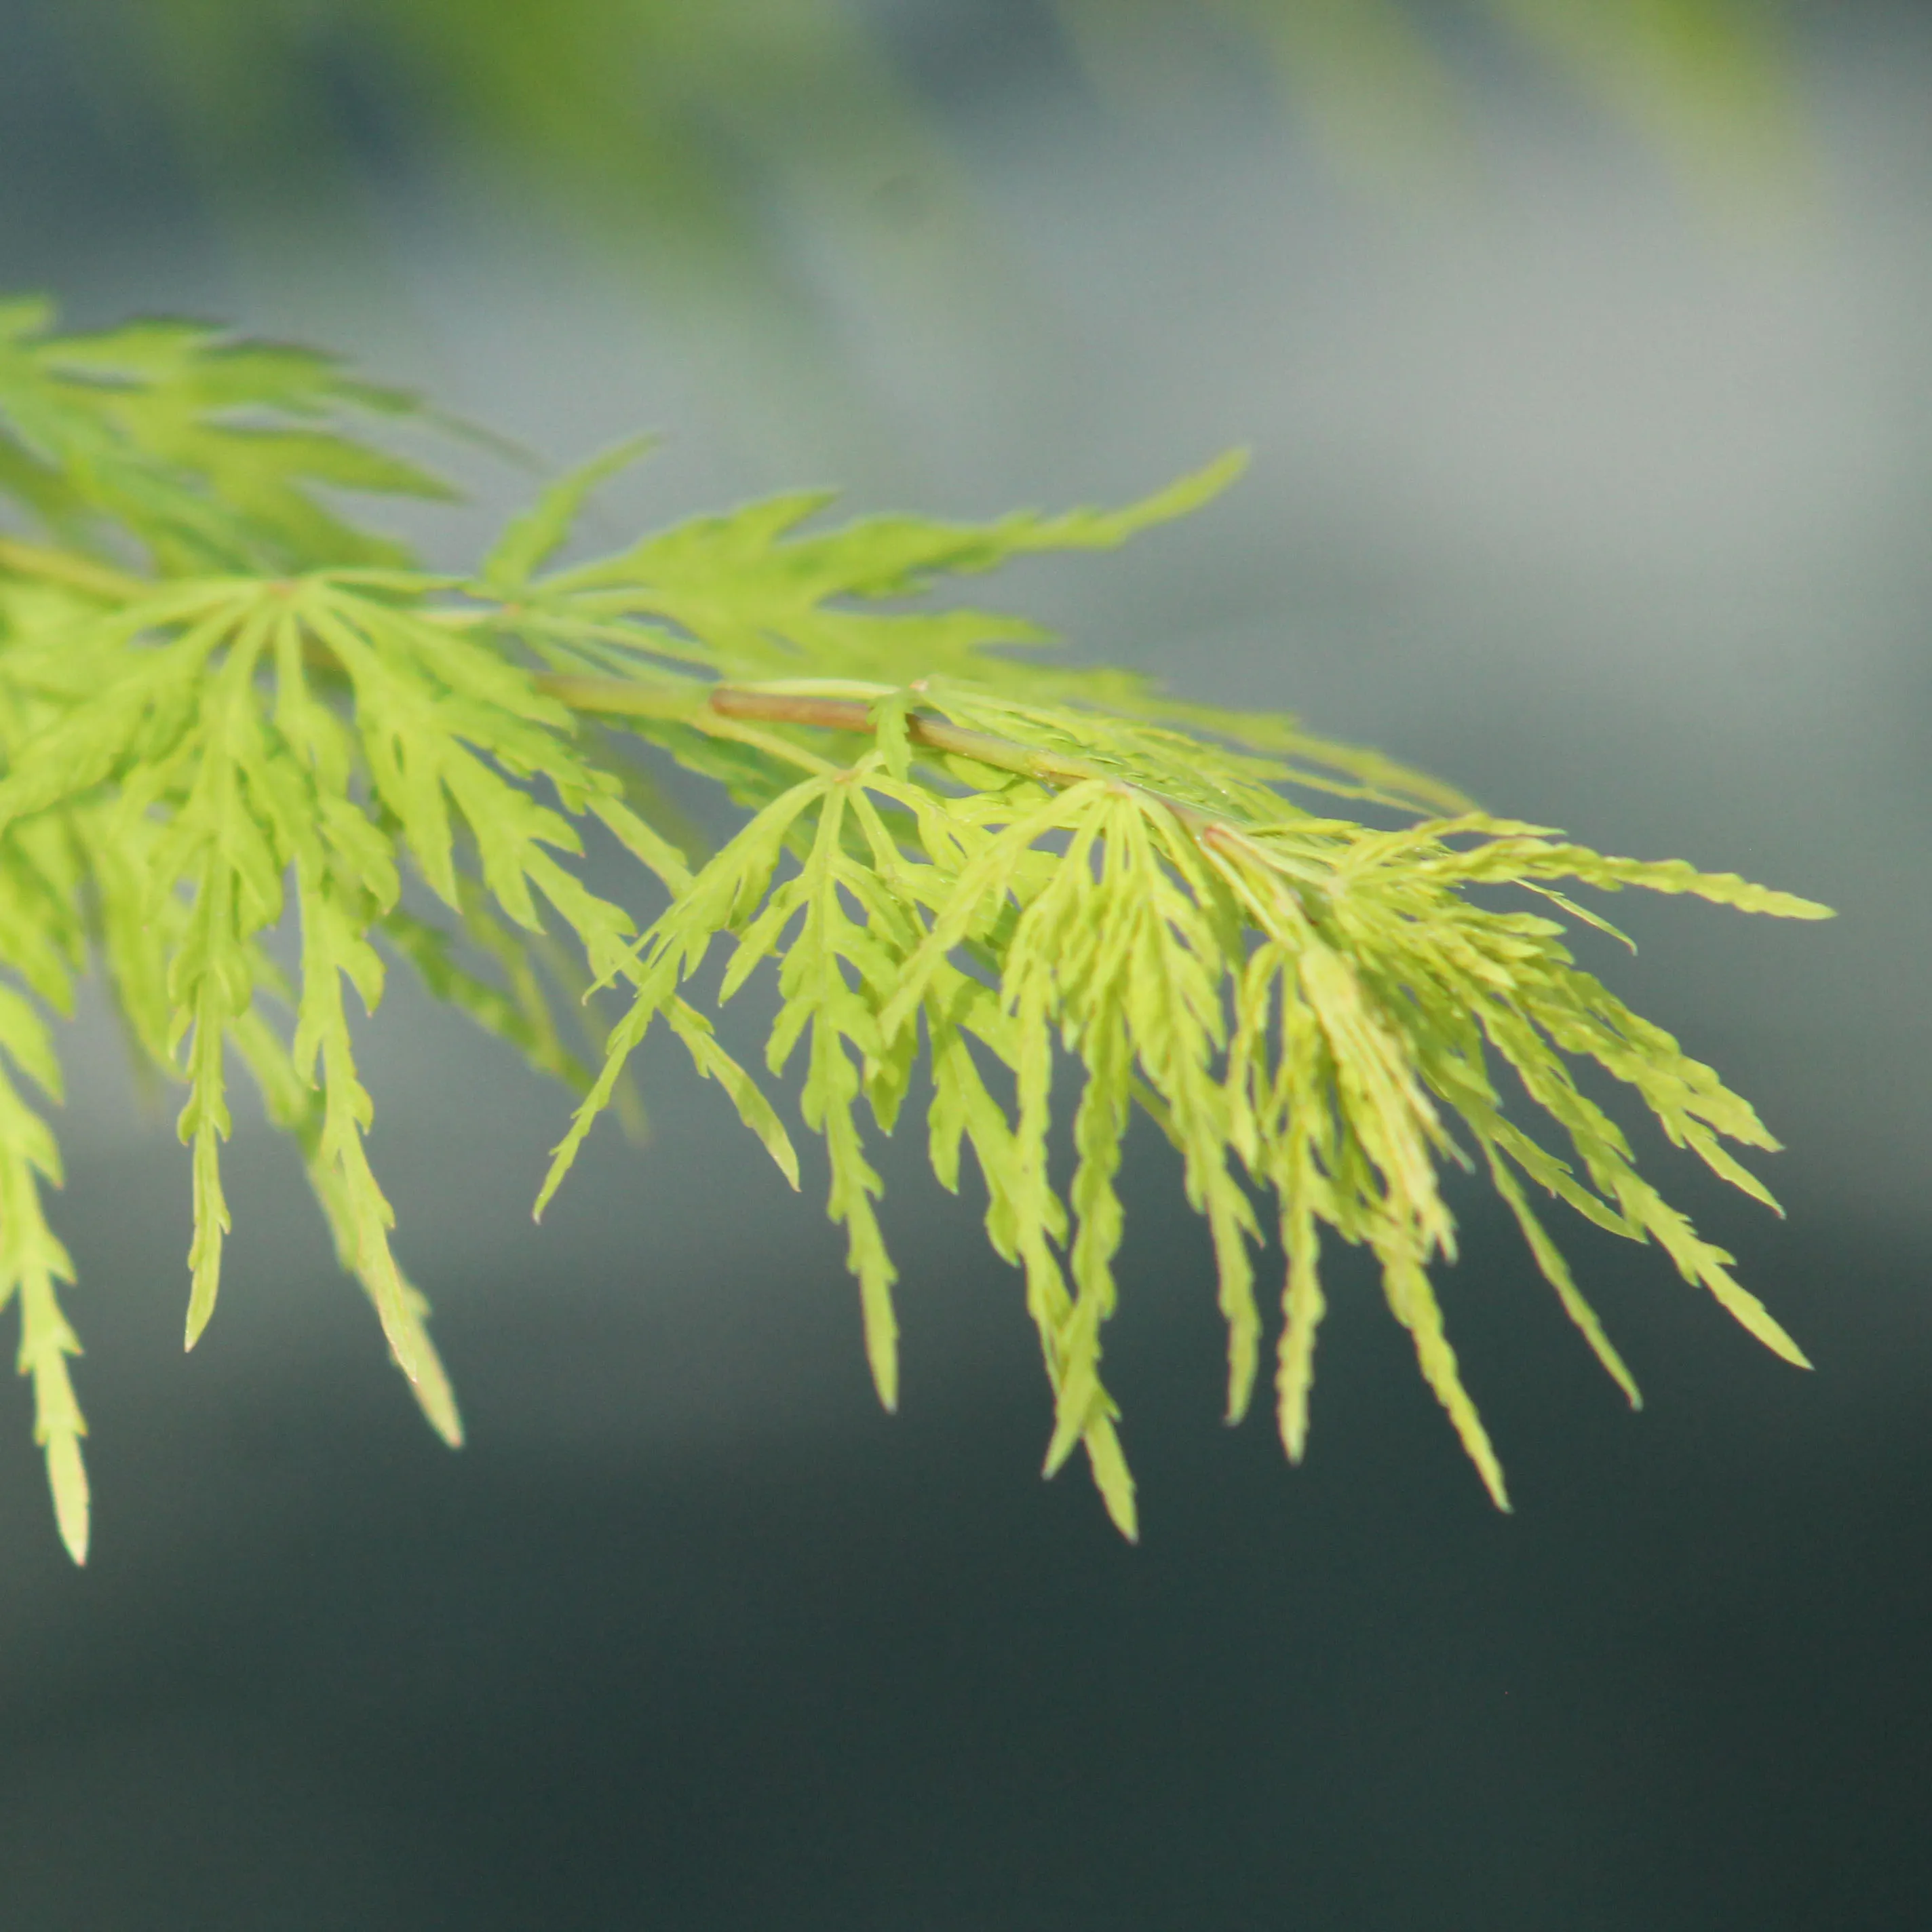
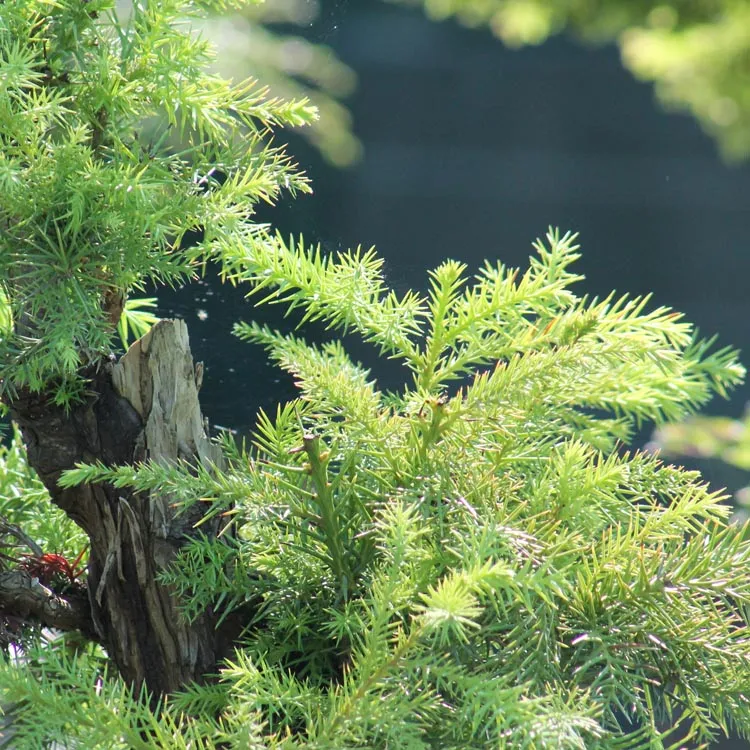
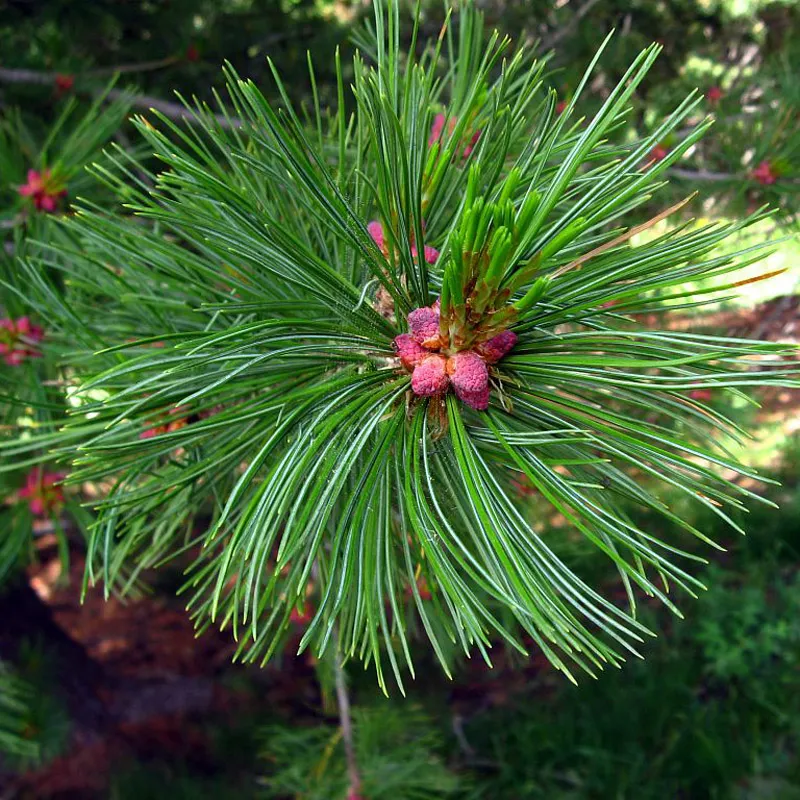
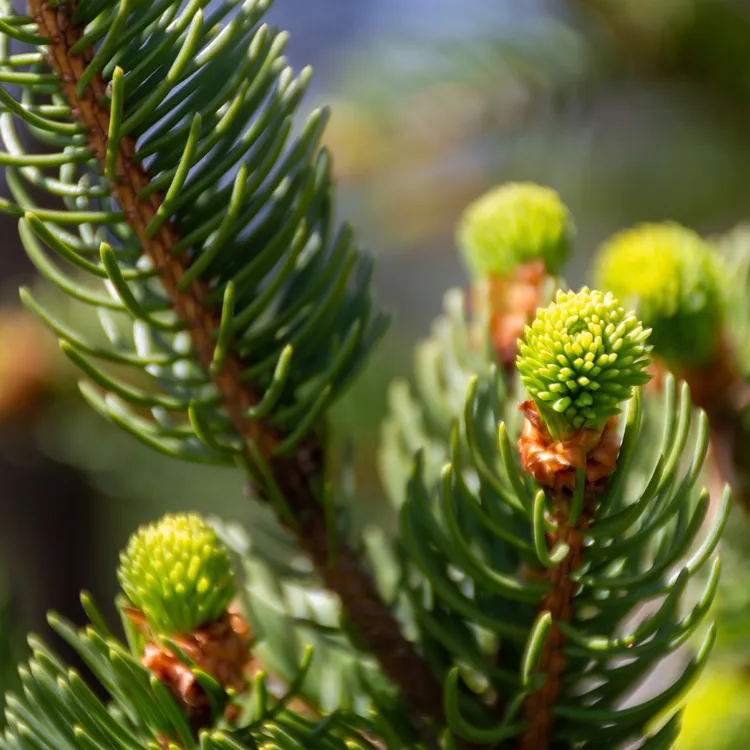
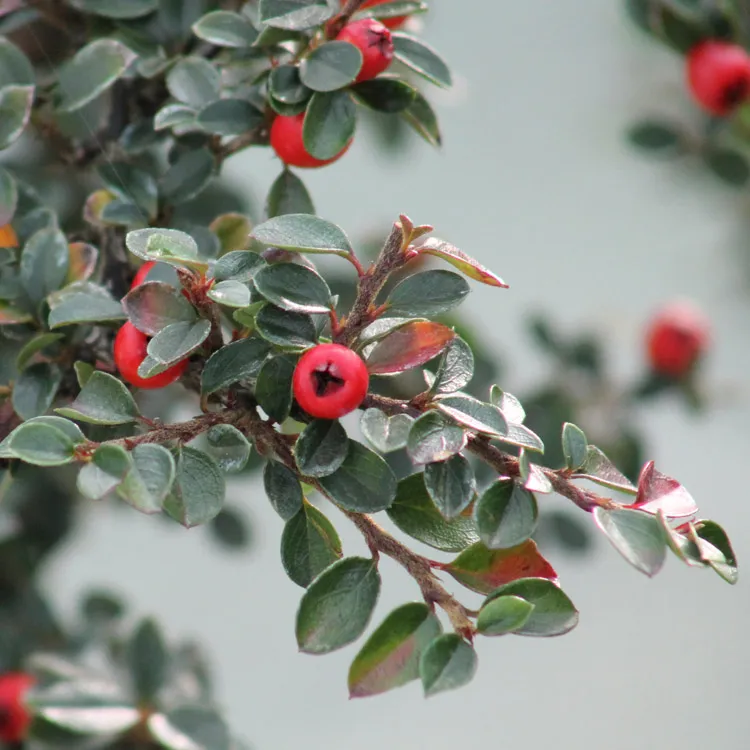
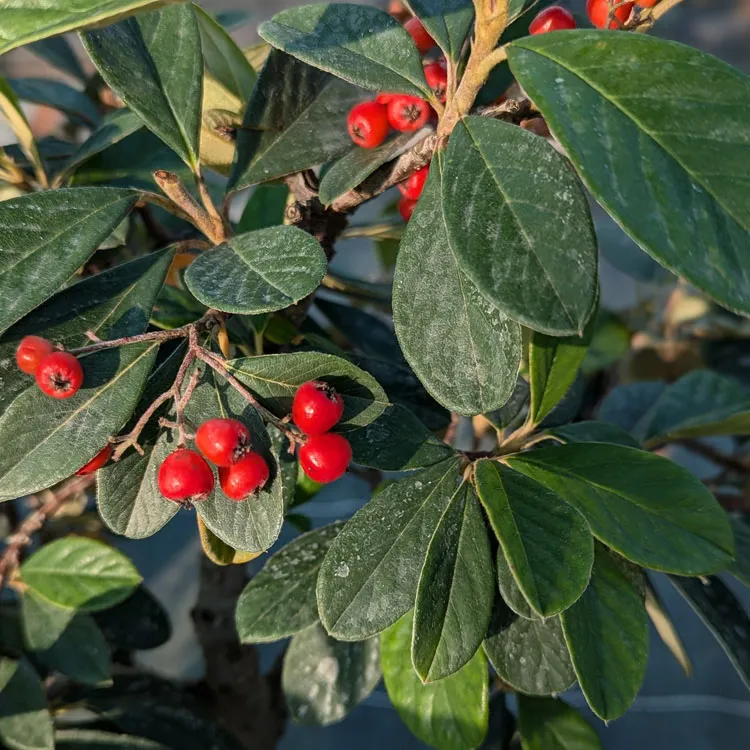
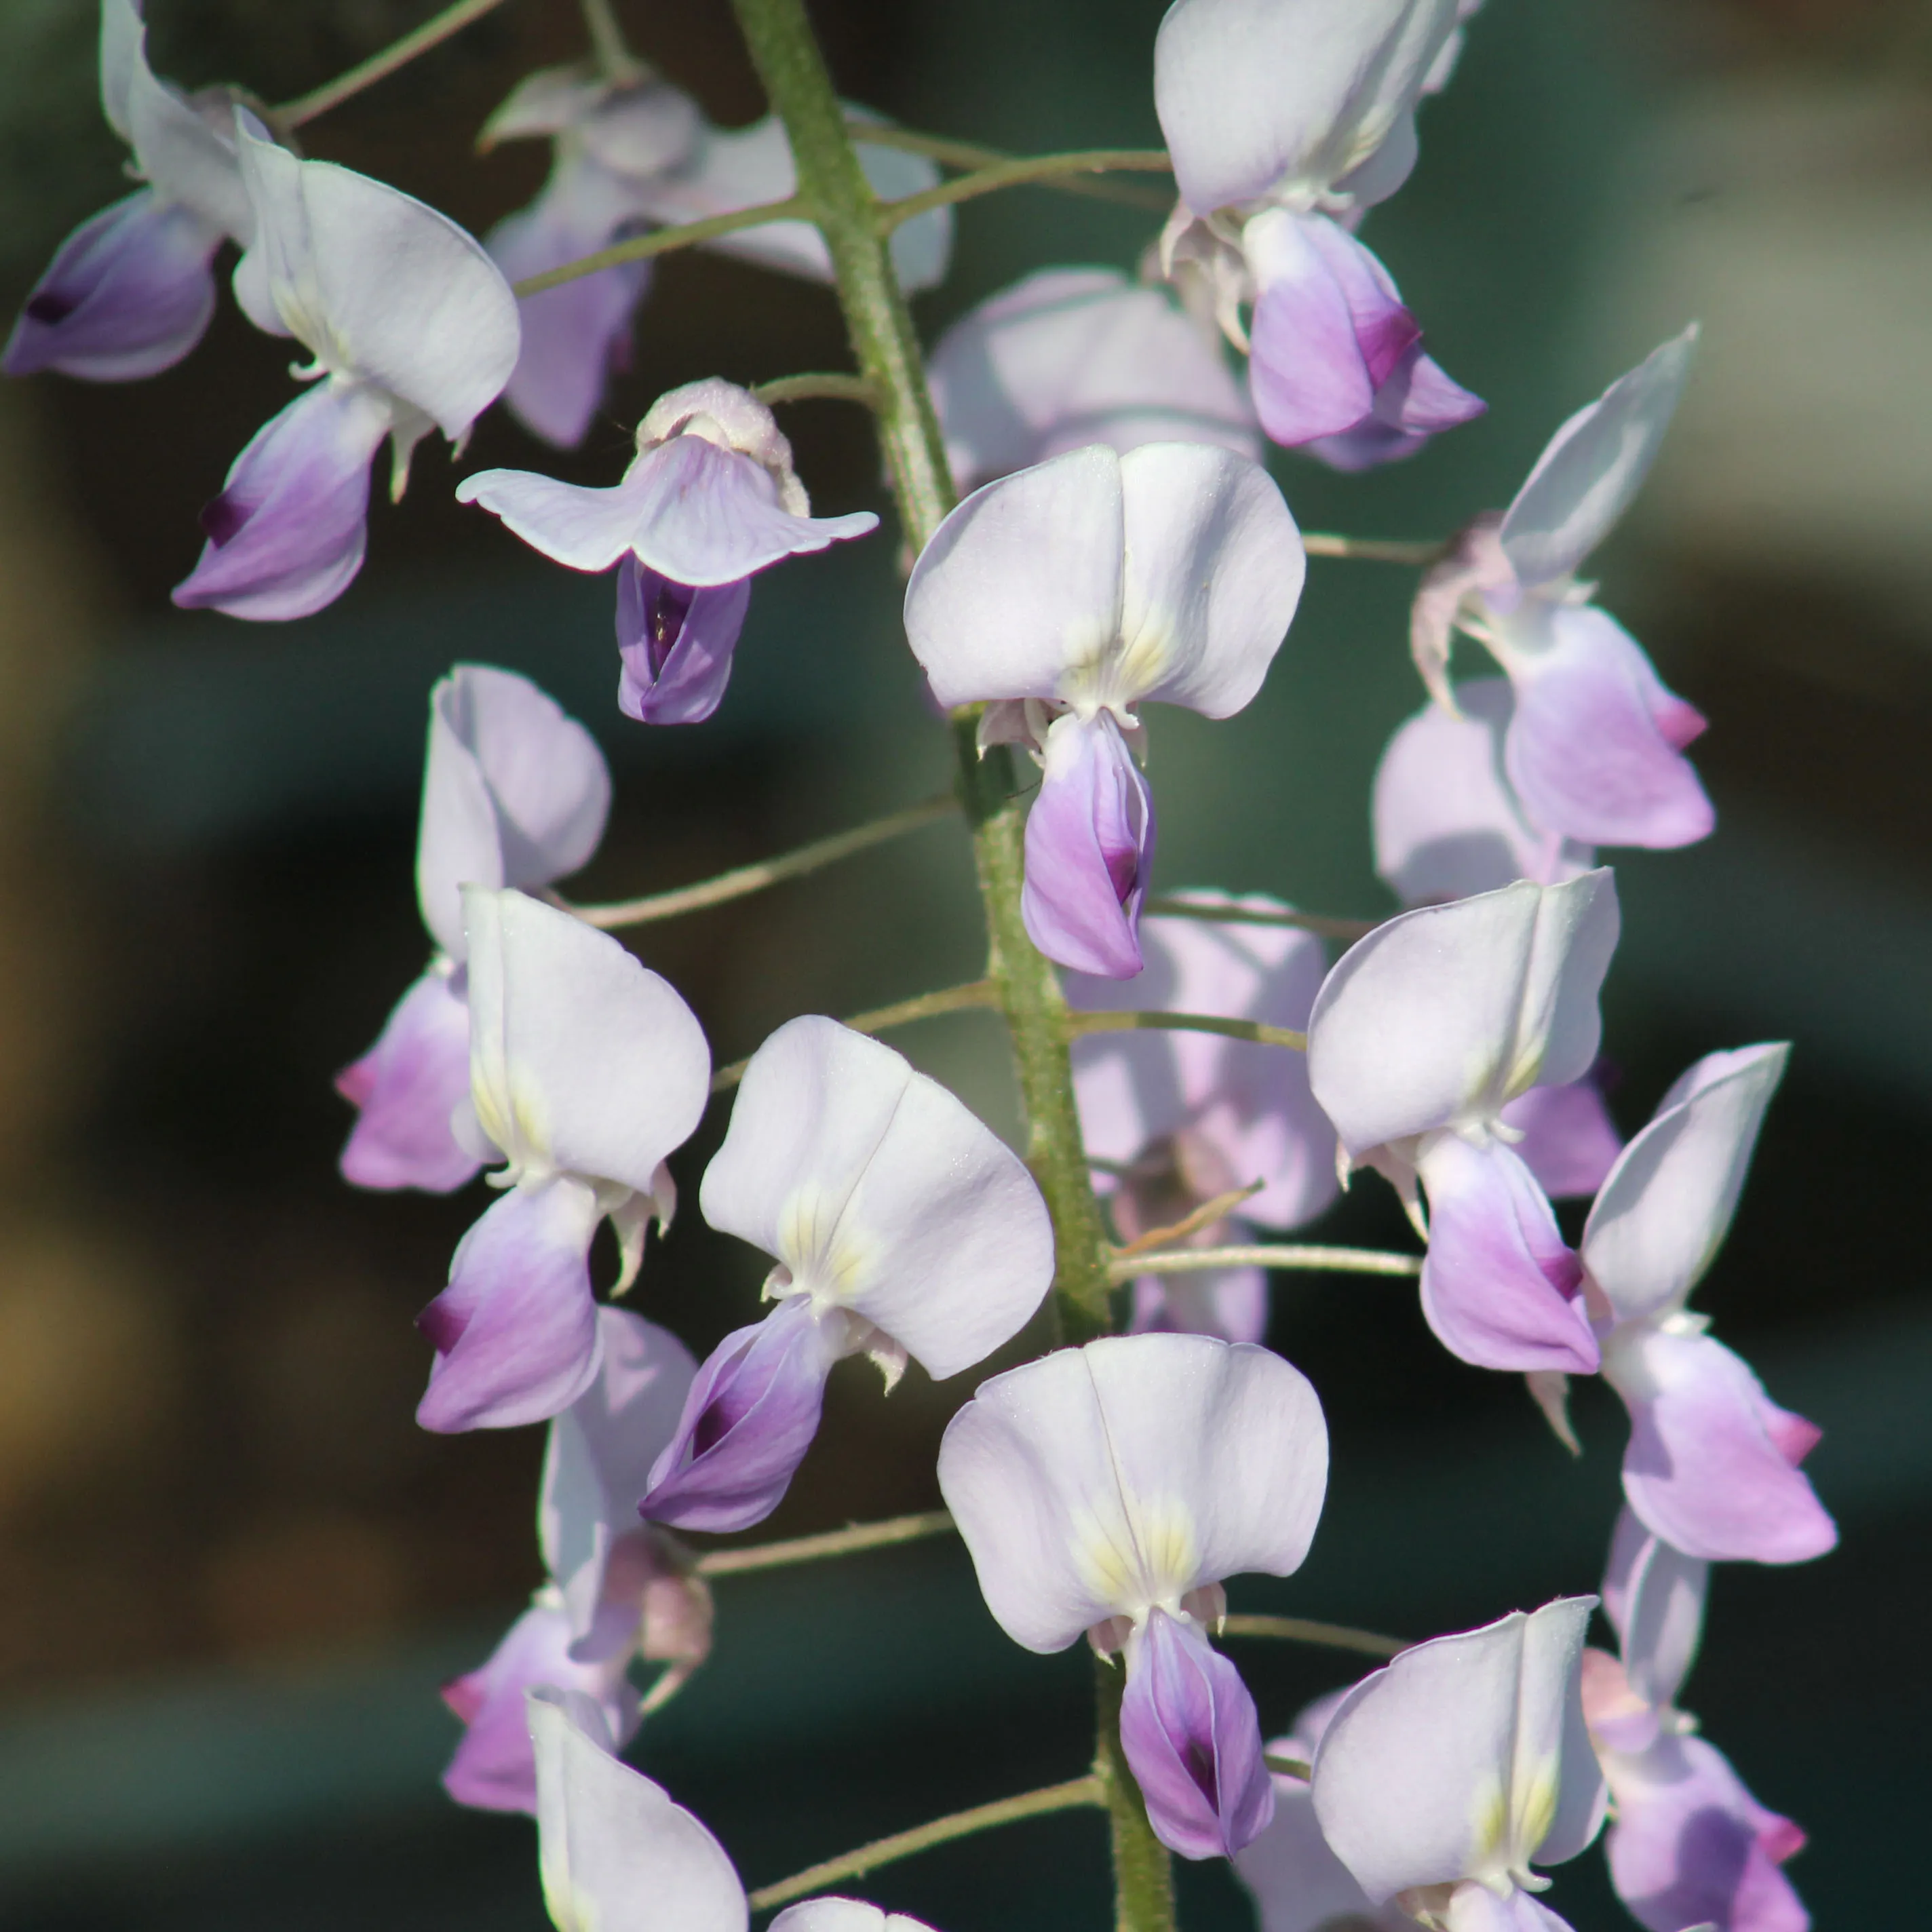
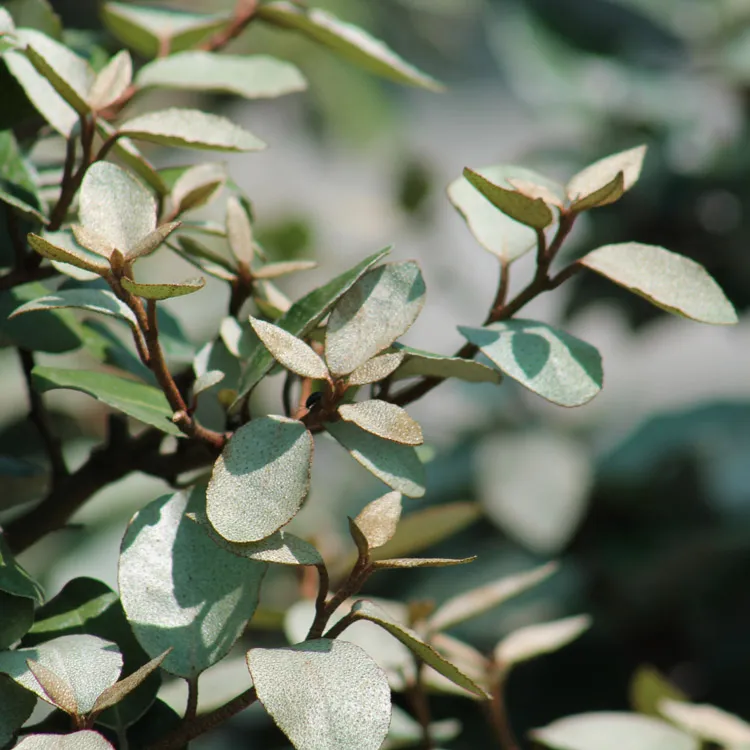
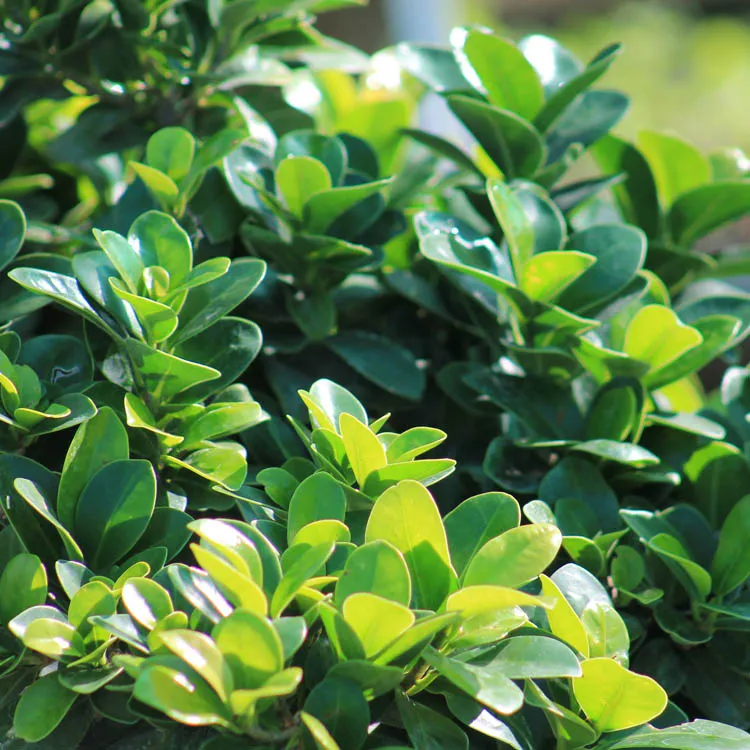
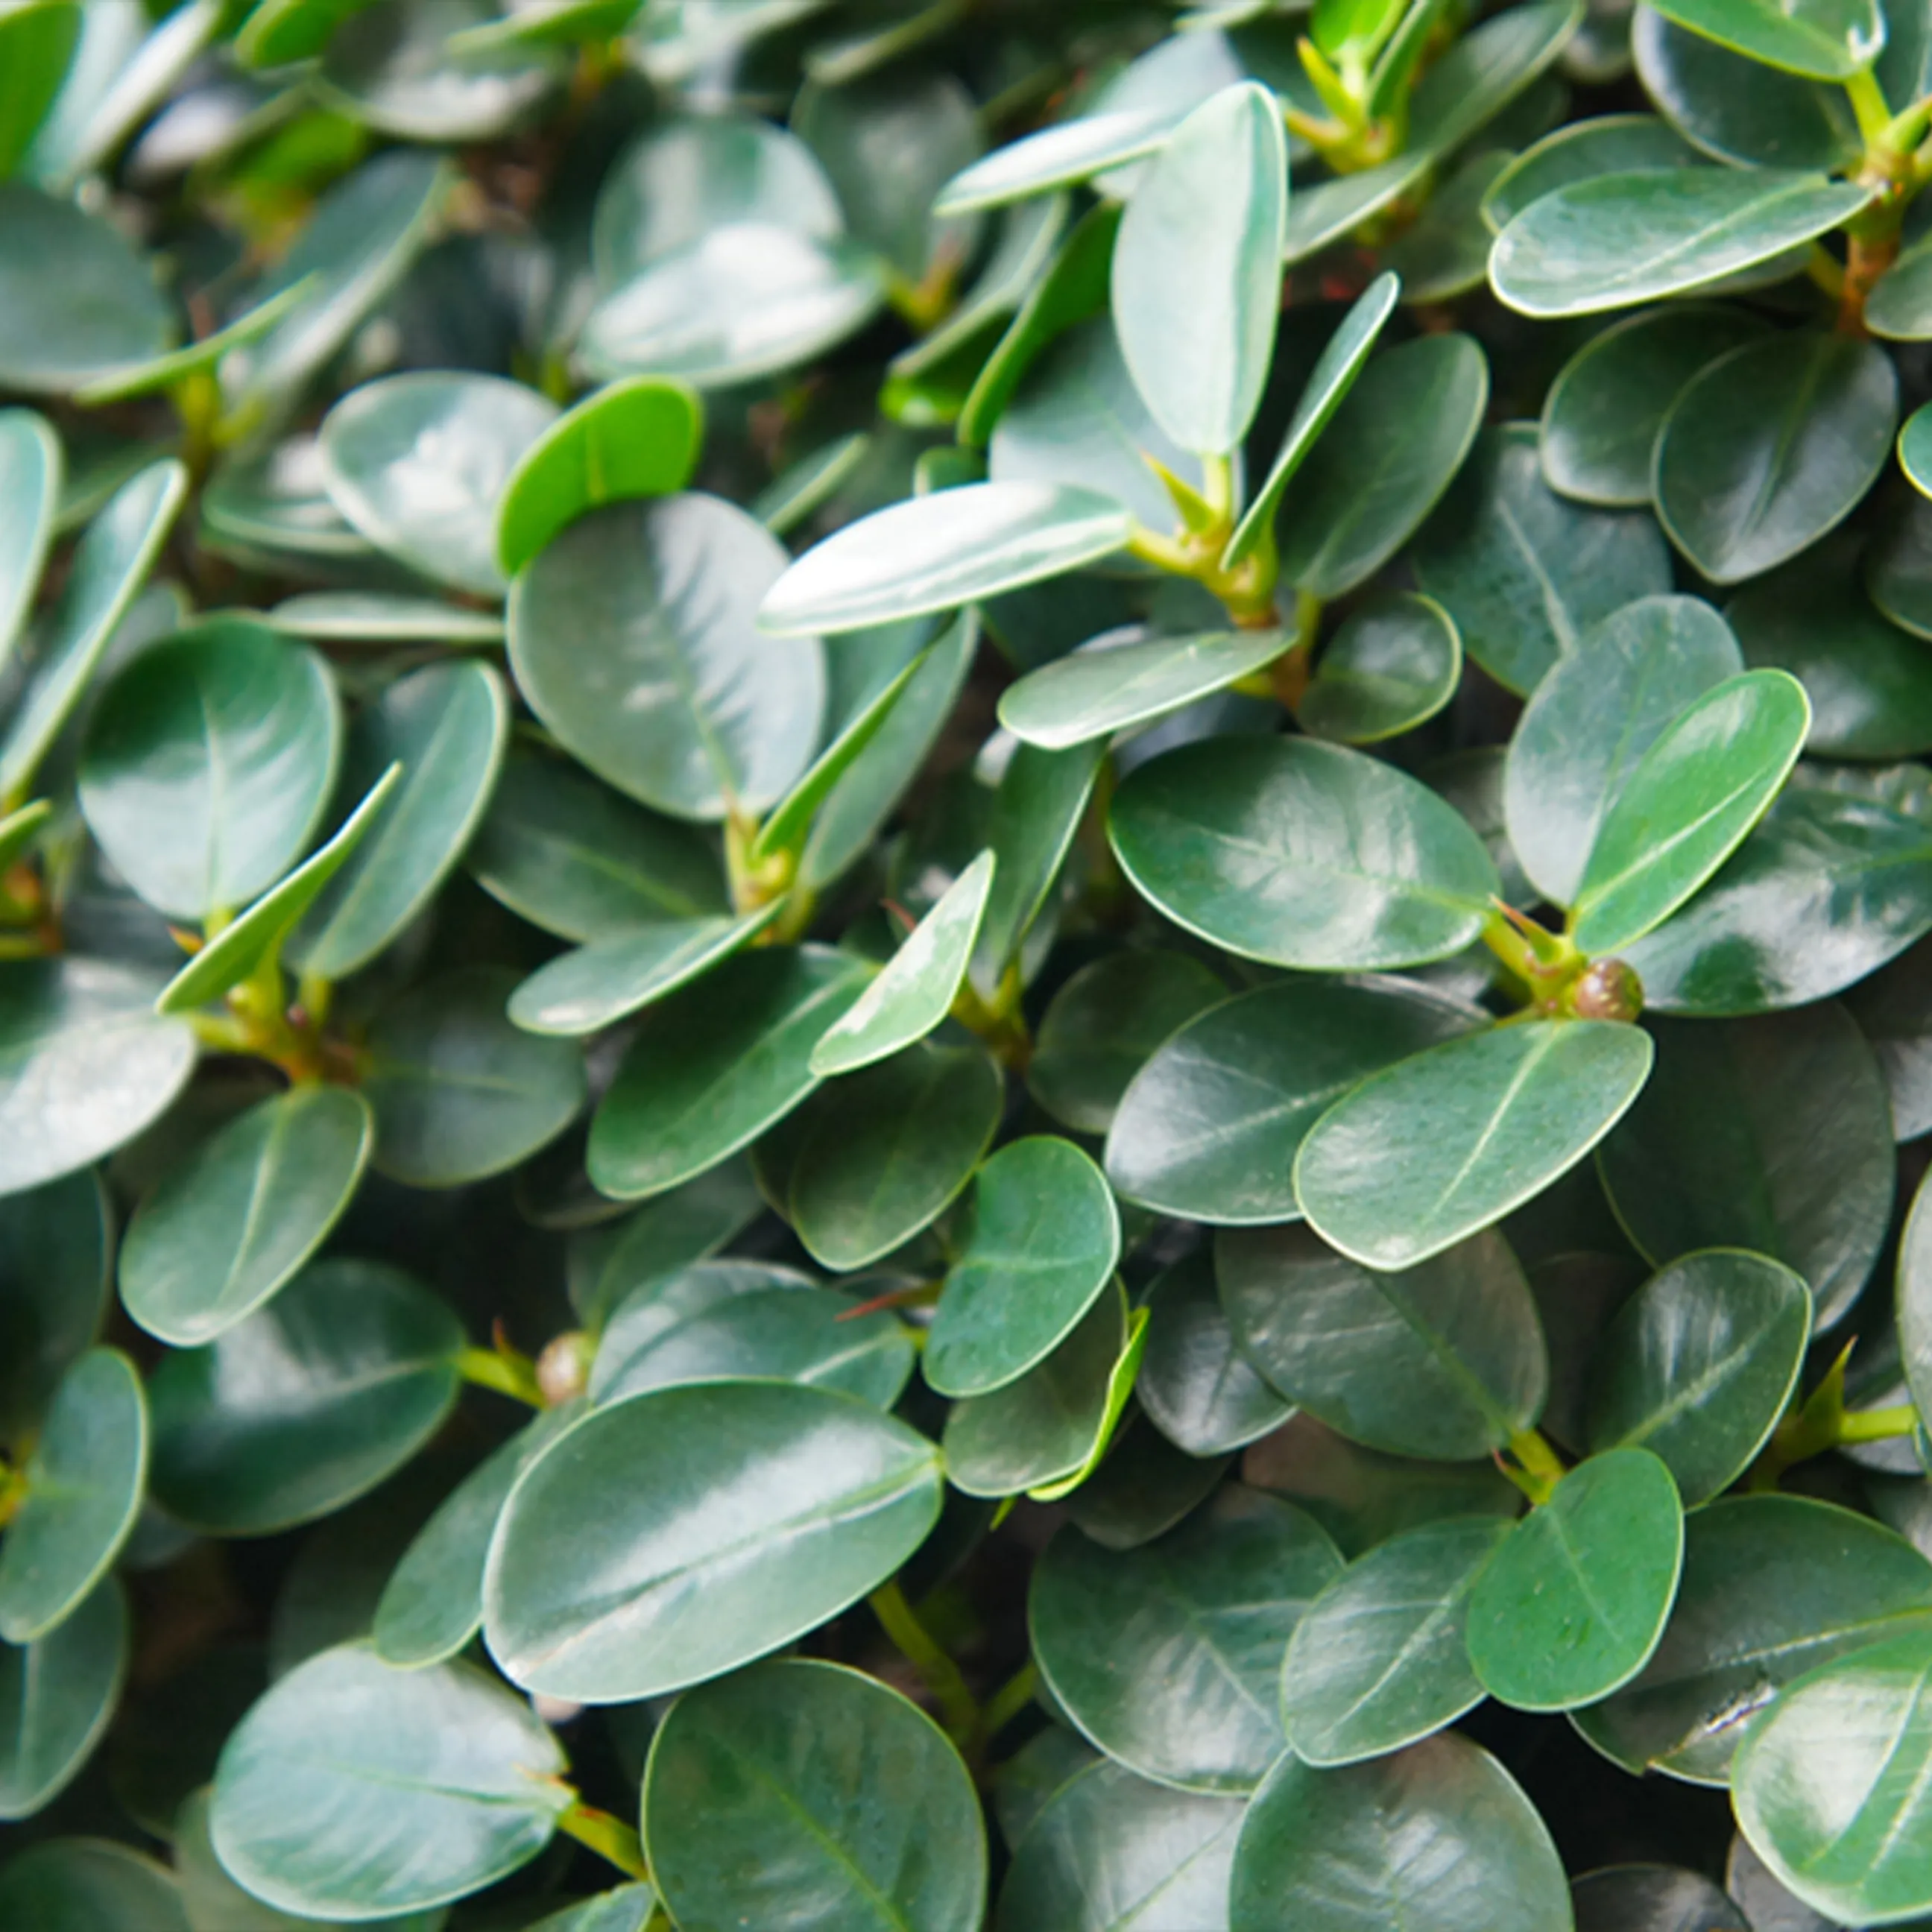
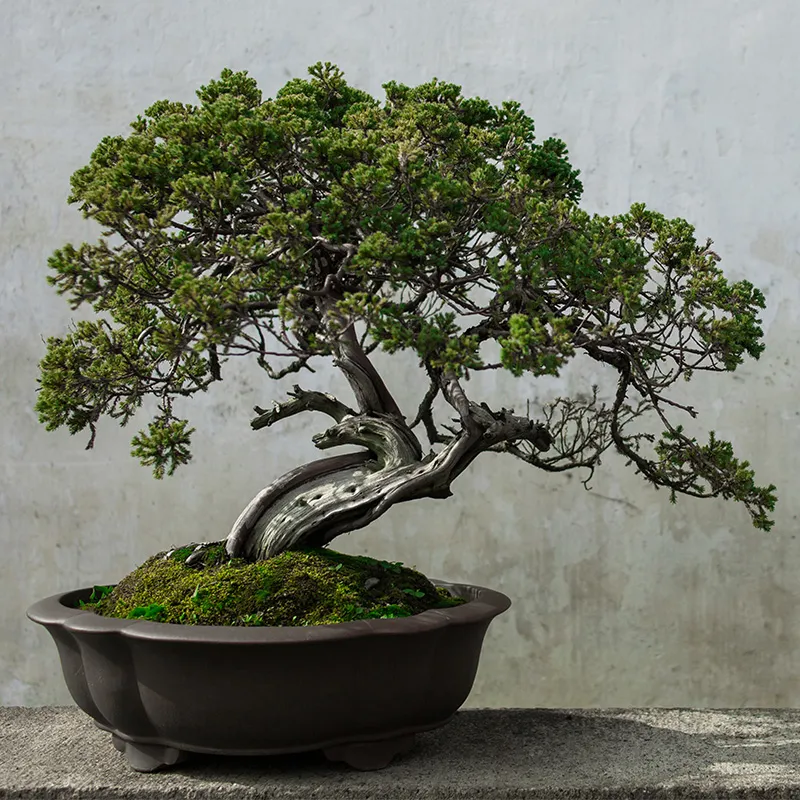
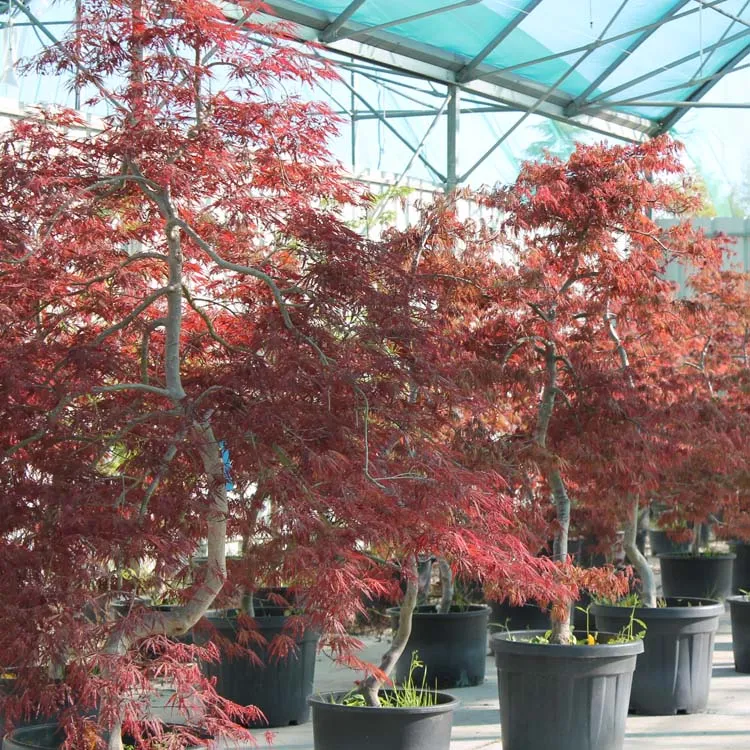
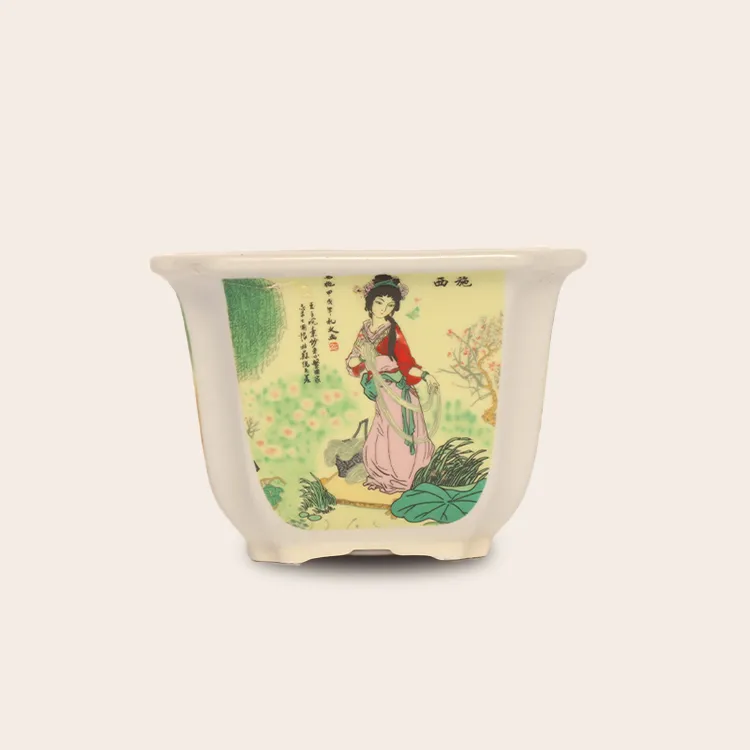
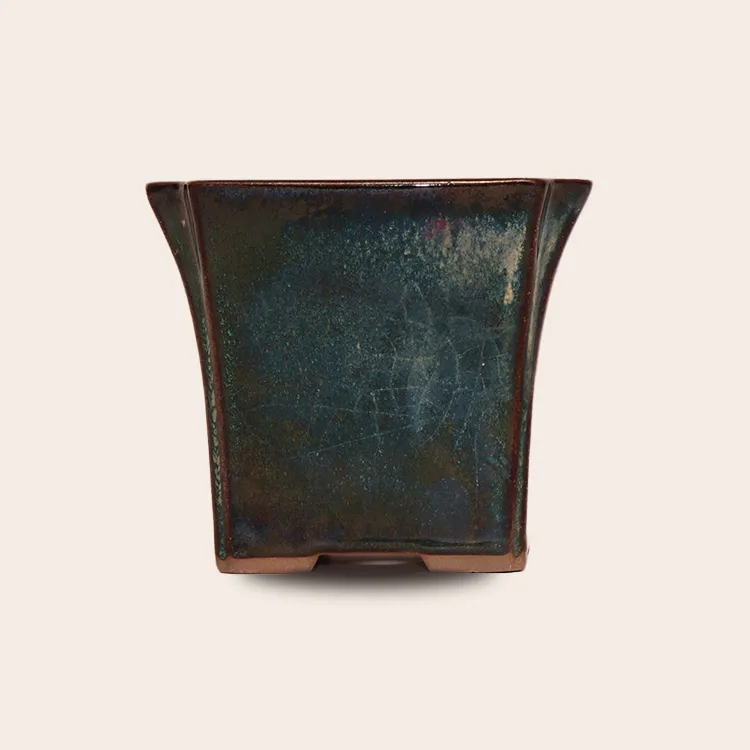
Production of French Bonsai


Why repot a bonsai?
For it is a living being, which grows and develops. Even though the roots are limited by the space of the pottery, they continue to grow. After a few years, the pot will be completely full, and that's when it's time to repot.
A plant creates roots for two reasons:
- Draw water and nutrients from the soil;
- Anchor yourself in the ground and don't fall at the first gust of wind.
The first function is carried out by small roots called rootlets. Gradually, they will lengthen, harden and turn into wood to ensure anchoring in the ground.
When we grow a bonsai, we need the rootlets, but not those long, big roots that are used to hold the tree in the ground. To put it simply, repotting consists of cutting off the large roots and keeping the small ones that are close to the trunk. Over time, on a mature bonsai, there are almost no large roots but only a "hair" composed of fine roots and rootlets.
That's why a bonsai can survive in a small pot.
When should I repot my bonsai ?
The time to repot your bonsai depends on the variety and your geographical location. Repotting is a crucial and highly anticipated time for bonsaika. First of all, it allows you to renew the substrate and stimulate the vigour of the tree, but also to see your tree in a new pot, with a different inclination, a new face.
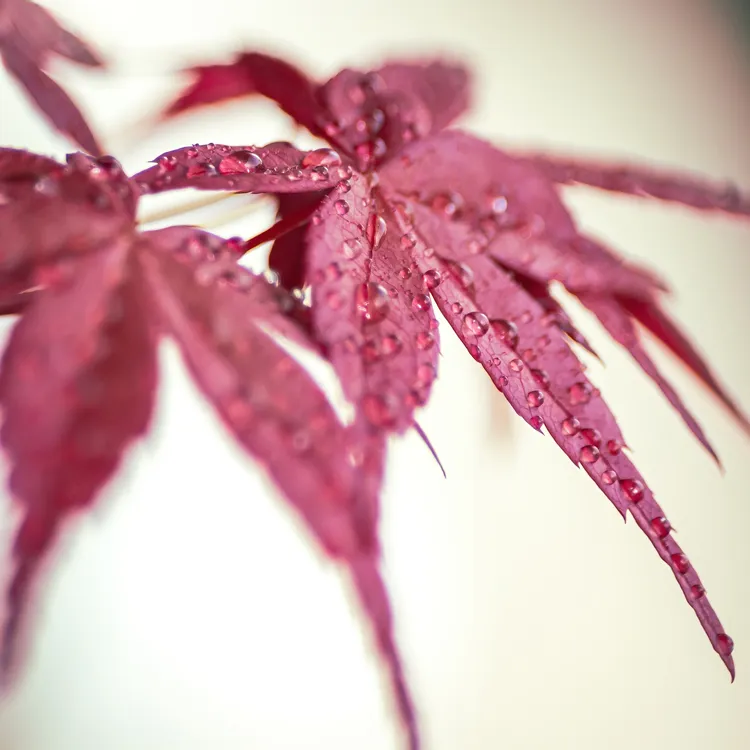
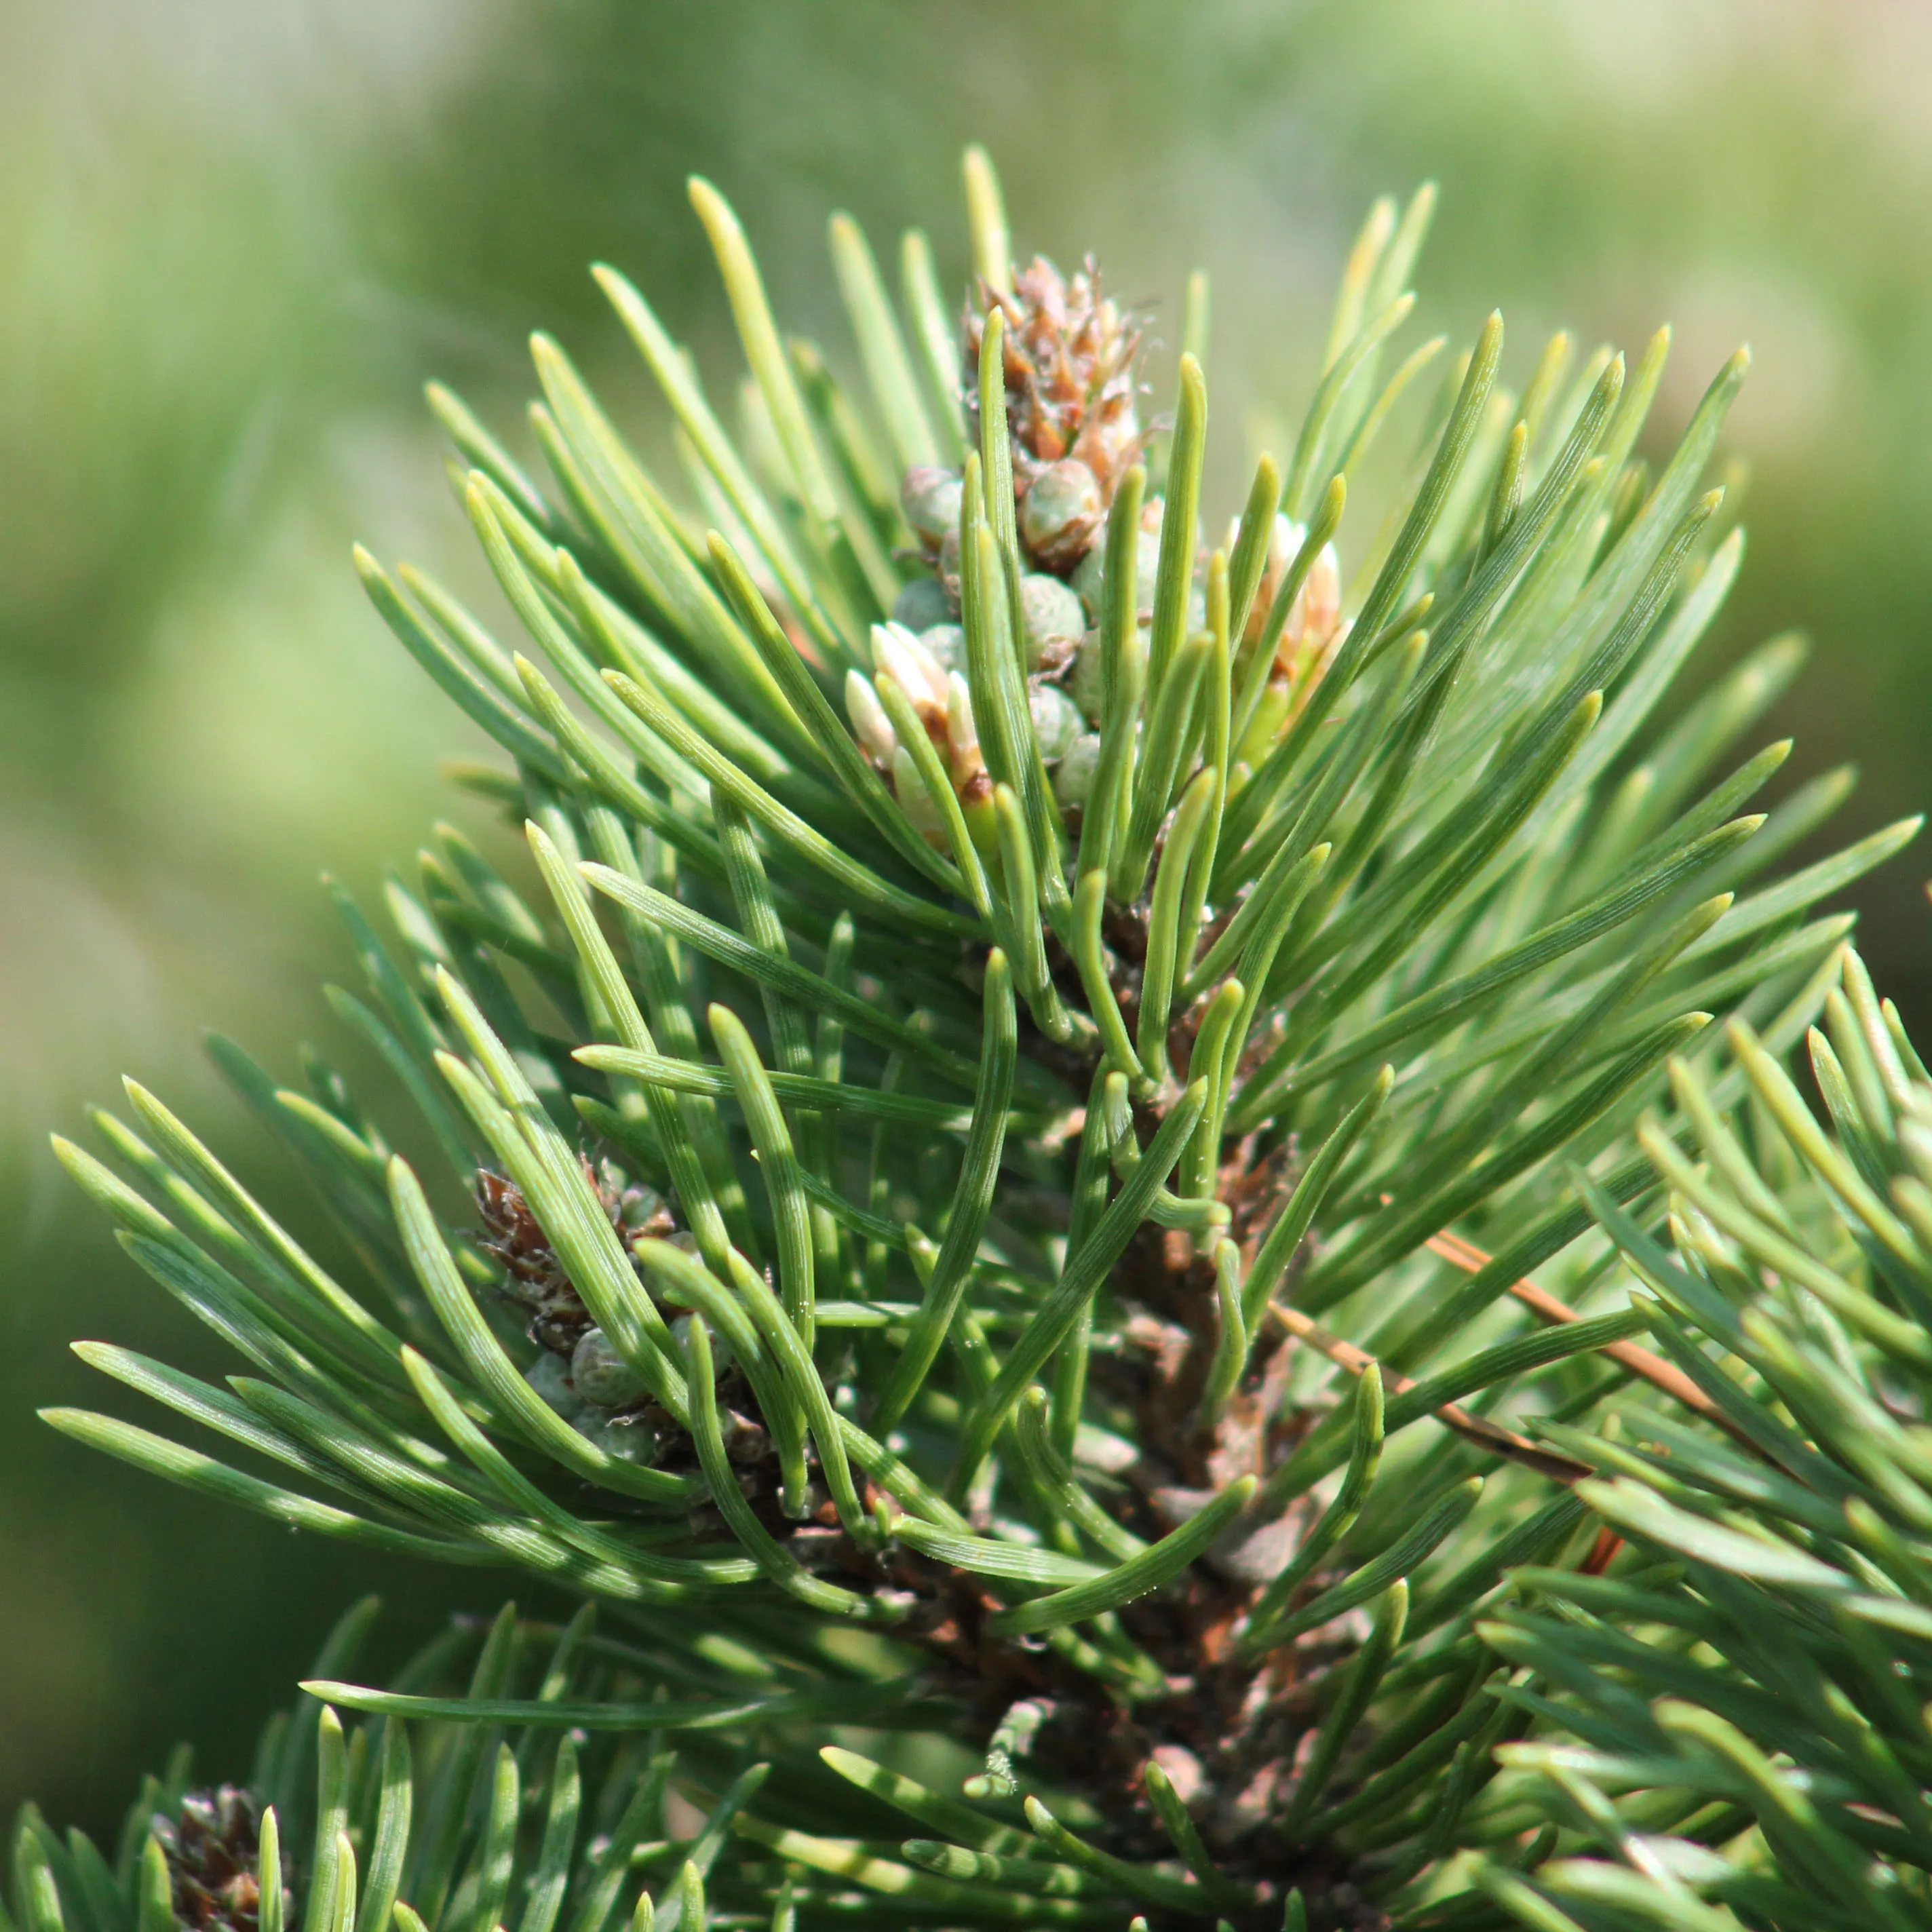
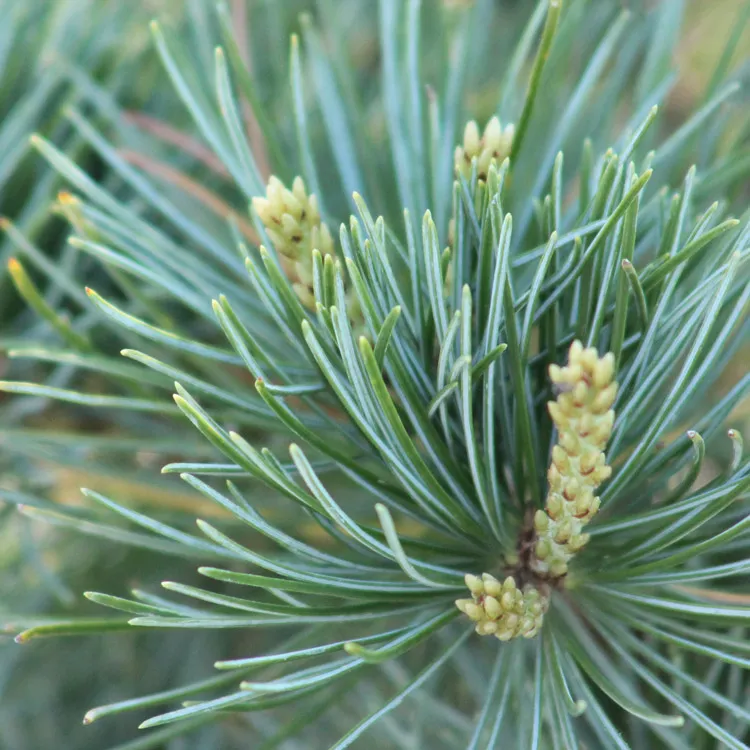
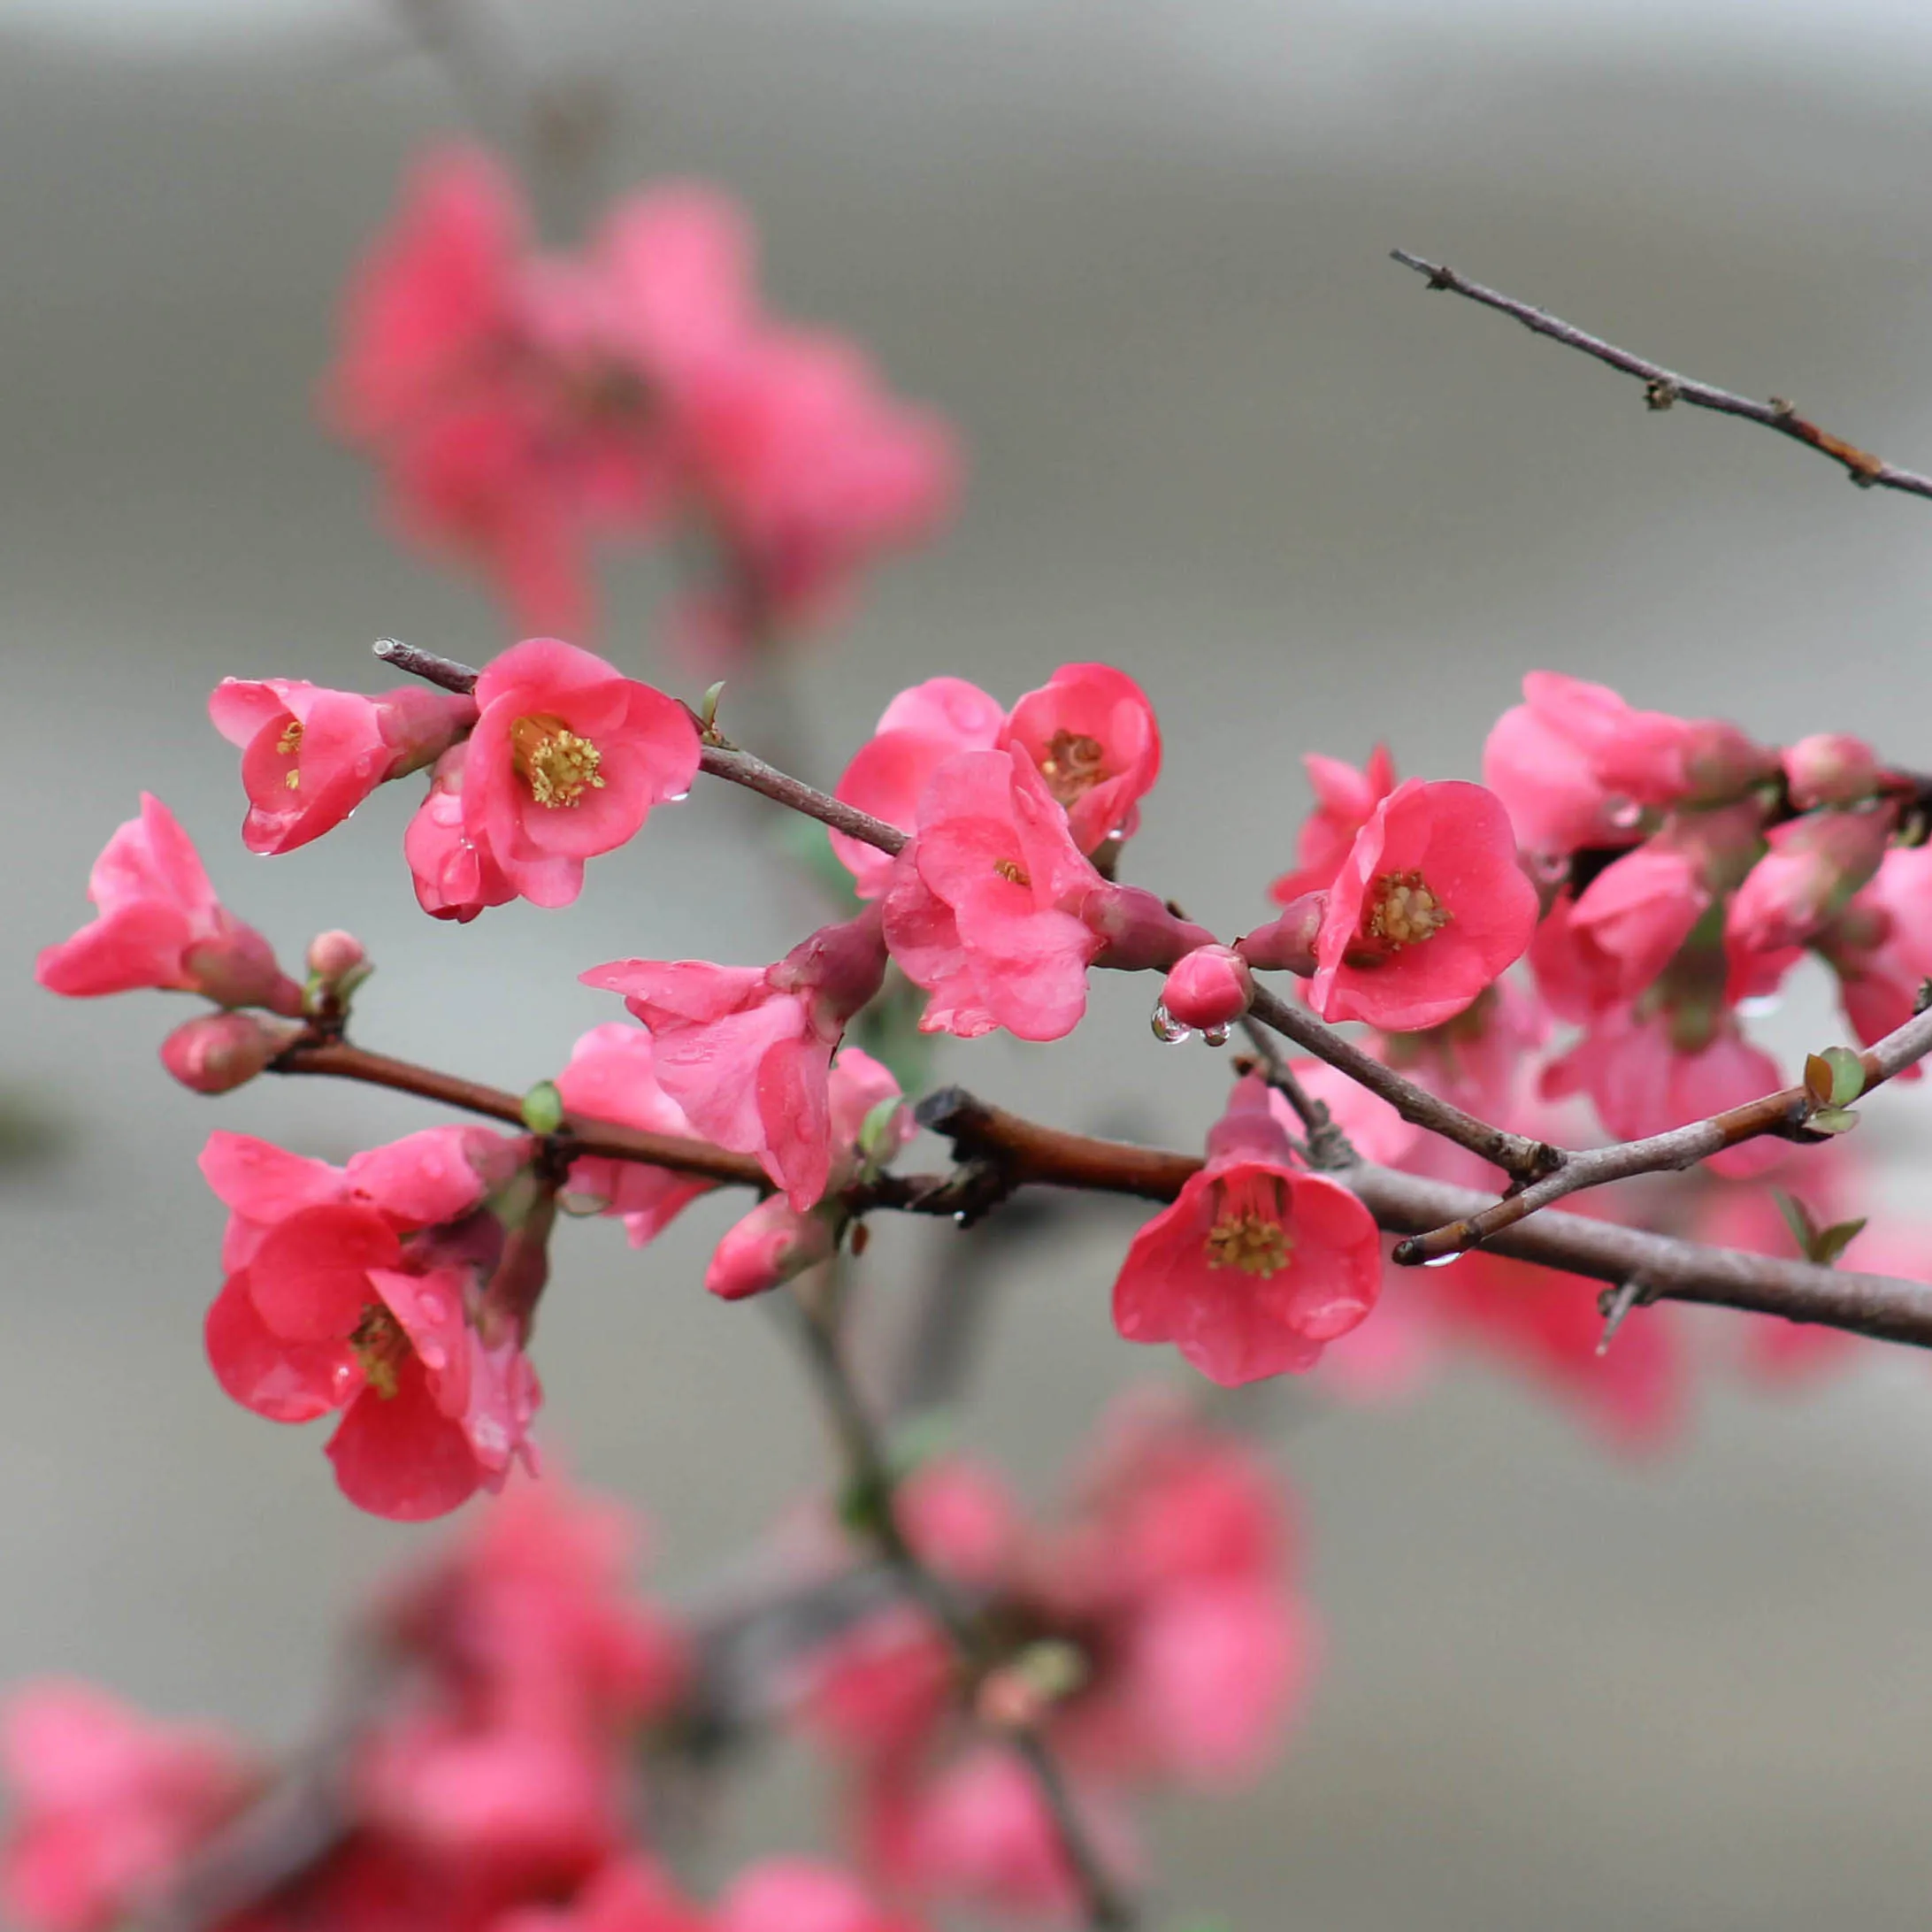
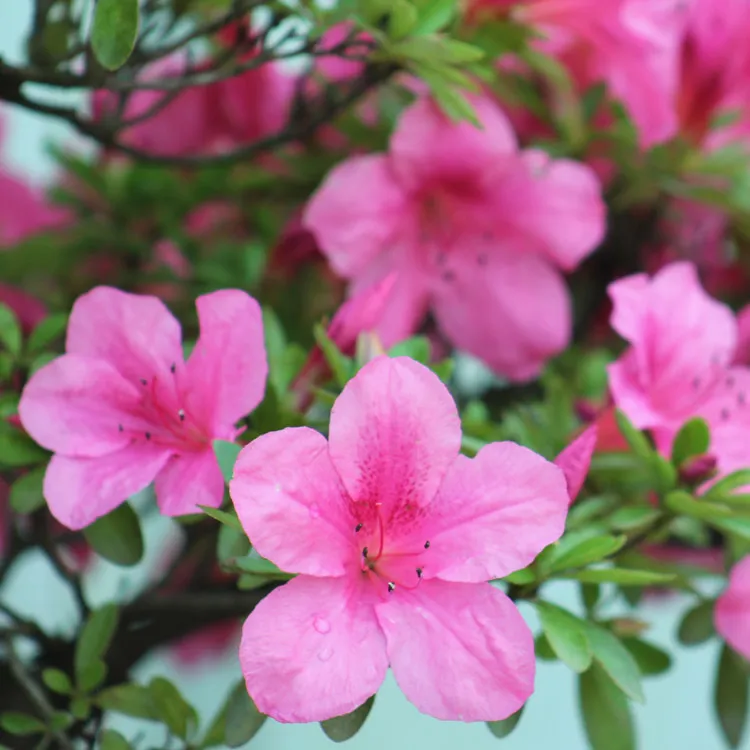
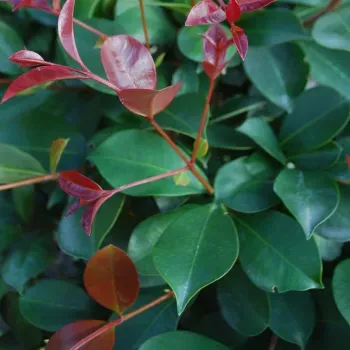
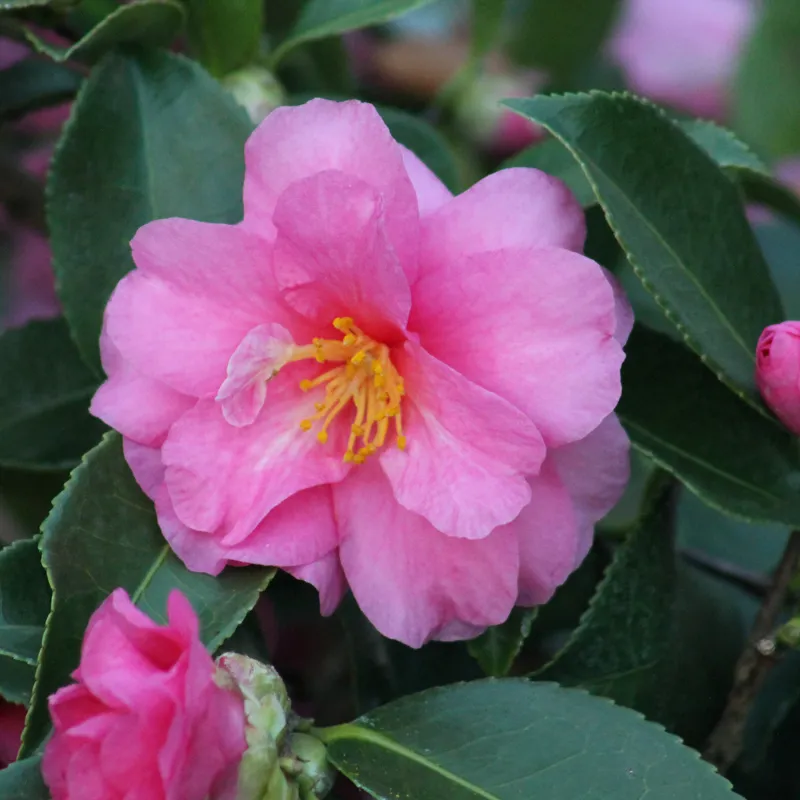
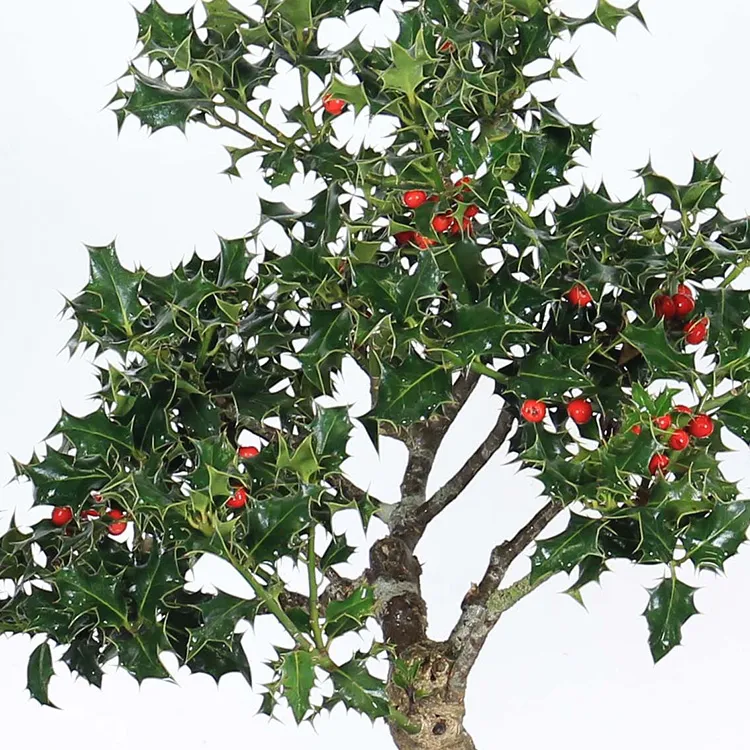
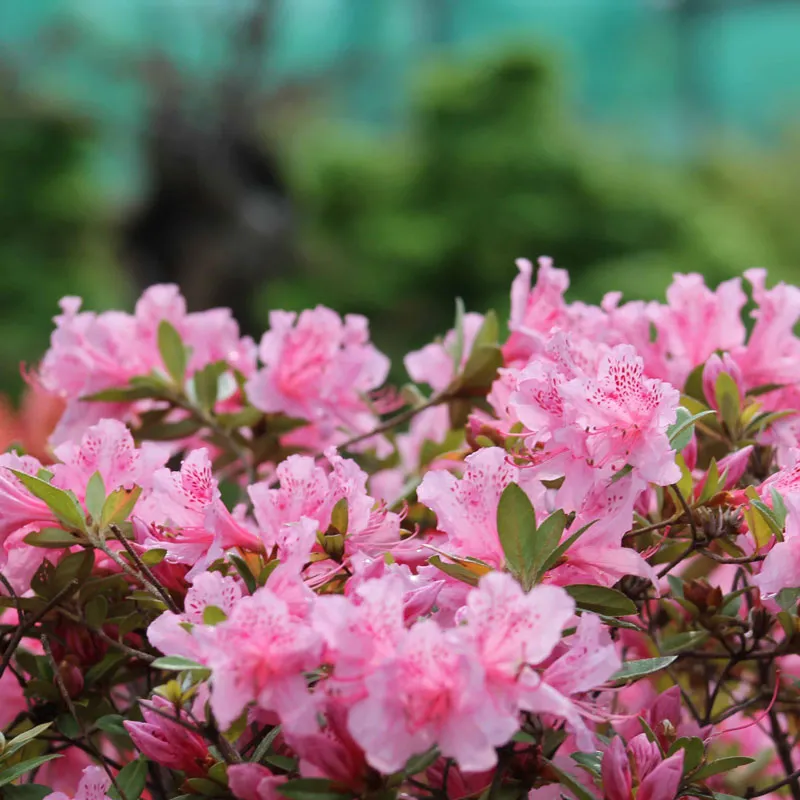
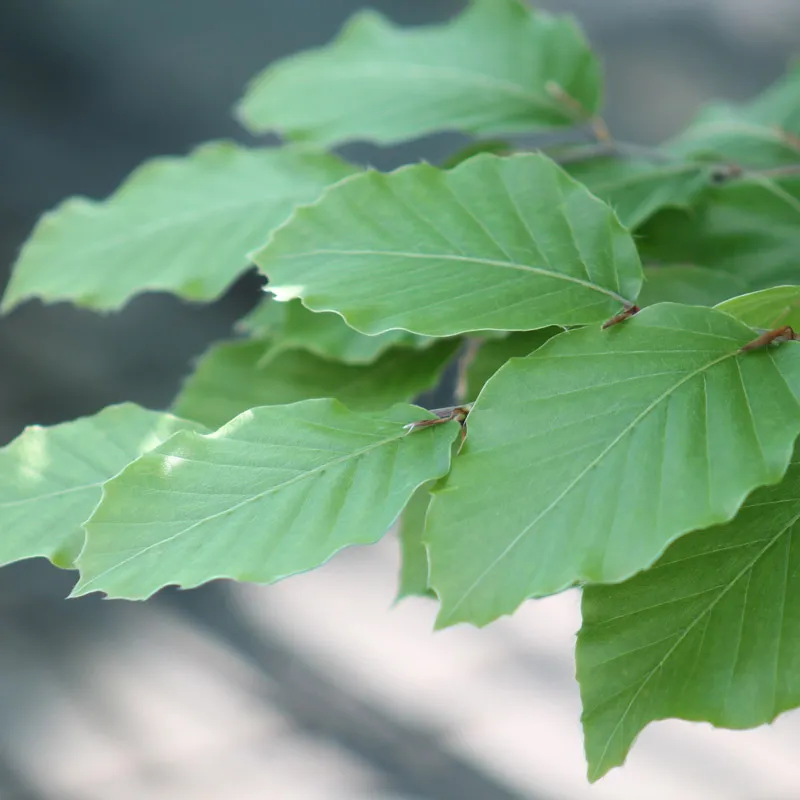
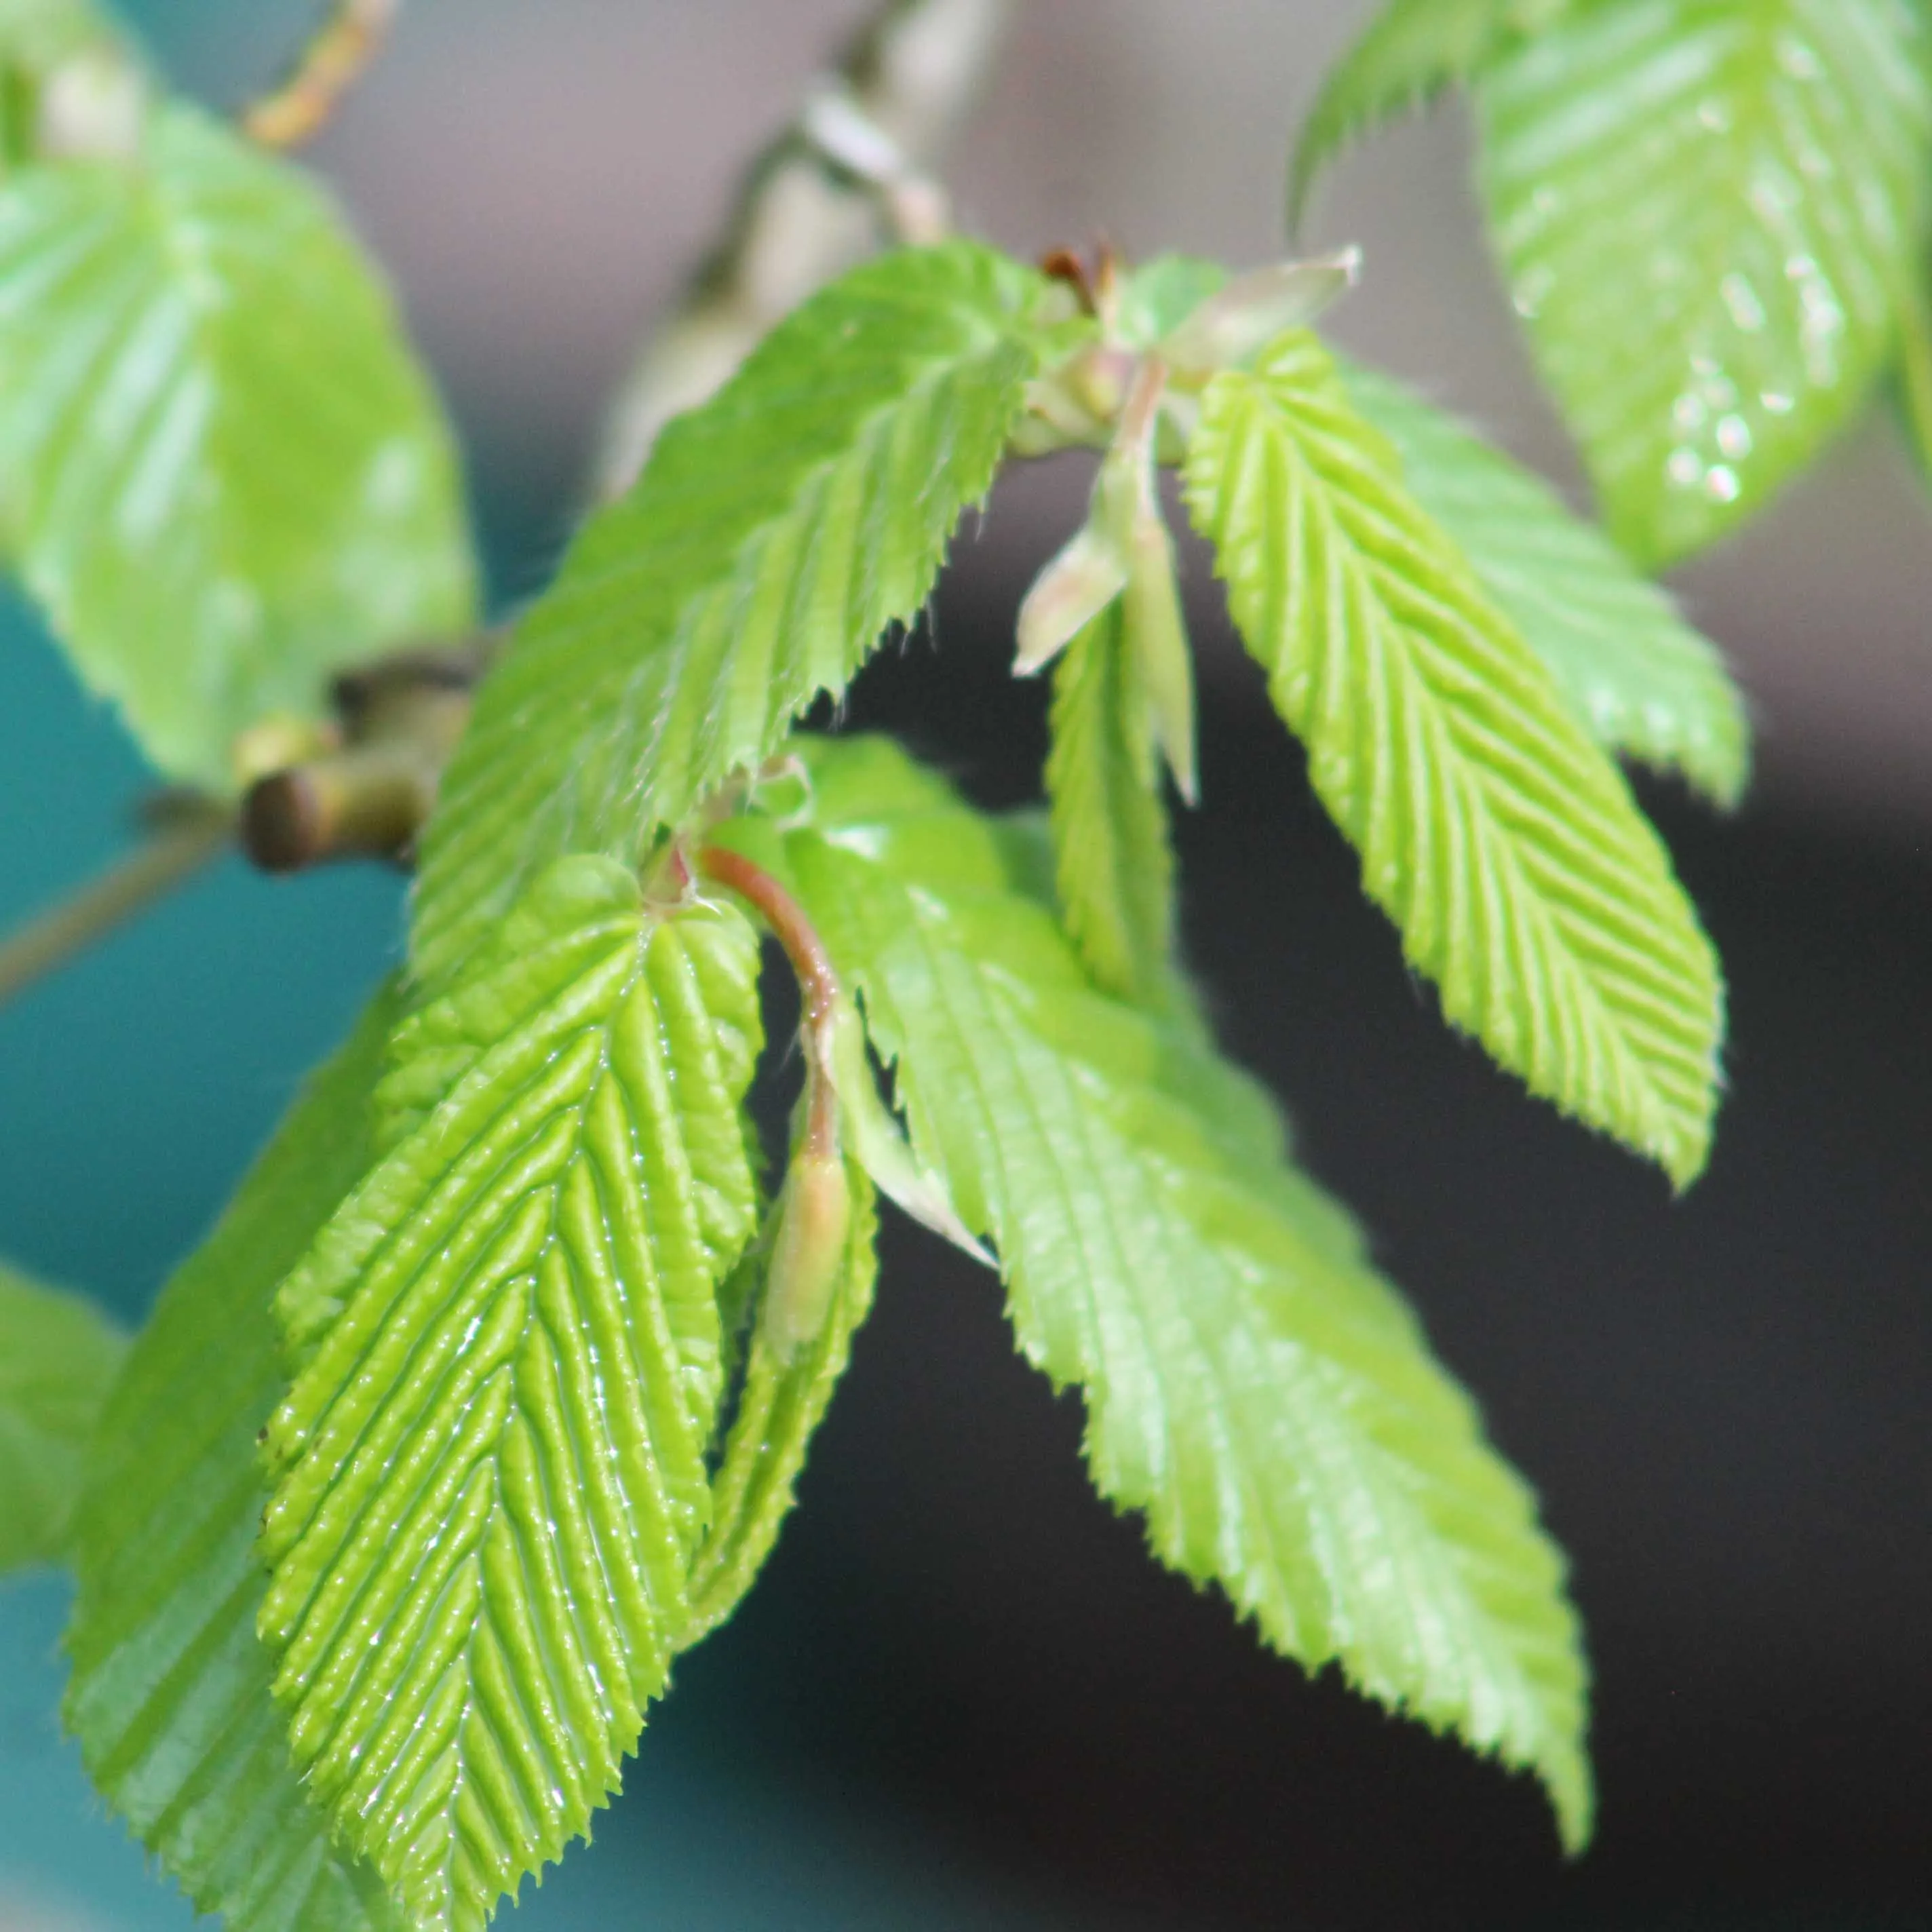
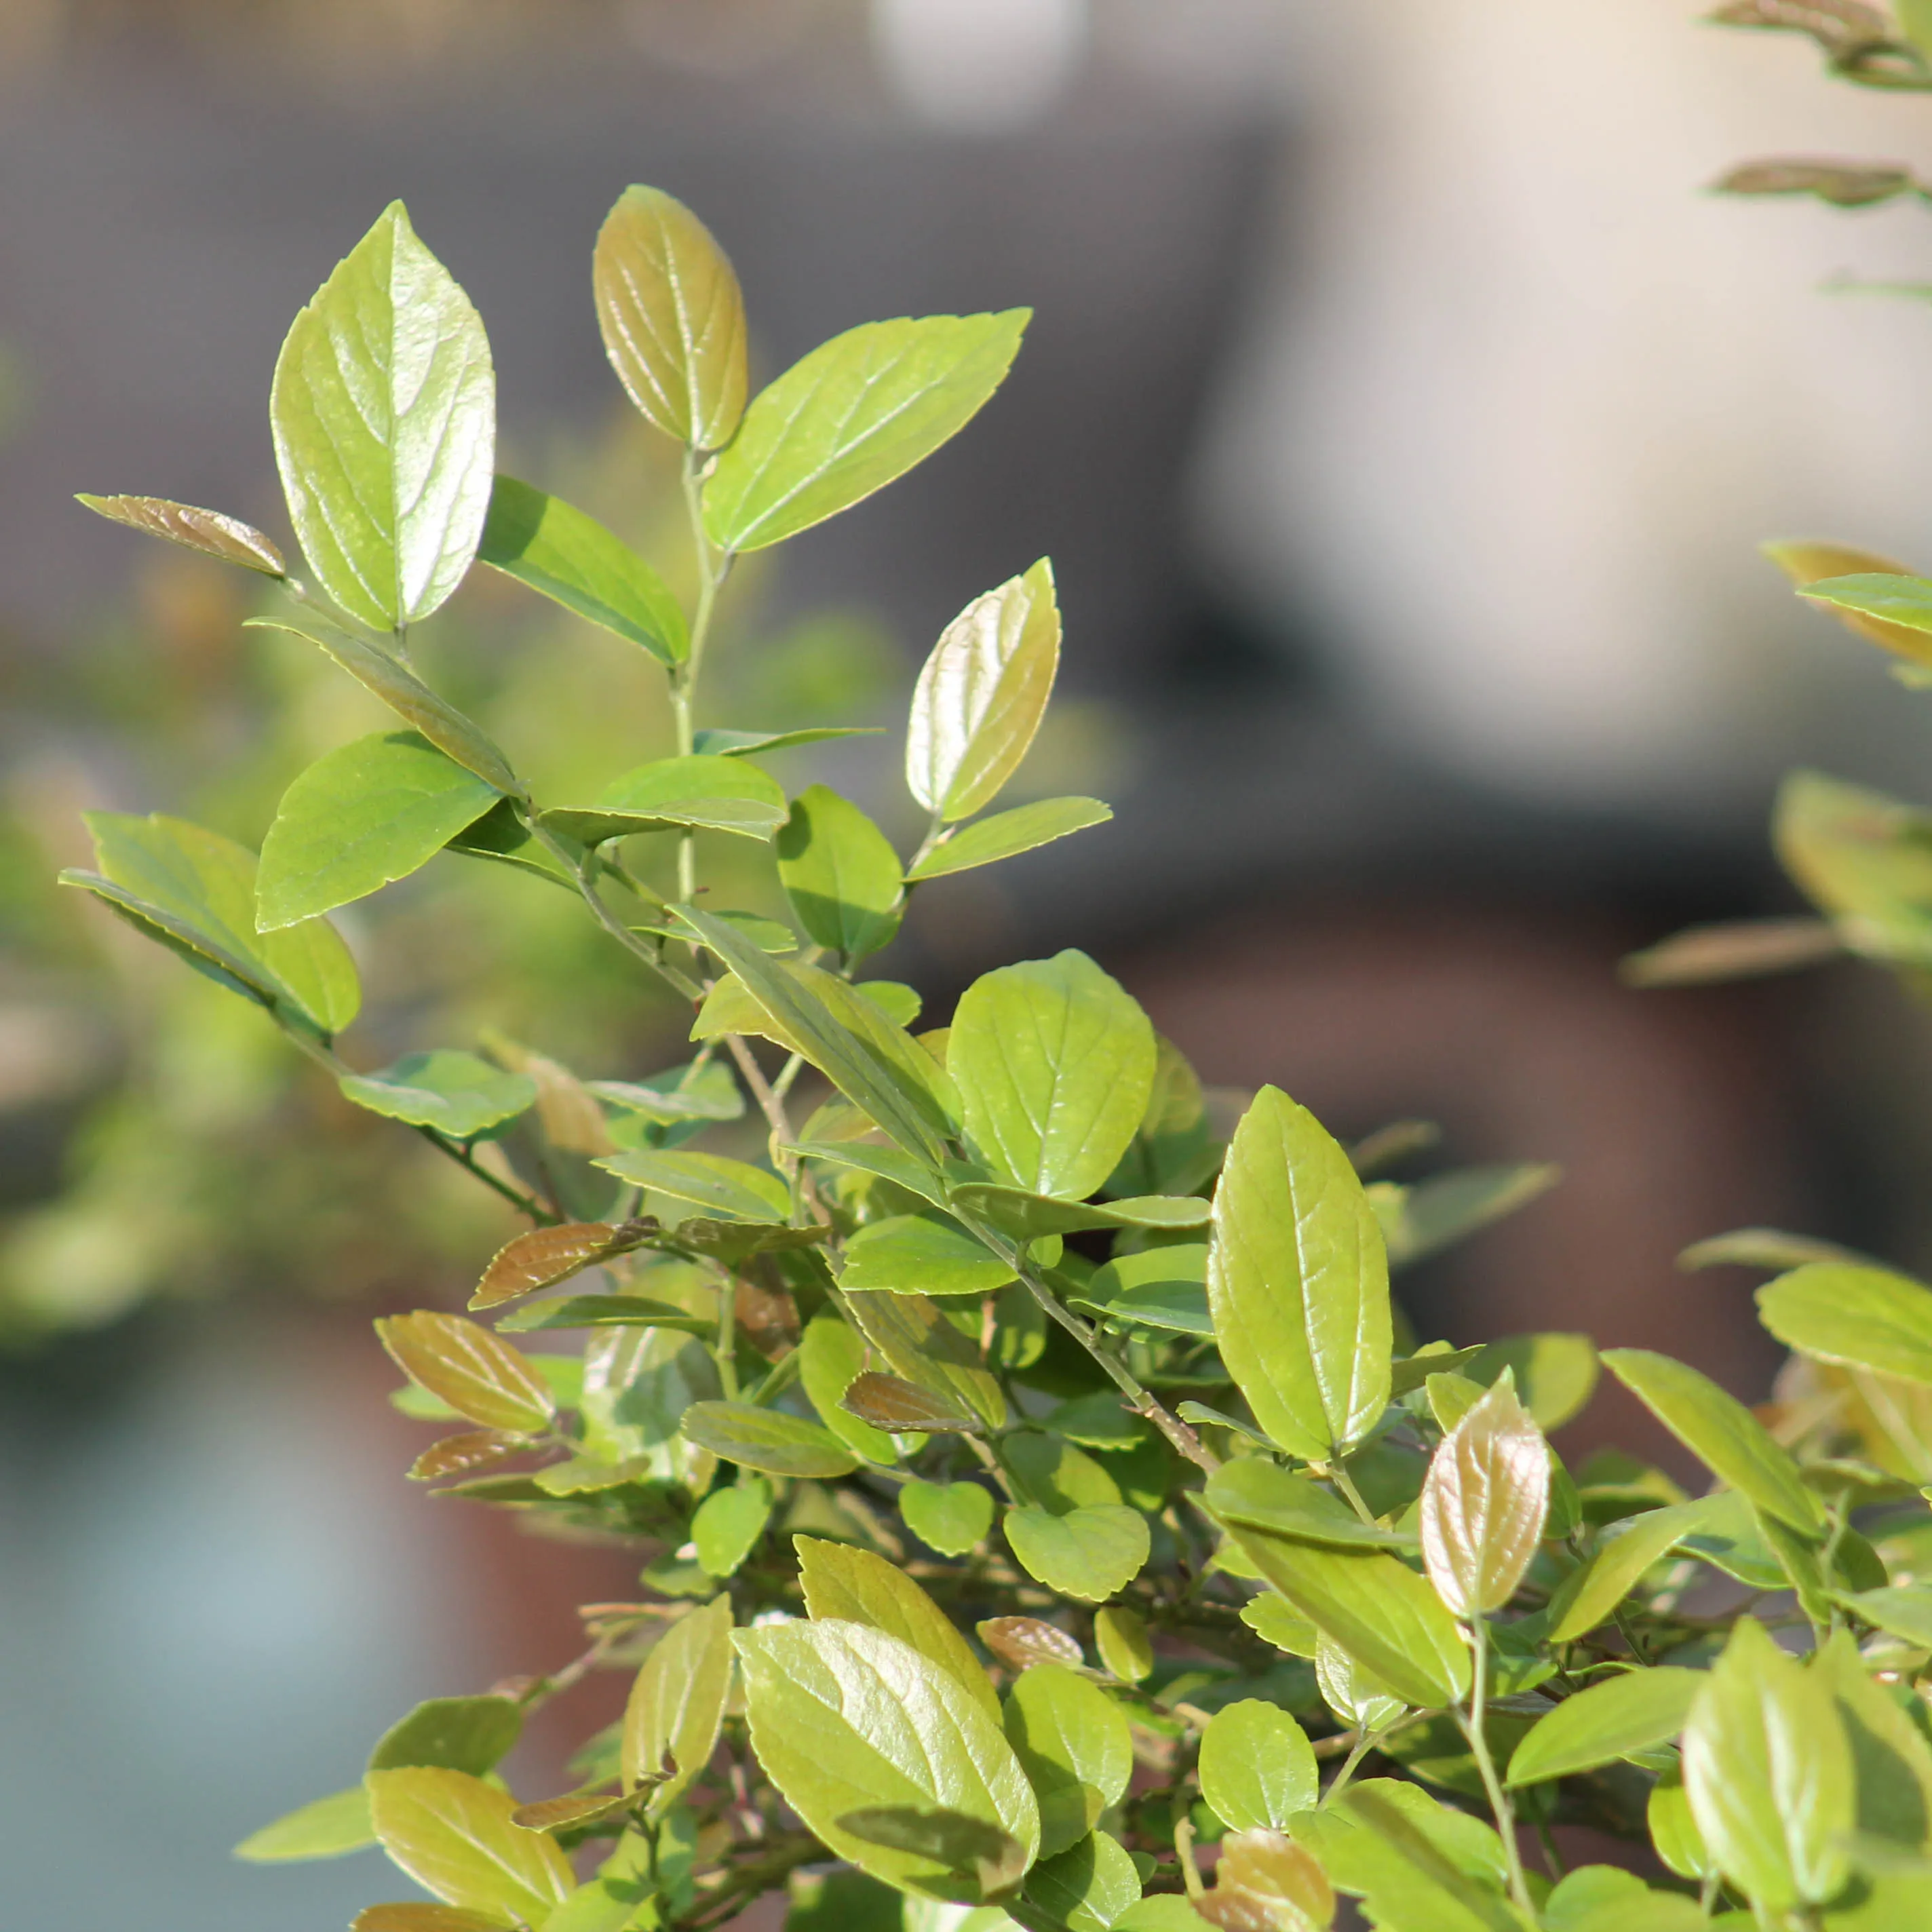
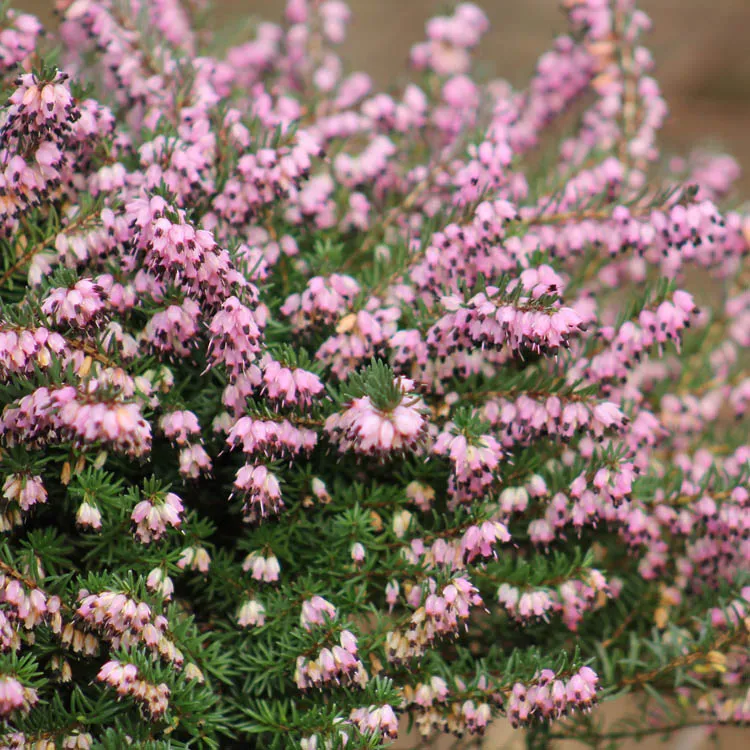
Generally, the months of February and March are suitable for deciduous and coniferous trees. Flowering varieties such as azaleas or camellias will be pruned and repotted after flowering. Tropical ones such as ficus trees should be worked and repotted during the warm season (usually in June)
The end of summer is also a very good time for repotting, in fact we are used to repotting many of our trees at the end of August/beginning of September because the temperatures are less suffocating and the trees are starting to enter a period that is similar to a2nd spring which quickly favors the emission of new roots. This allows you to have a rooted and vigorous bonsai before winter.
However, repotting at this time means being able to provide good ambient humidity after repotting and not everyone has a watering and misting system like ours. So only repot in August if you know what you're doing, otherwise opt for early spring!
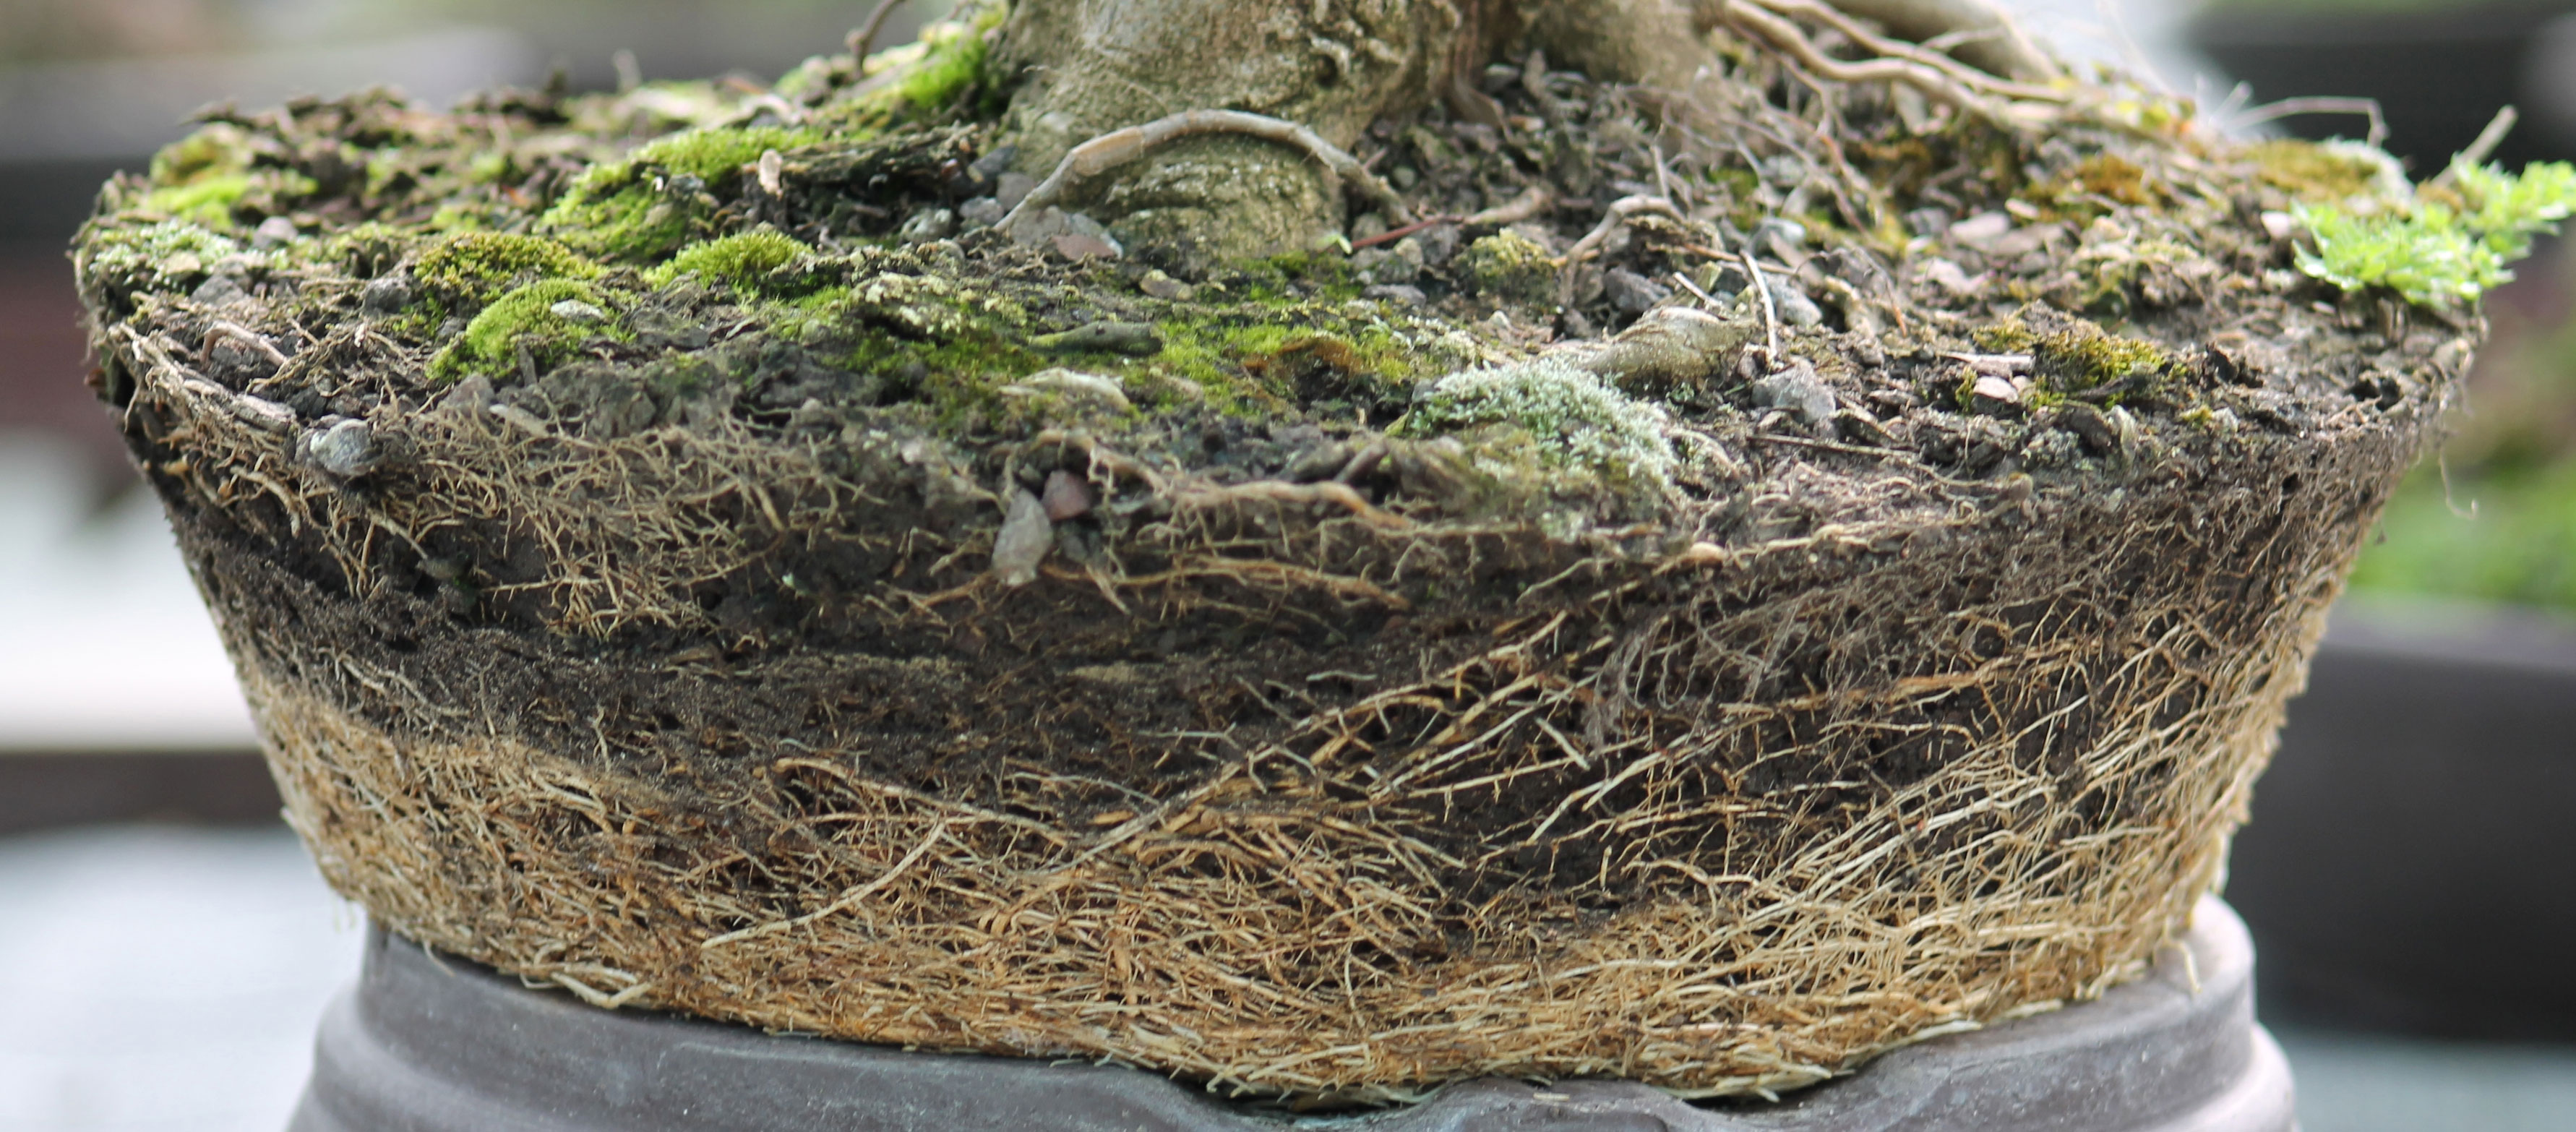
Repotting is done when the root bread is compact and healthy
Example for a mugo pine: When removing the tree from the pot you should see mycorrhizae. These white filaments are actually fungi that live in symbiosis with the roots and help draw nutrients from the soil. They develop in a few years and will gradually colonize the pot. You must therefore have a good smell of mushrooms, and a root ball well covered with these filaments: this is the sign of a healthy tree.
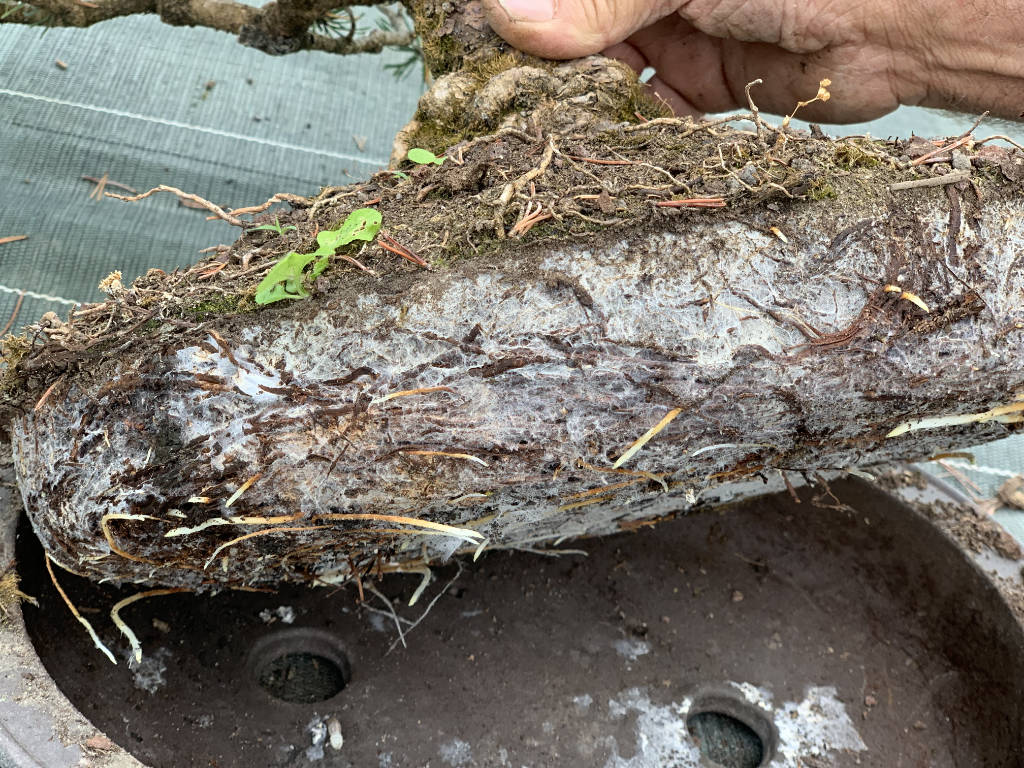
Bonsai are generally repotted every 2/3 years for young plants and 3/4 years for older onesIf the tree starts to come out of the pot or if it is difficult for water to penetrate during watering due to a substrate that is too compact, repotting is necessary.
Some precautions to take in order to weaken the tree as much as possible during repotting:
- Dry your tree. This is because it will be much easier to repot with a dry substrate. It will be easier to remove without damaging the roots.
- Do not repot in direct sunlight. The fine rootlets can dry out quickly, so it's best to repot in a shaded place and sheltered from the wind.
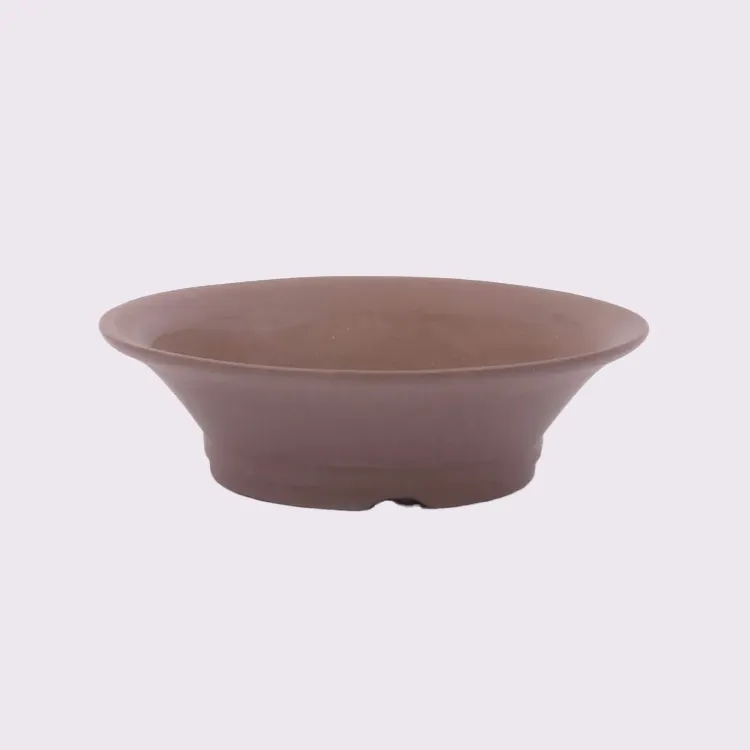
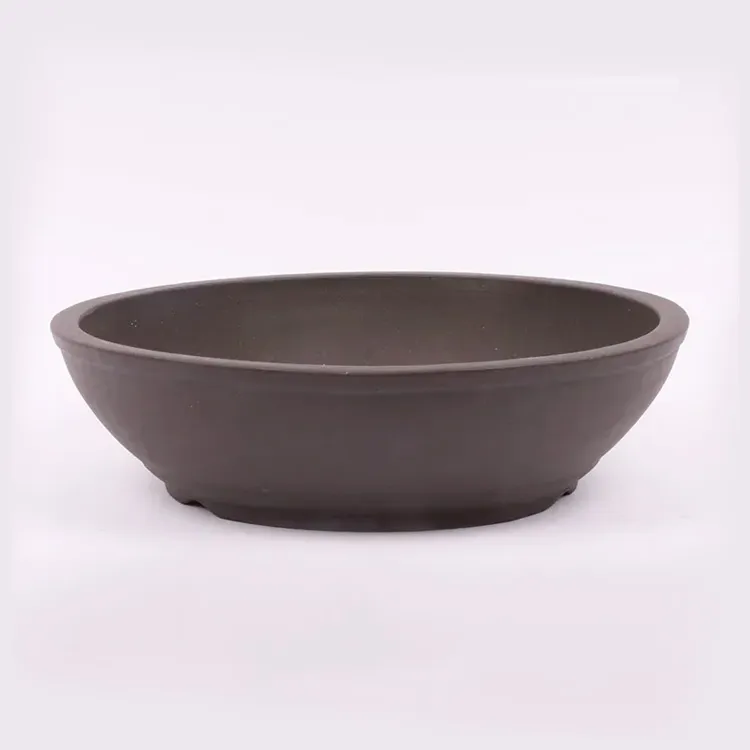
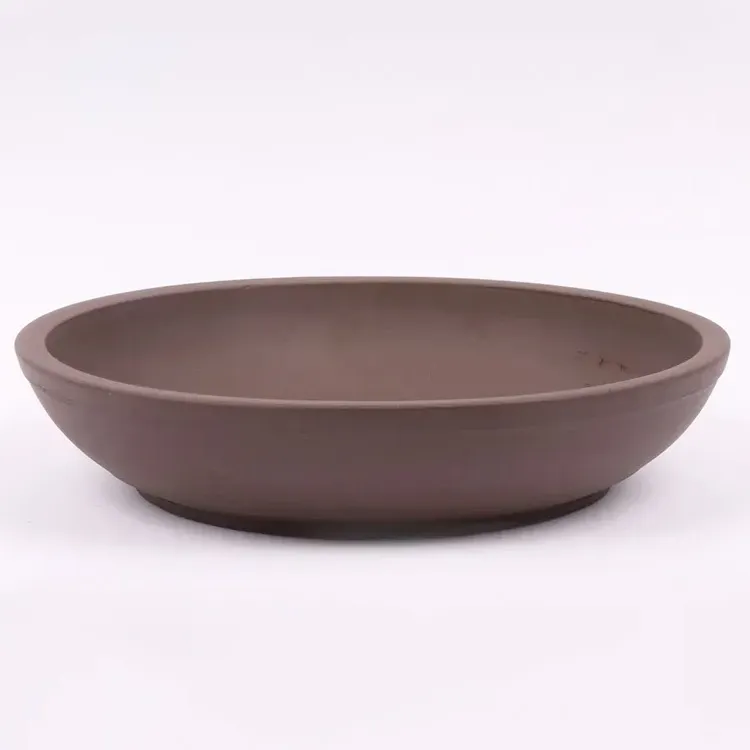
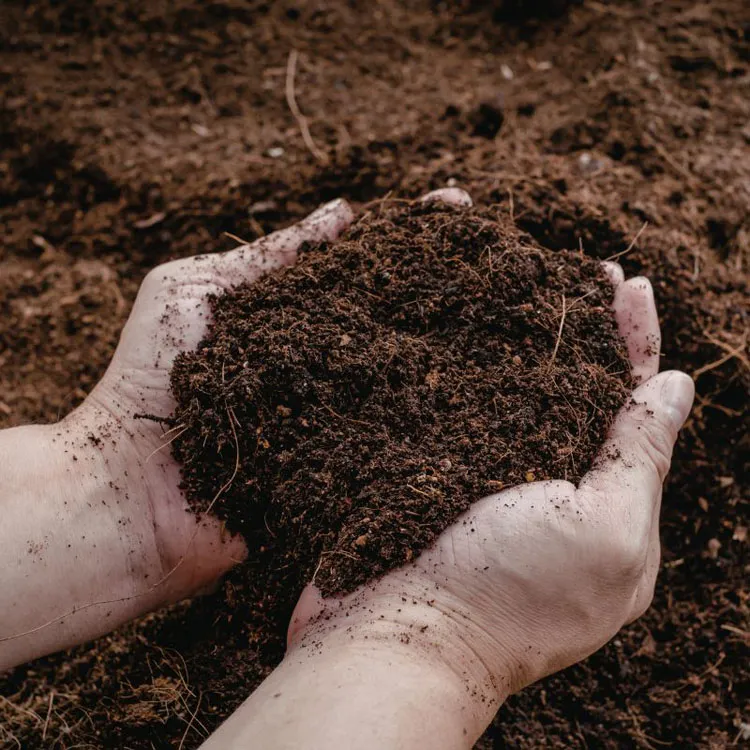
What should I grow my bonsai in?
The soil (the substrate) is the most important element for a good crop. It should be in symbiosis with the variety and the place where you live. You will not grow your tree in the same way in the north of France as we do here in the southwest. That's why we're going to explain how we grow and what you can do at home.
First of all, a substrate must have 3 essential qualities:
- Be a water retainer
- Be ventilated
- Be draining
The balance between these three elements will depend on the ability of the substrate to remain homogeneous between each repotting.
Our land in lot et garonne ...
Indeed, most of our bonsai are grown in the ground, when uprooting, we do not totally destroy the root ball and keep a part of the free soil of the field which is a clay soil...
- Advantages: retains moisture and minerals well
- Its disadvantages: it is difficult to work with and quickly becomes clogged up during heavy rains
 >Field
 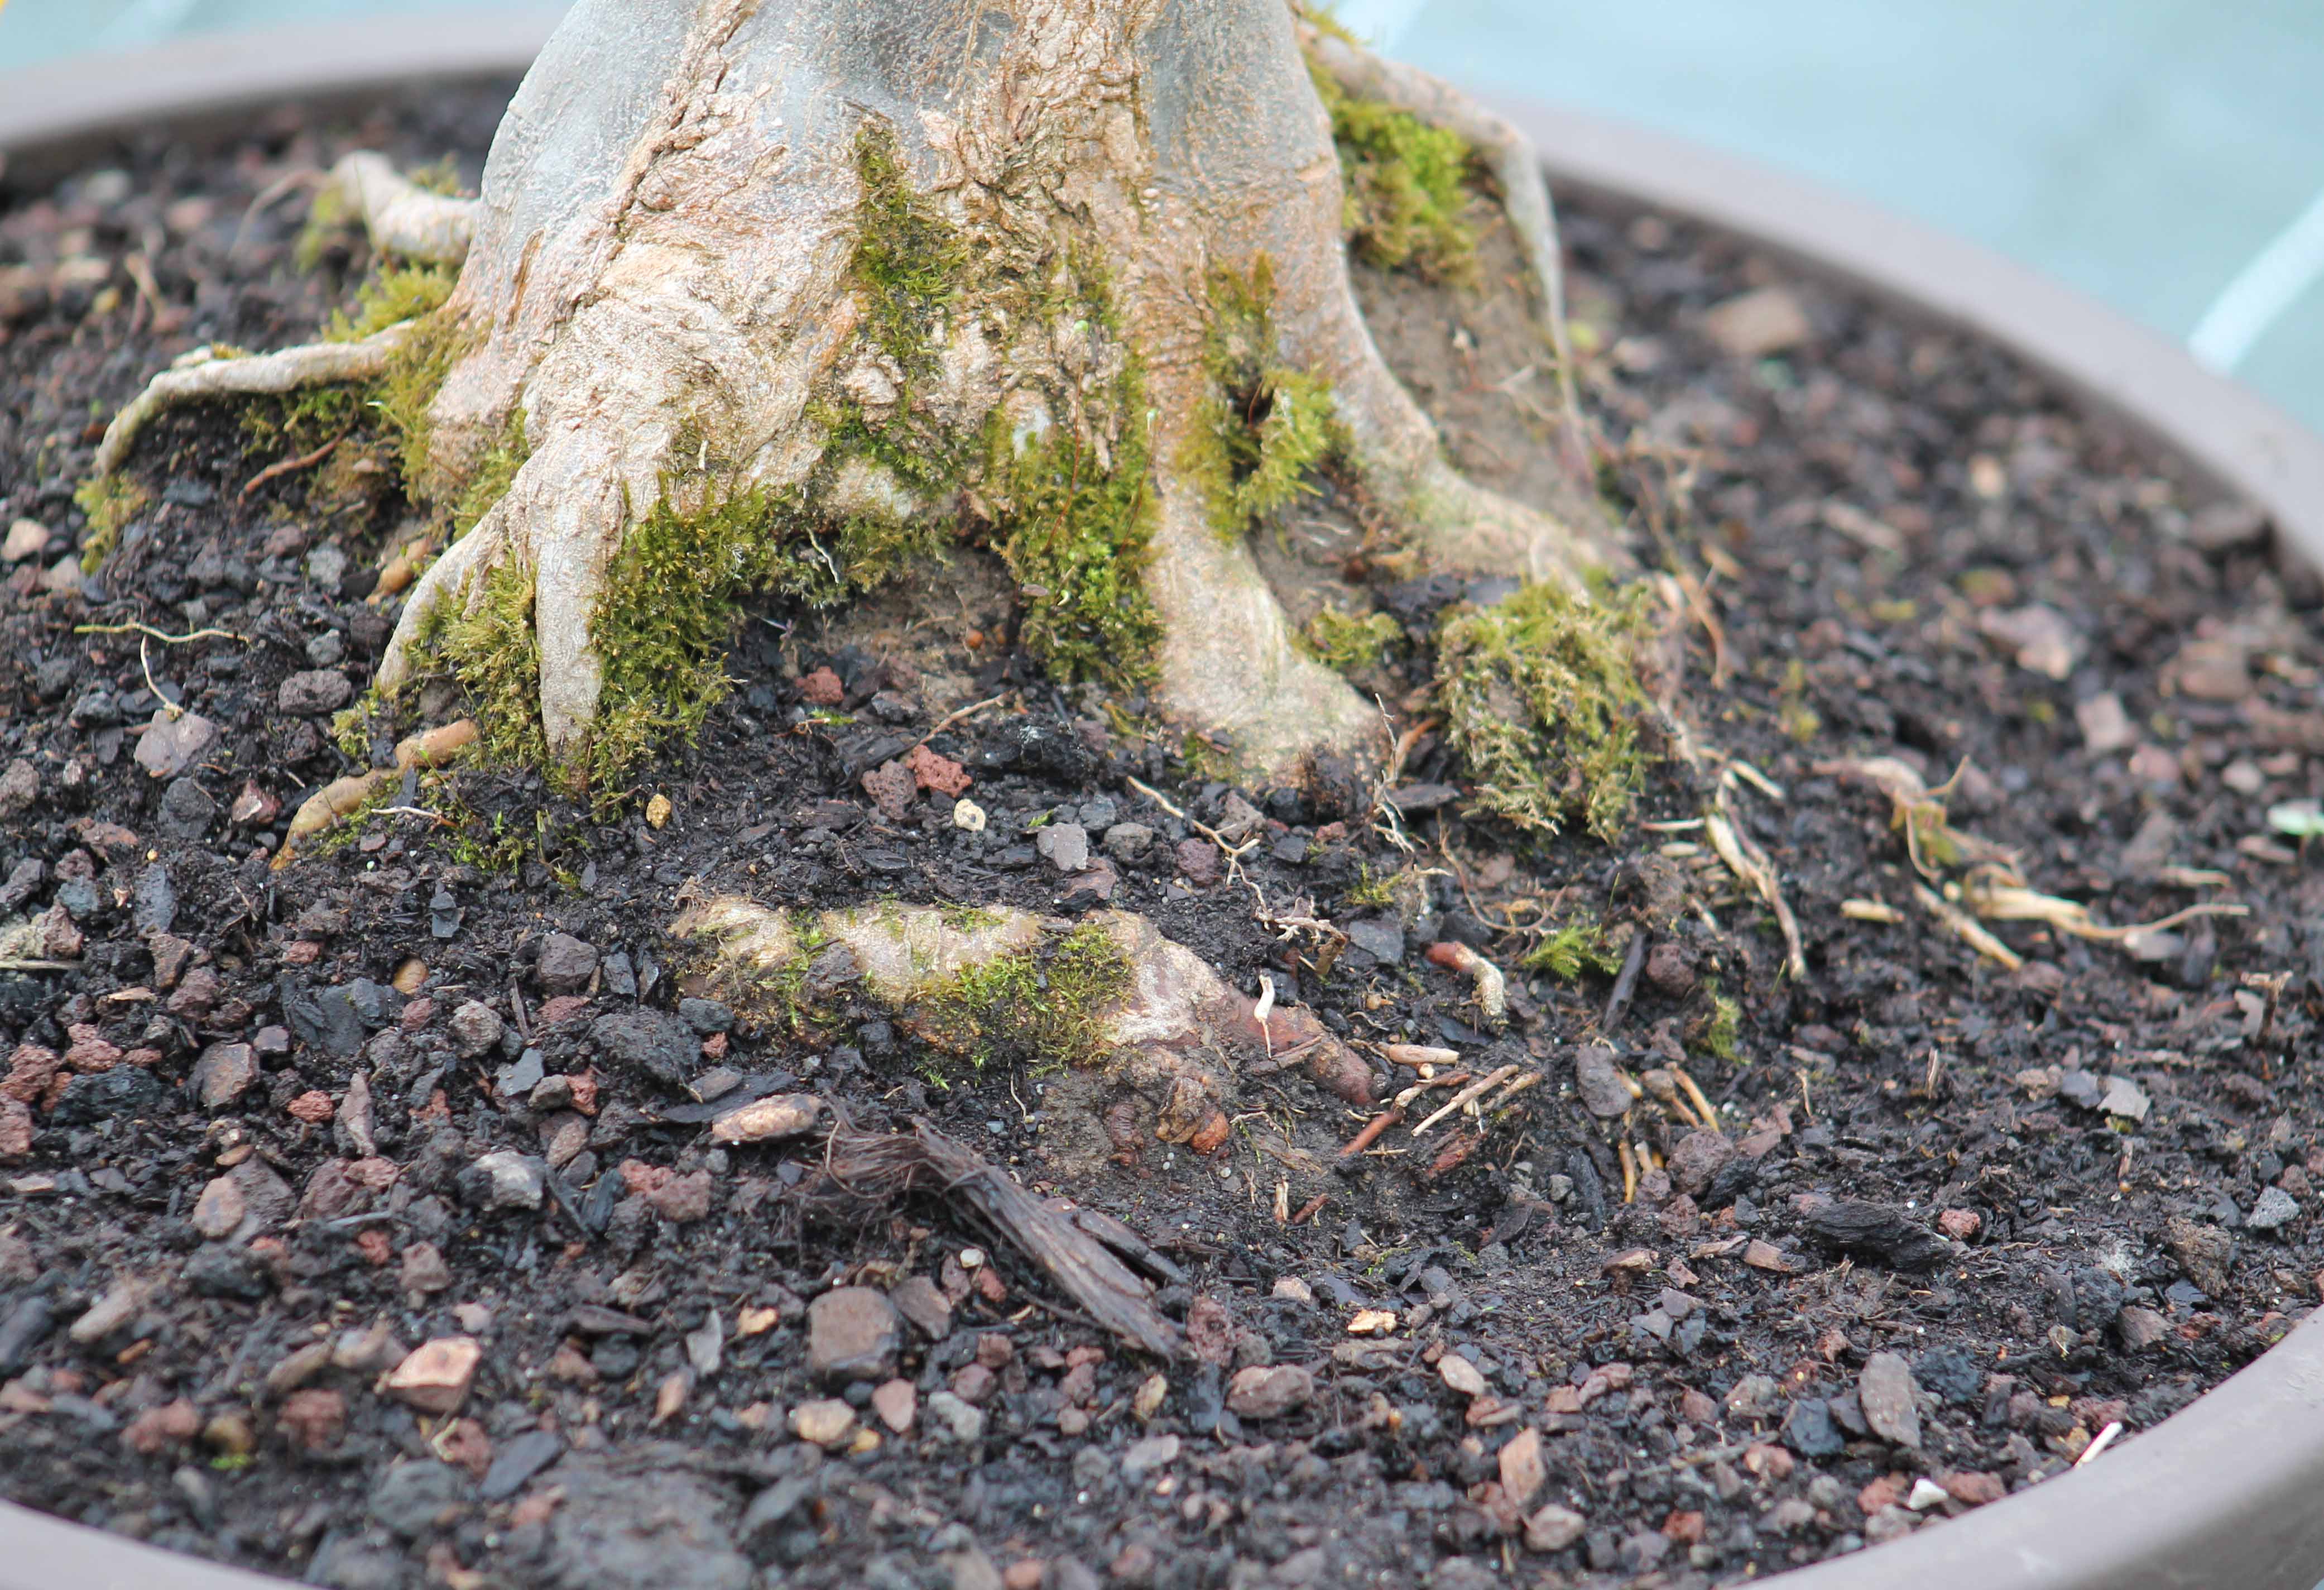 soil >Potting soil (peat)
When repotting, we use agricultural potting soil , which makes it easier for us to grow given the amount of trees we have, namely that the majority of them are outside in the sun all year round, a draining substrate such as 100% akadama or apple would be impossible for us, watering would be 2x greater!
The composition of our soil:
- 15% Black Peat
- 35% Peat Blonde
- 20% Aged Eco 0/10
- 10% Topsoil
- 10% Horse manure
- 10% Pozzolana 3/6
- +Dolomite (for PH6/6.5)
And at home, how do I do it?
There are bonsai substrates made from volcanic rocks that you can use pure or in mixtures. These dehydrated soils have the quality of being stable and ensuring good drainage, but do not contain any fertilizing elements. But it's up to each individual to find the balance between drainage and absorption and your growing location.
However, we strongly advise you to keep some of the original substrate. We must not forget that the majority of our trees are grown from seedlings. Removing all of their original soil could be fatal for species such as pines, azaleas or myrtles
Akadama : This hard Japanese clay, specially produced for bonsai purposes, is probably the most widely used. Baked and then crushed, its appearance is that of small homogeneous grains that have the particularity of having a neutral pH and retaining water well. In addition, its colour in the dry state is different from that in the wet state, which makes it possible to recognise at a glance the water requirements of the substrate. Since there are no nutrients, you will have to fertilize more often and in larger quantities. It is also devoid of pathogenic substances: insects and fungi are excluded. The disadvantage of akadama is that it breaks down quickly, which compacts the substrate and prevents proper aeration. It will therefore be necessary to repot more frequently.
The pumice : Also known as "pumice ," it absorbs water and nutrients quite well and has a neutral pH. It provides very good drainage and aeration. Used pure or in a mixture, it helps with water retention and allows the roots to branch out very well. It is also devoid of nutrients, which requires more frequent feeding. However, it has the advantage of being less expensive and less water-intensive than akadama.

Pozzolana : A volcanic rock with a neutral pH, it provides very good drainage and does not disintegrate. It retains less water than pumice or akadama, so you will need to take this into account when repotting. It is best to use it in a mixture and not pure. Just like the pumice it is less expensive and very easy to find in garden centres.
Kanuma : is a very light Japanese acidic earth. It is also very acidic (pH 6-7) so it will be suitable for acid-loving plants such as azaleas and camellias. Very draining, with very good aeration properties, it can be used pure for the varieties mentioned.
Some examples of substrates depending on the variety :
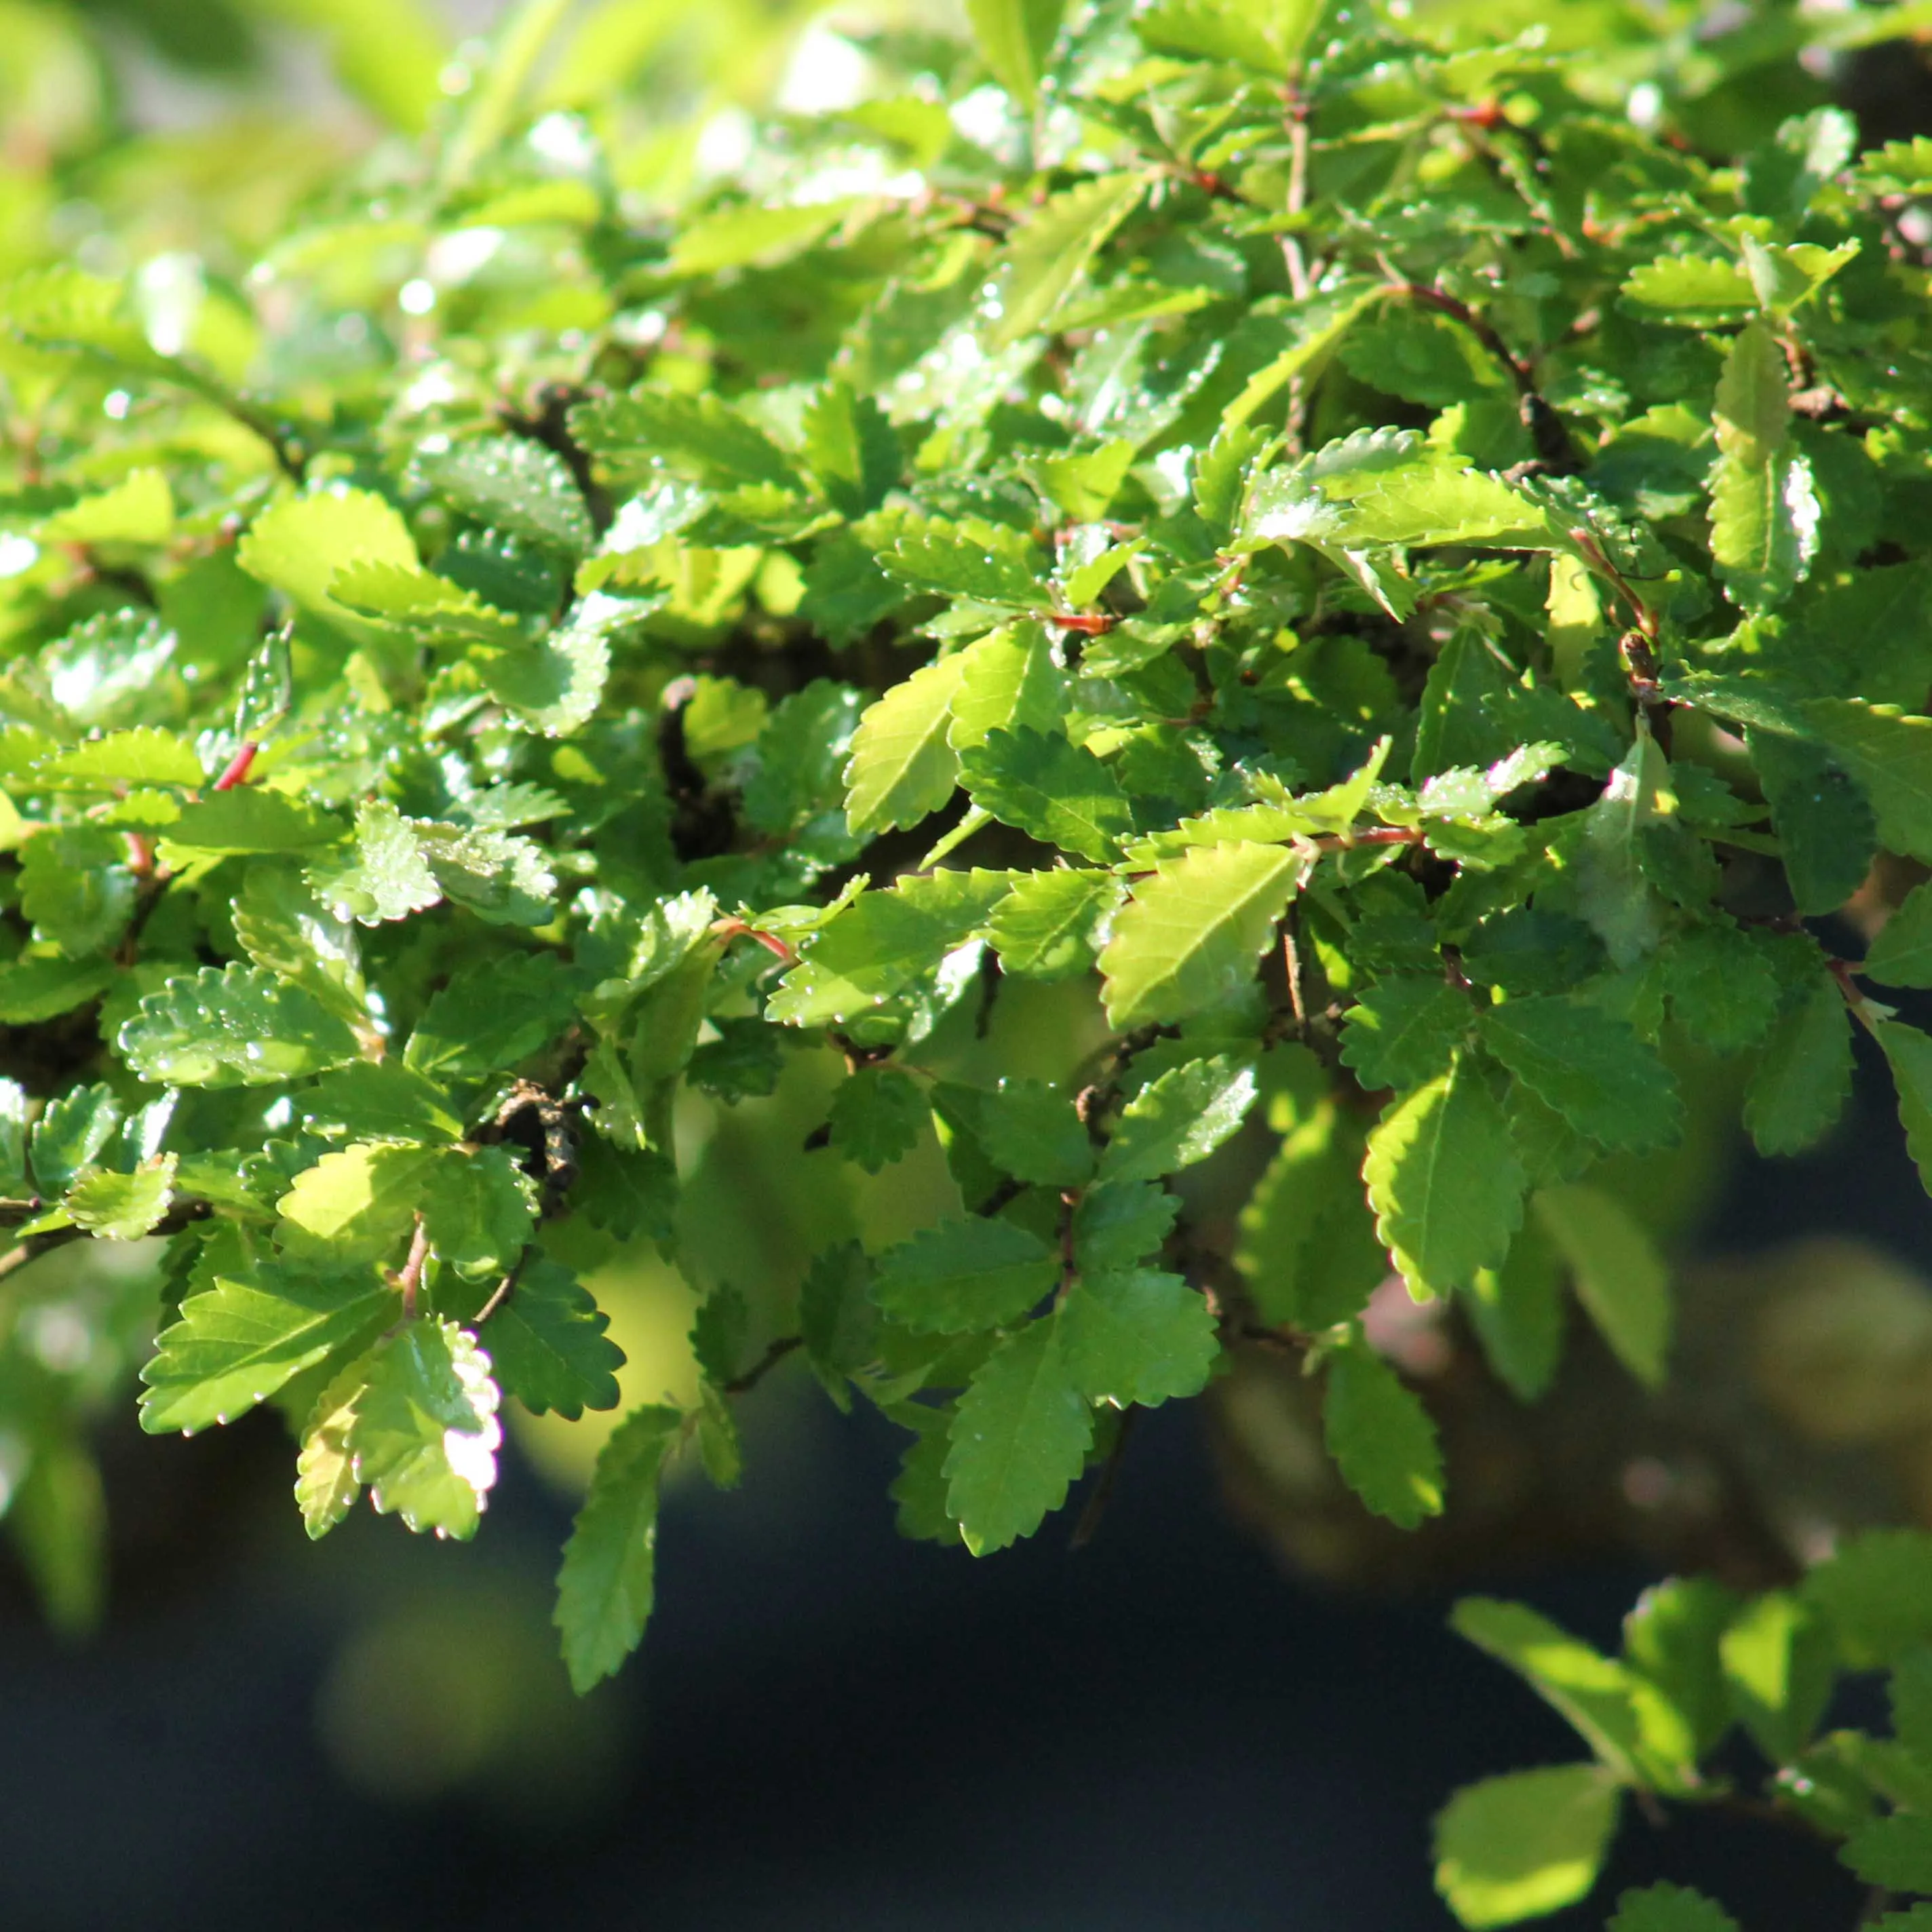
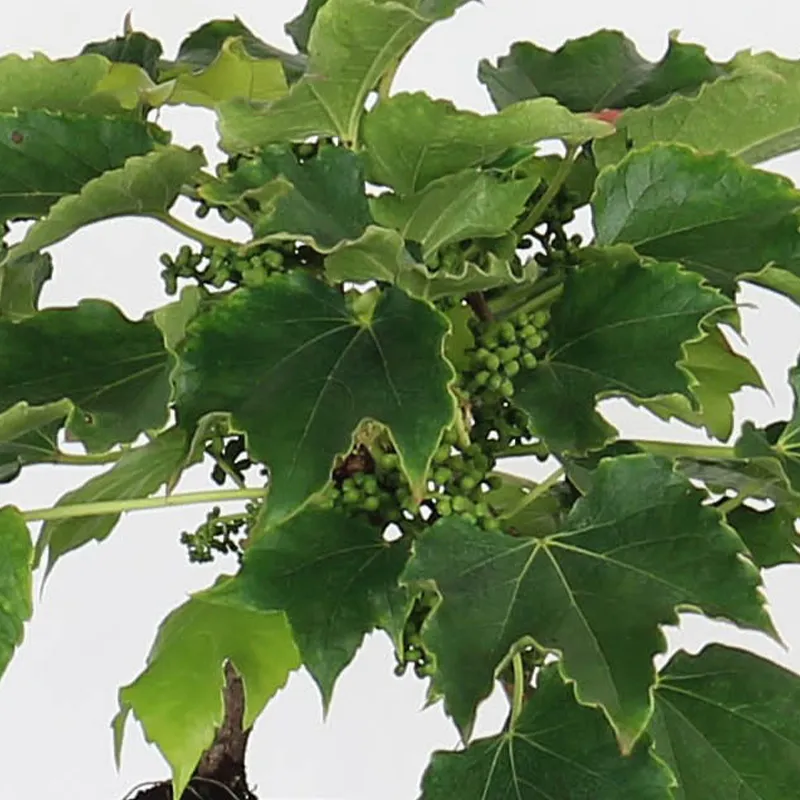
- Conifers need a very well-draining mix. For example : 60% apple, 20% akadama and 20% earth.
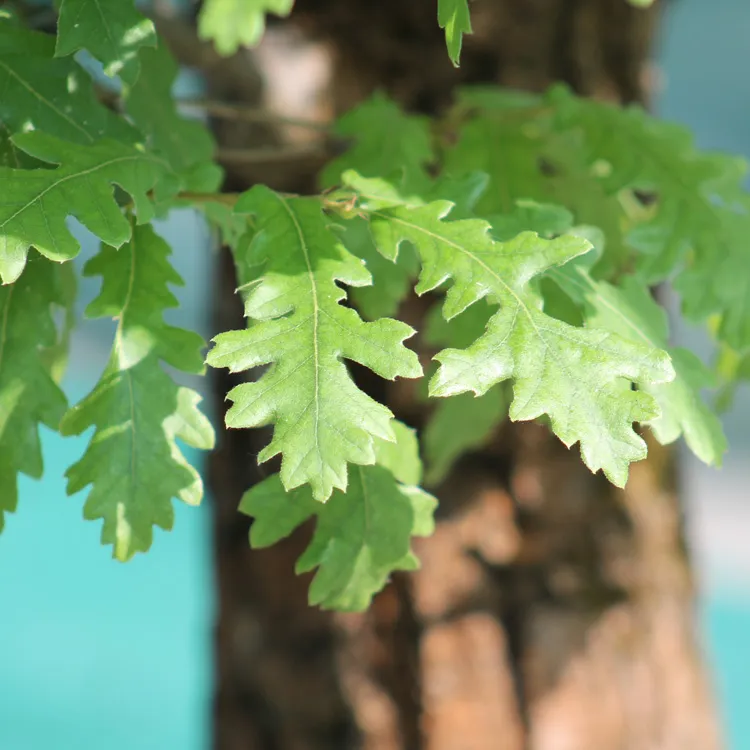
- Deciduous trees appreciate a fresh humus-rich soil rich in potting soil. For example : 50% garden soil, 50% akadama
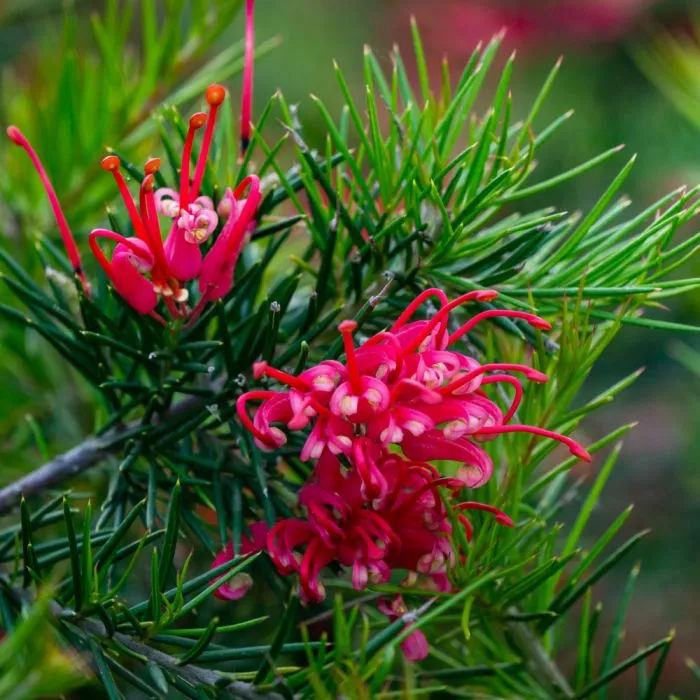
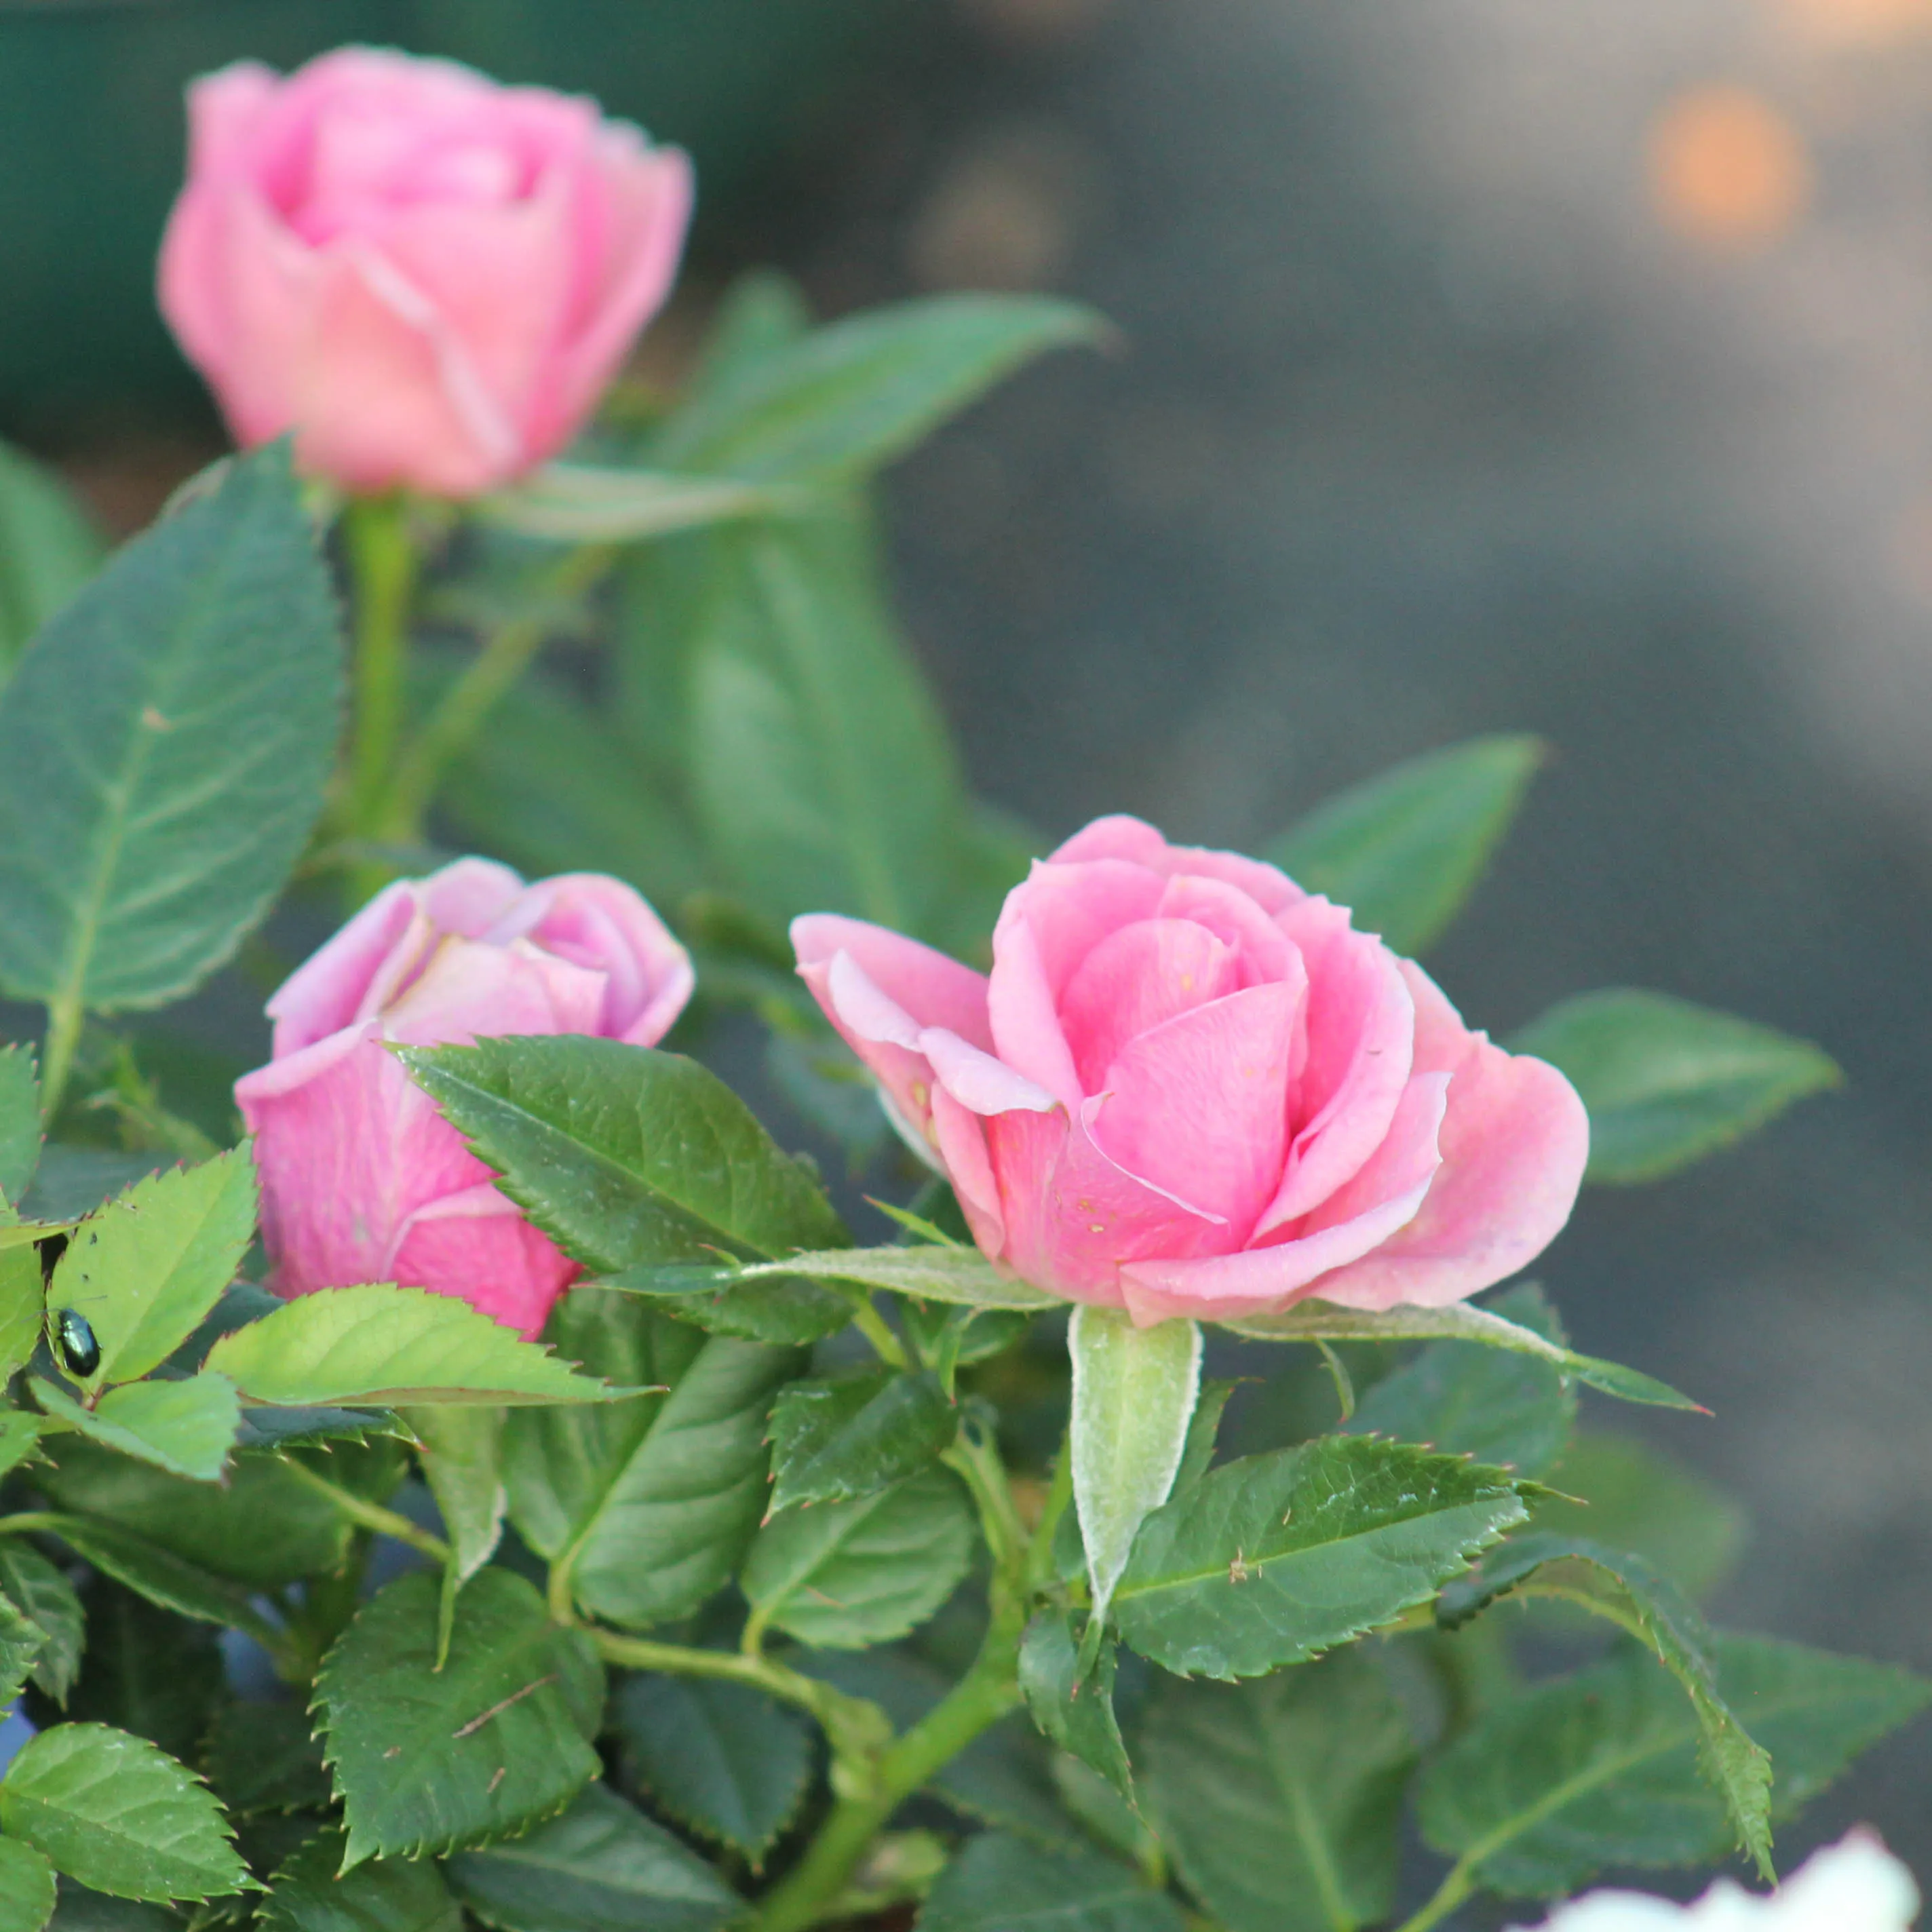
- Azaleas need an acidic, draining soil consisting of 80% kanuma and 20% akadama is a good formula.
- An indoor bonsai likes 50% potting soil and 50% akadama
How do you repot a bonsai?
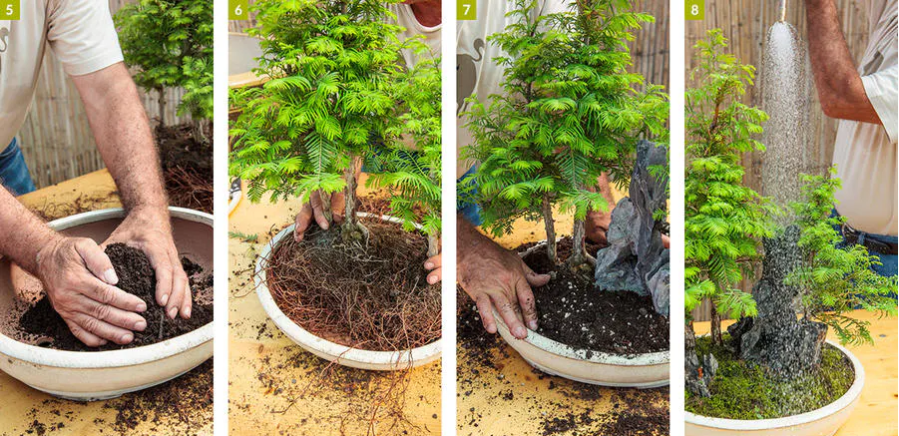
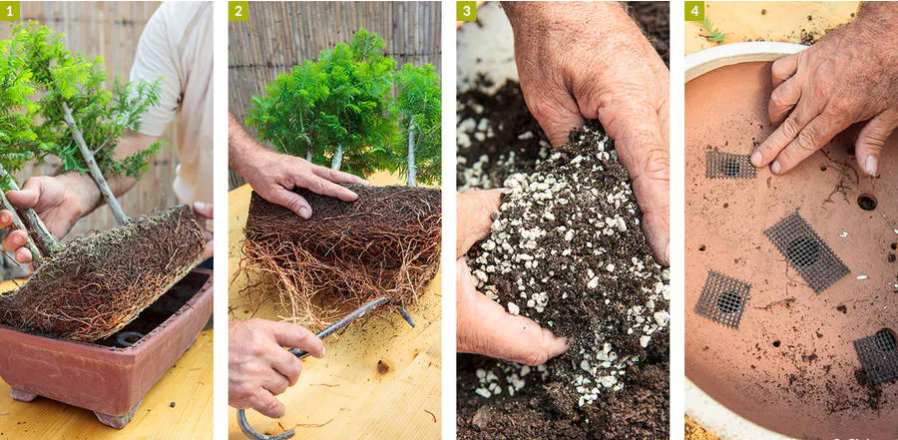
- Take the bonsai out of its pot, ideally, avoid pulling the root ball too much so as not to damage the roots.
- Untangle the roots, using a small hand claw or a curved fork, comb the roots to separate them while removing as much soil as possible, with a pair of scissors, cut between a third and a half of the length of the roots. It is preferable to favor small rootlets rather than large roots. For pines, leave at least half of the root mass intact to protect the mycorrhizae that are essential for the tree's survival
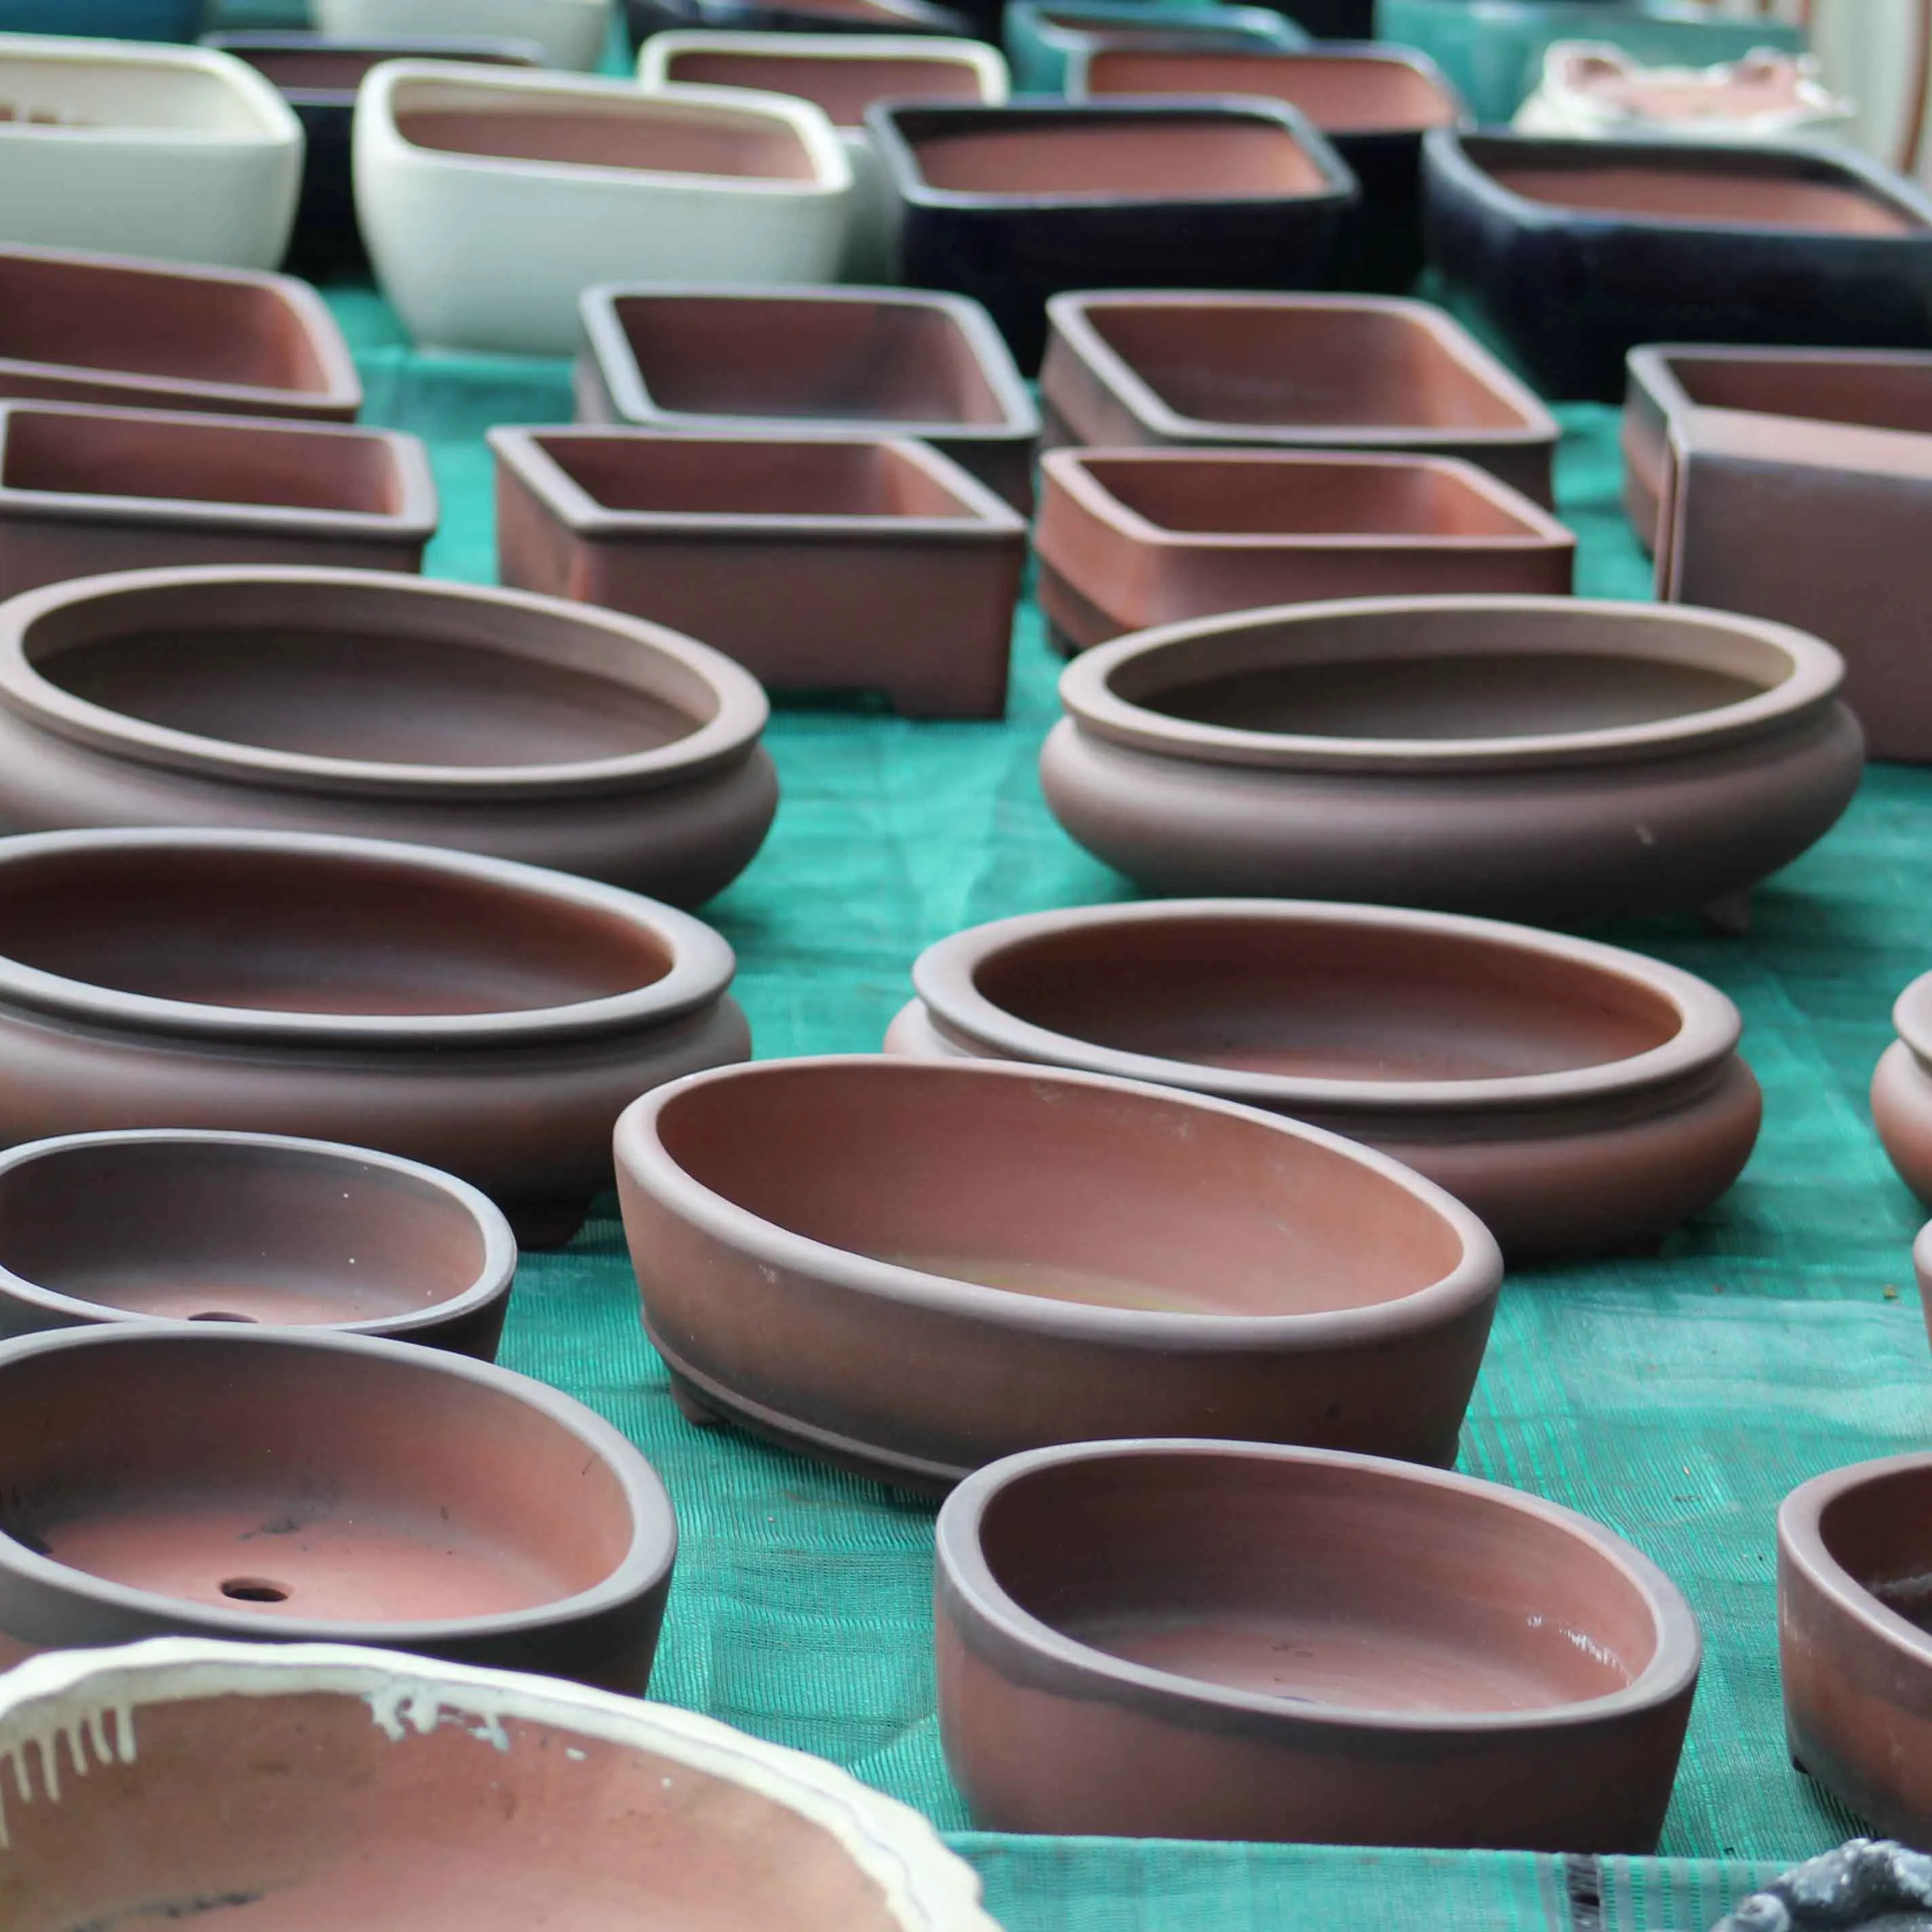
- Prepare your soil mix and find the right pot, ideally its length should be a third less than the height of the bonsai, and its width a little less than the spread of the tree. Its depth is equal to the diameter of the bonsai trunk. This is not always possible. If your bonsai is going to grow strongly, we advise you to use a large volume pot (grow pot)
- Seal the drainage holes: Usea small grid over the large holes to prevent the roots from passing through. Note that a bonsai pot has several holes, and of large diameter (CAUTION: never plug the holes)
- Create a dome: Shape a clod of soil in the center of the pot up to the level of the rim.
- Position the shrub: Place it in the pot, and check that its position is aesthetically pleasing. You can still remove excess soil from around the roots, if there is much left, before returning the subject to the position you want.
- Complete the mixture: Fill in the gaps between the roots and between the root ball and the inner rim of the pot. Place the decorative elements (stone, moss) and put the finishing touches on everything.
- Water copiously: Flood the bonsai by running water in a gentle rain (not with a stream!). Keep the soil moist until it is completely recovered, and place the pot in the shade and away from draughts until it resumes, which will be soon.