
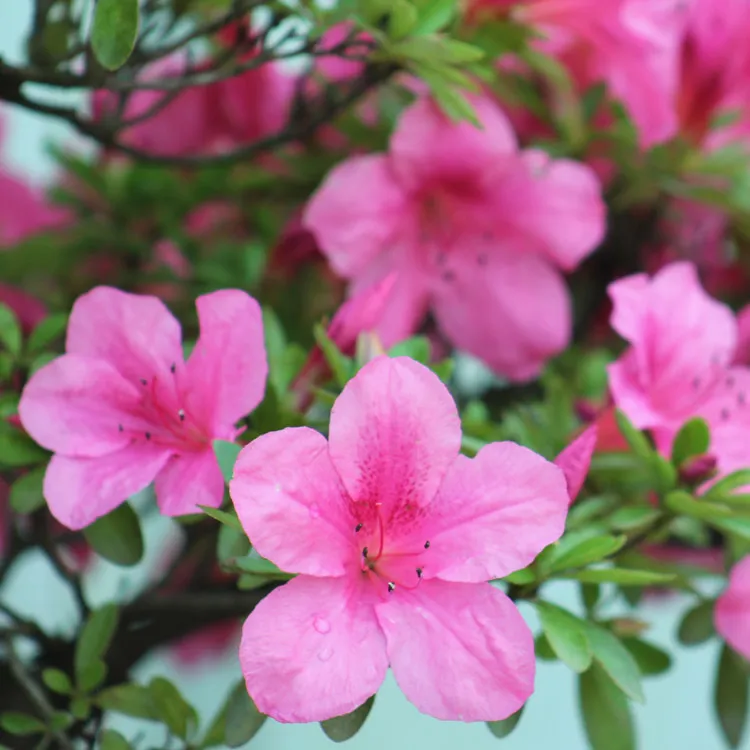
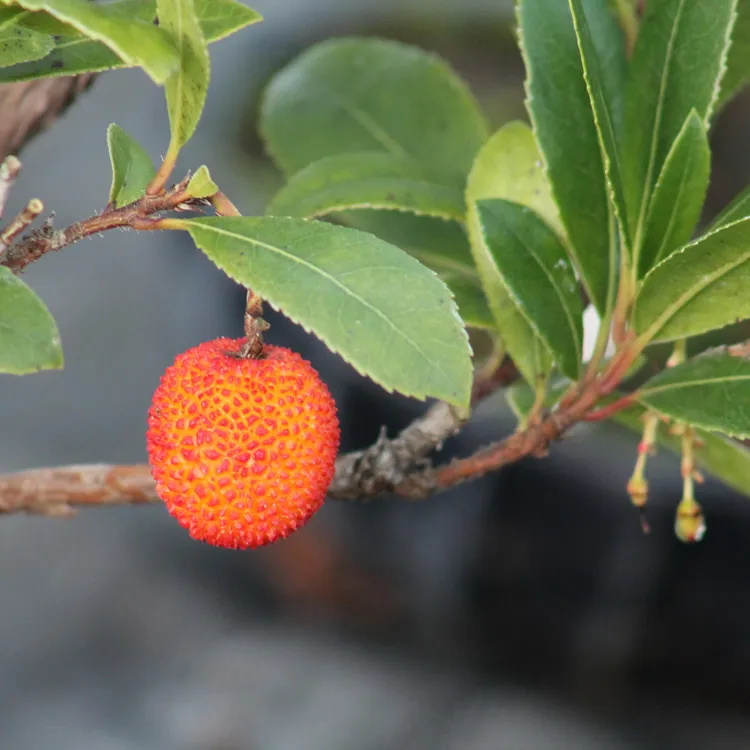
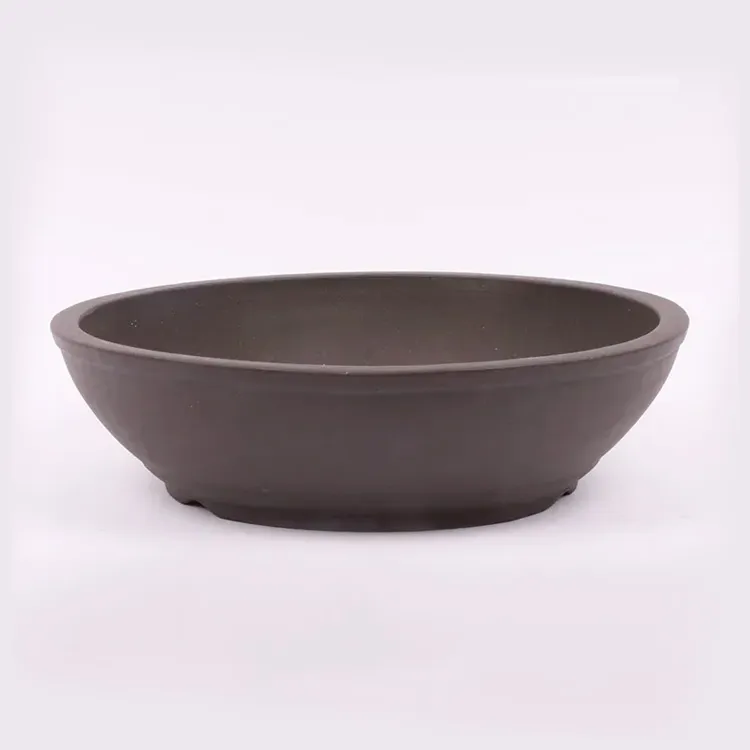
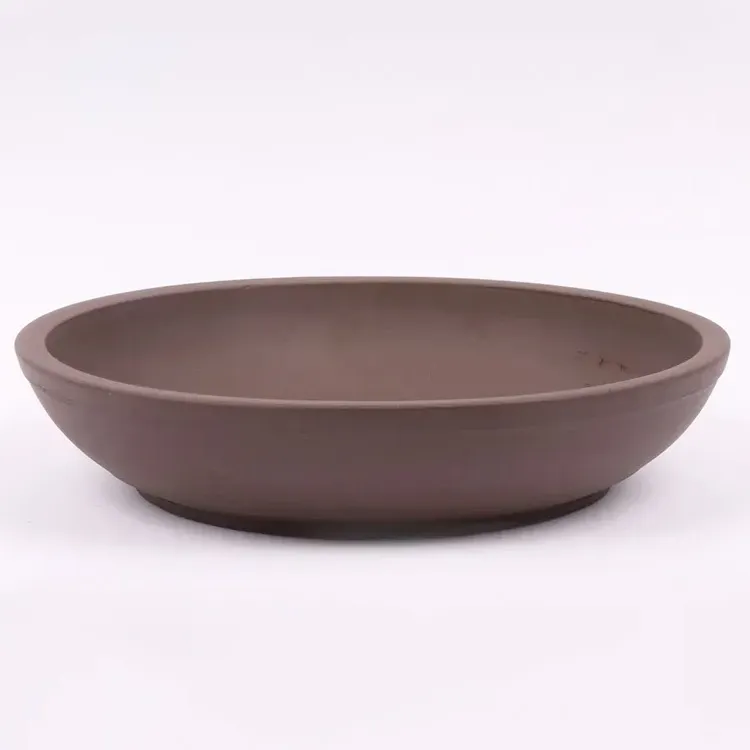
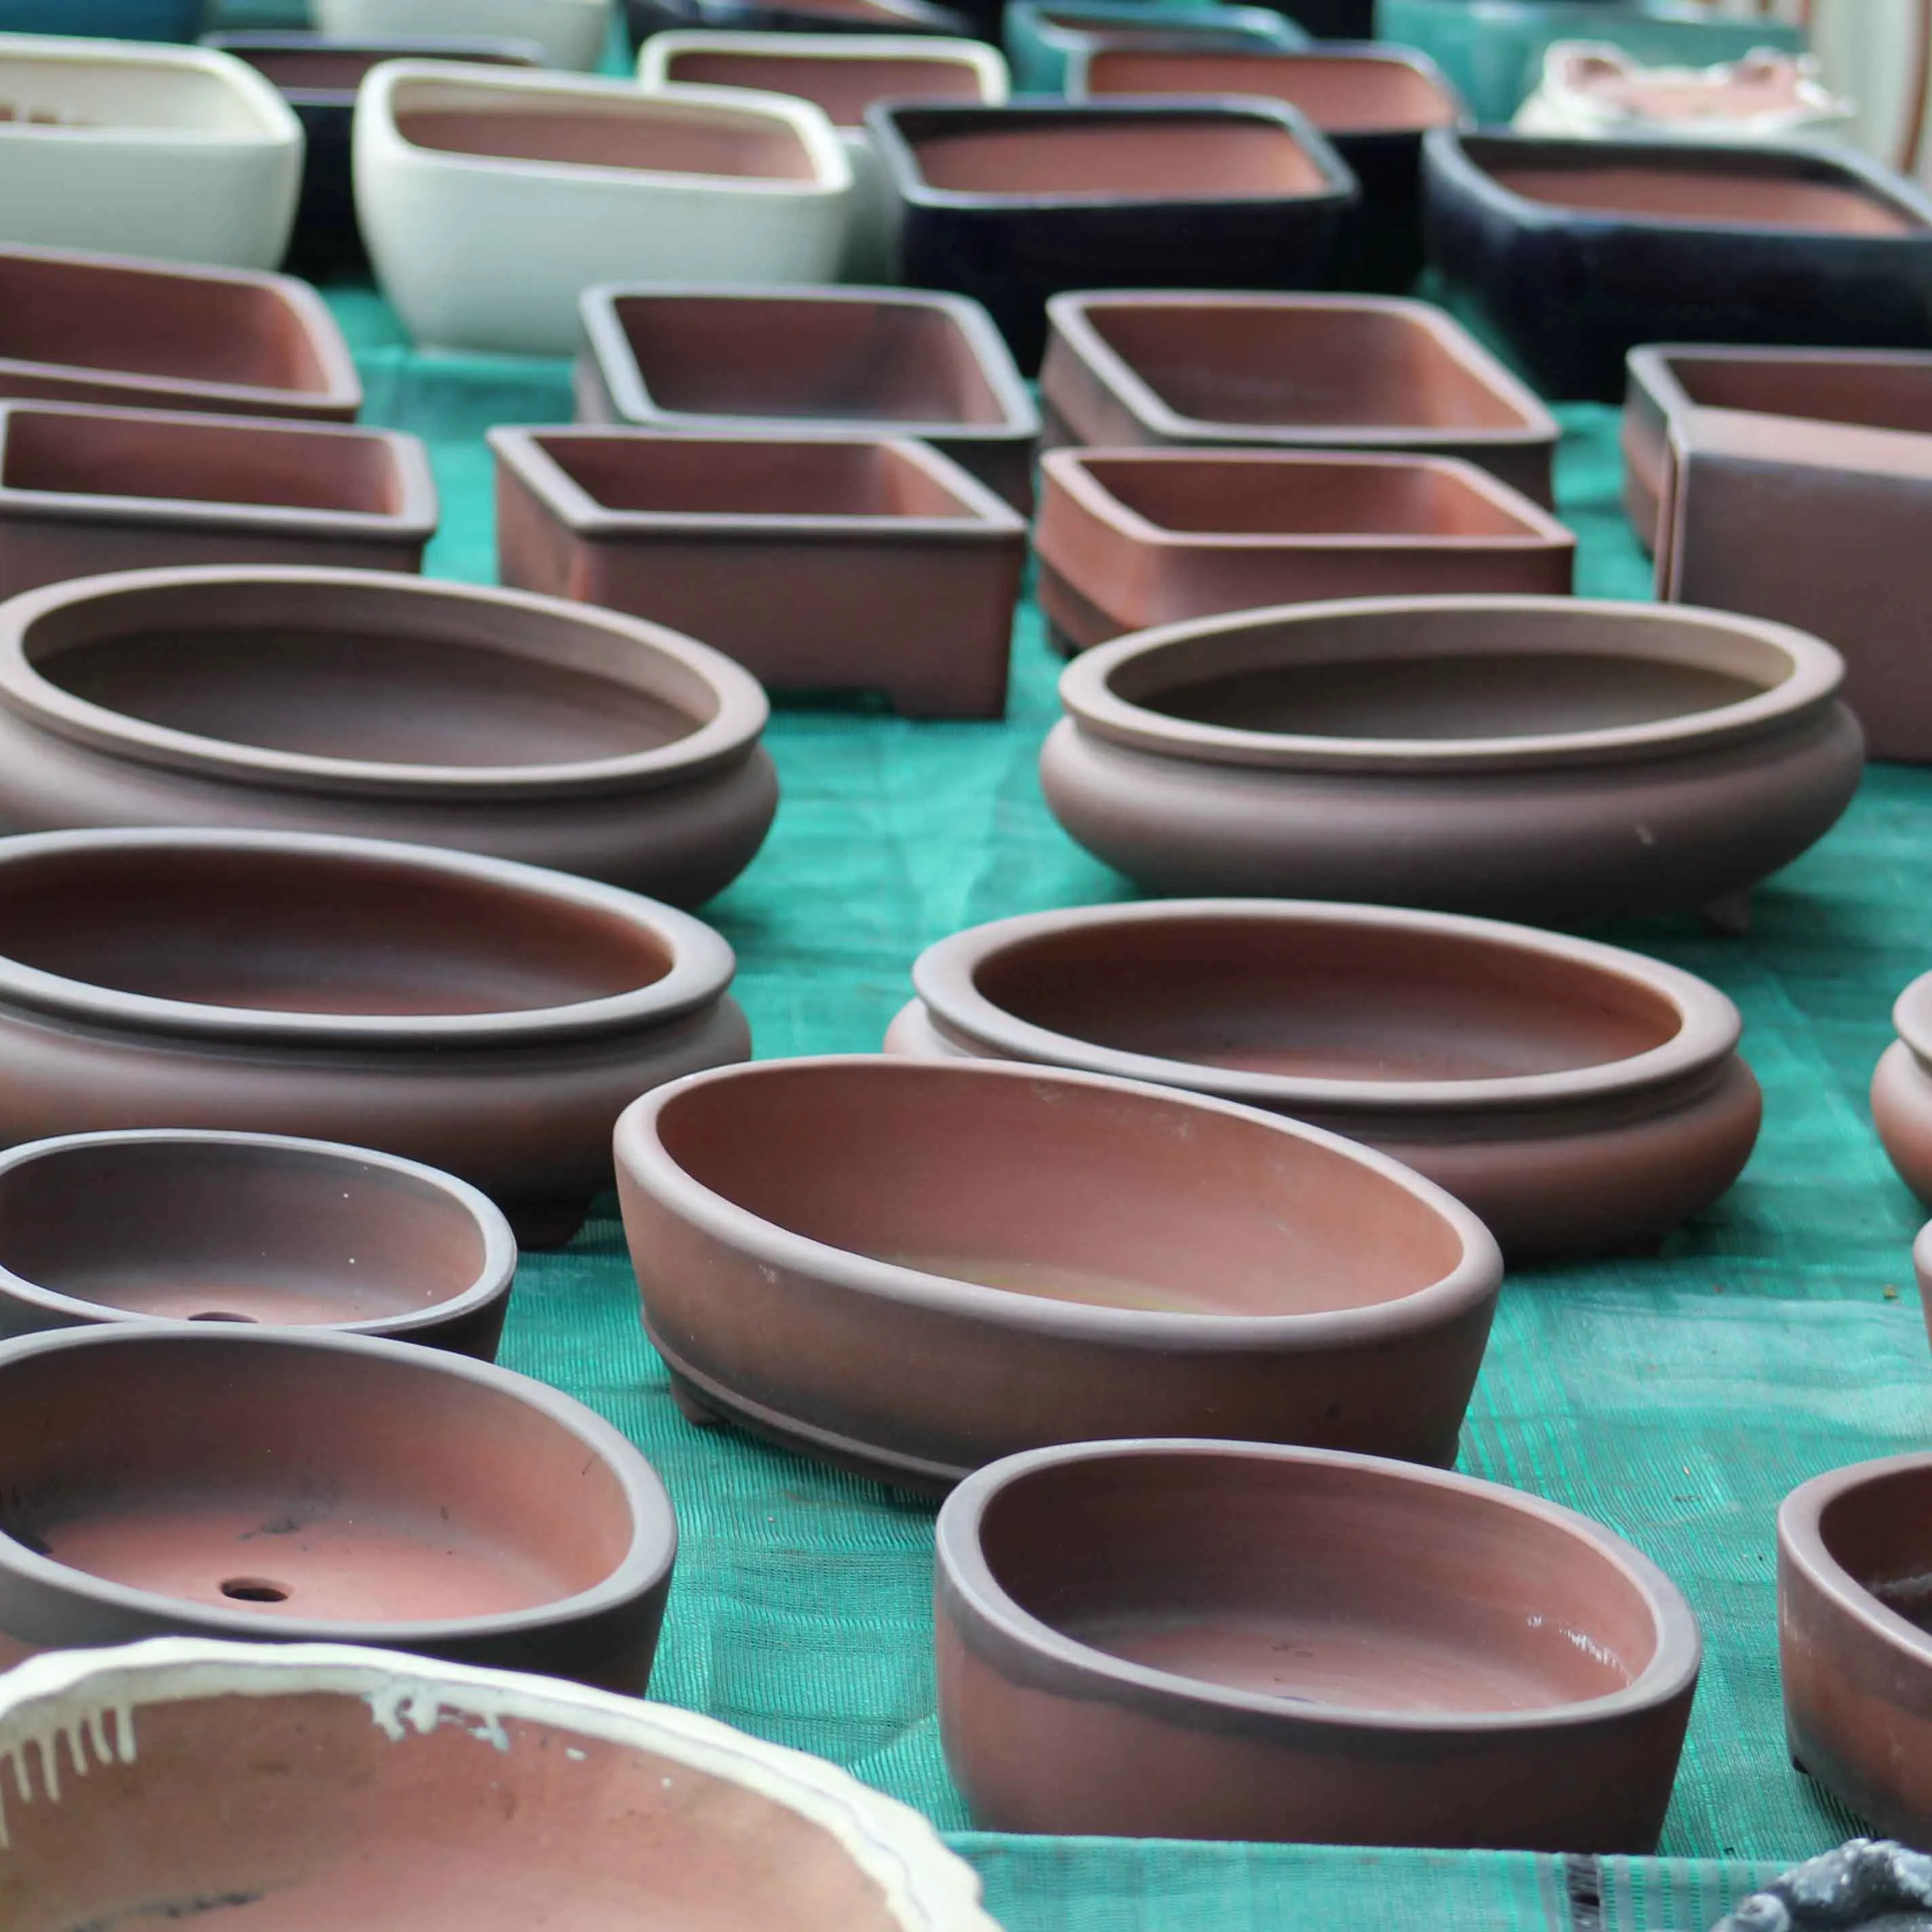
 Production of French Bonsai
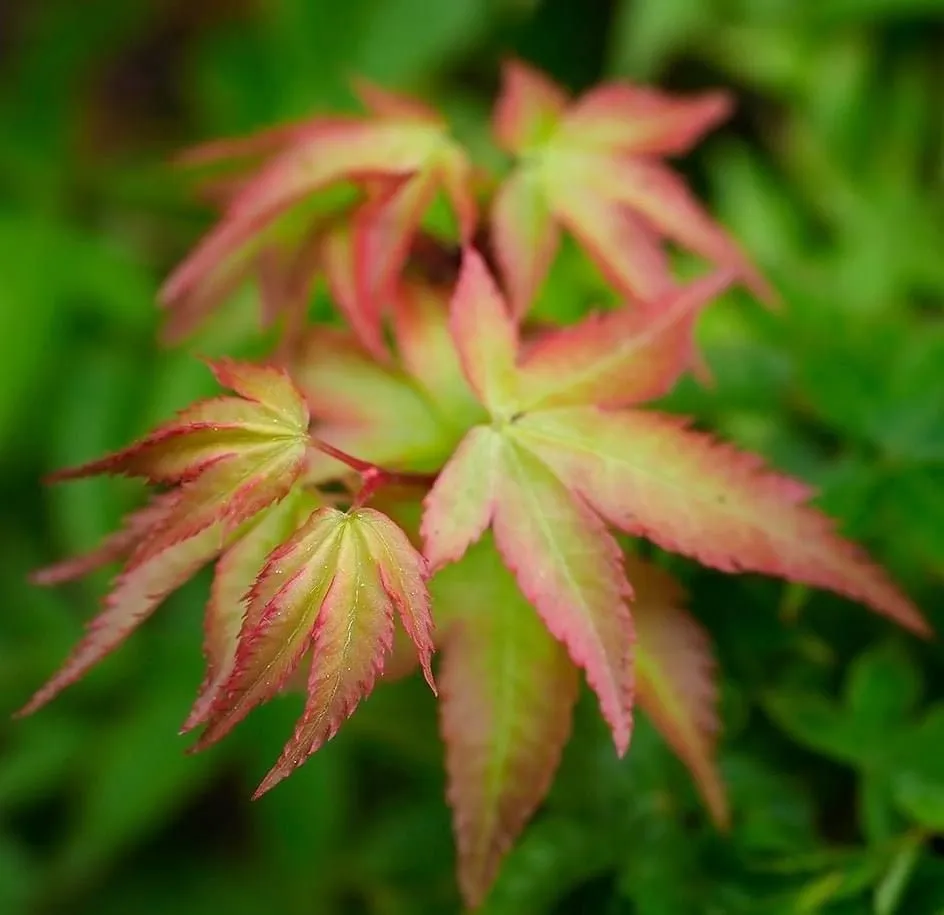
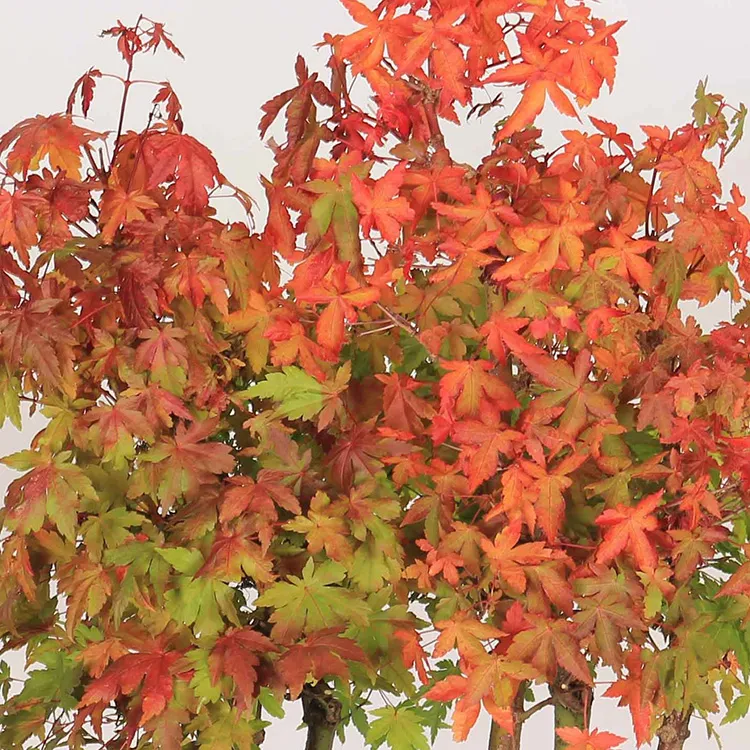
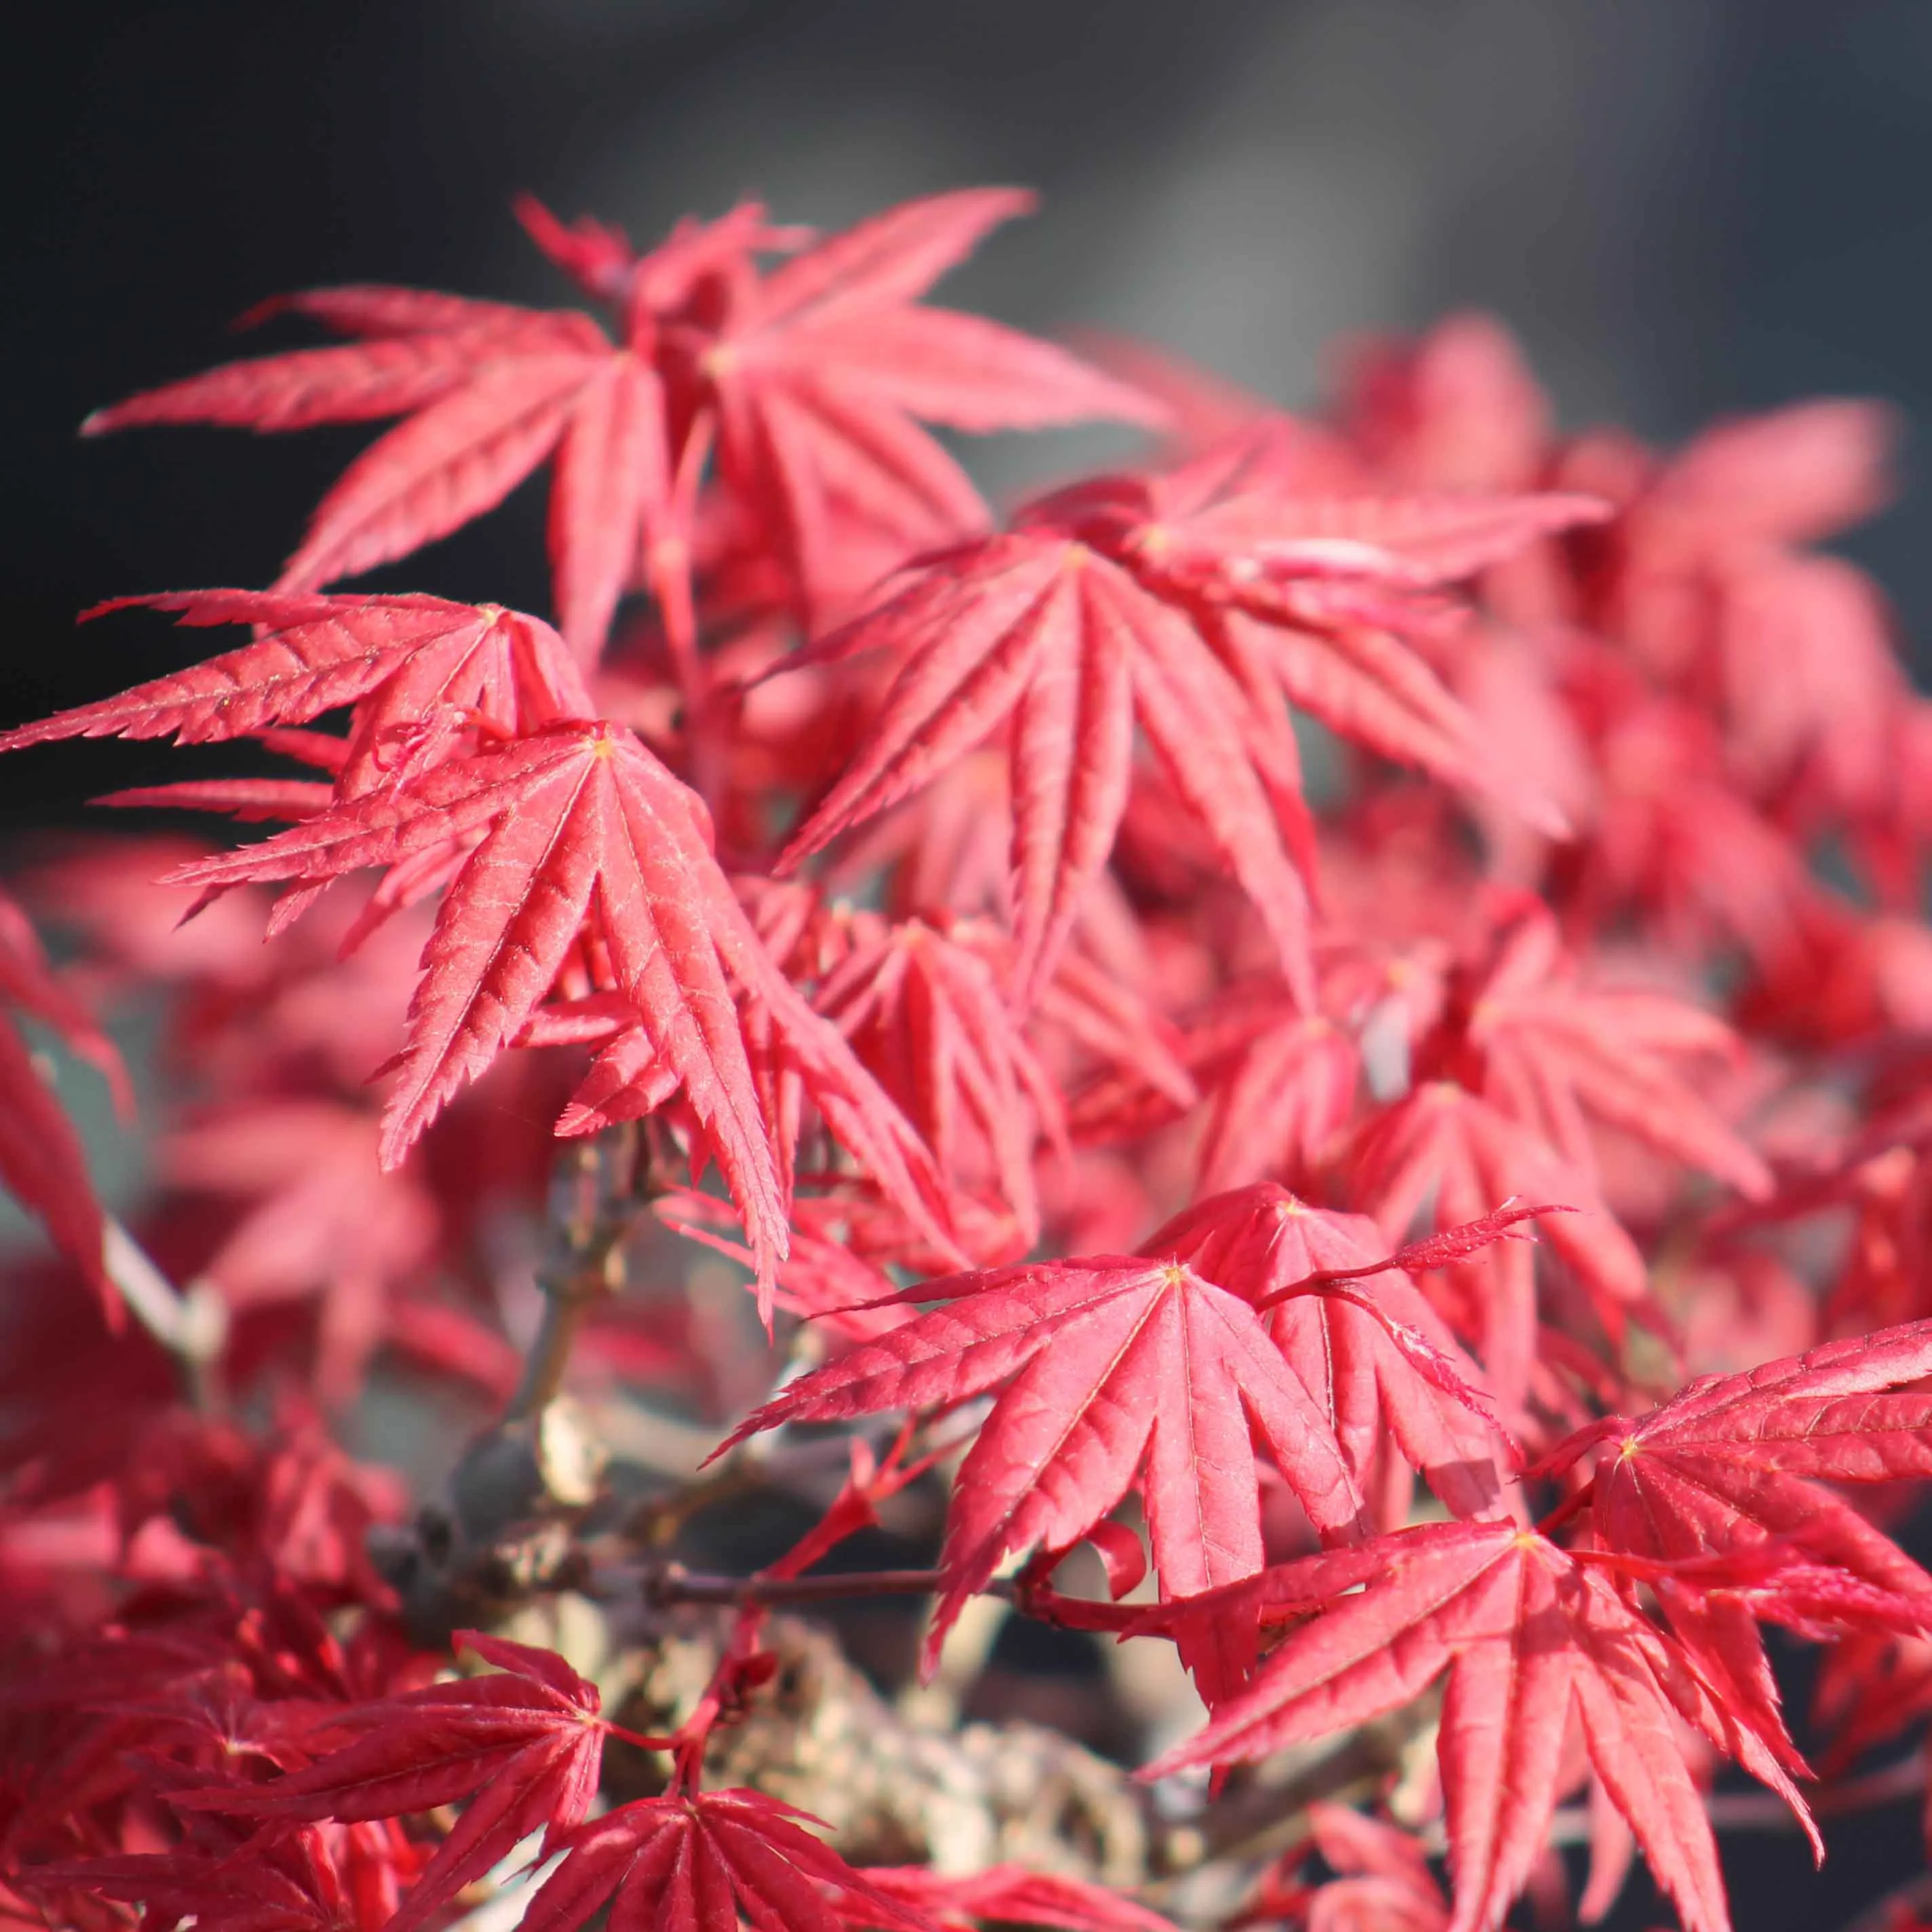
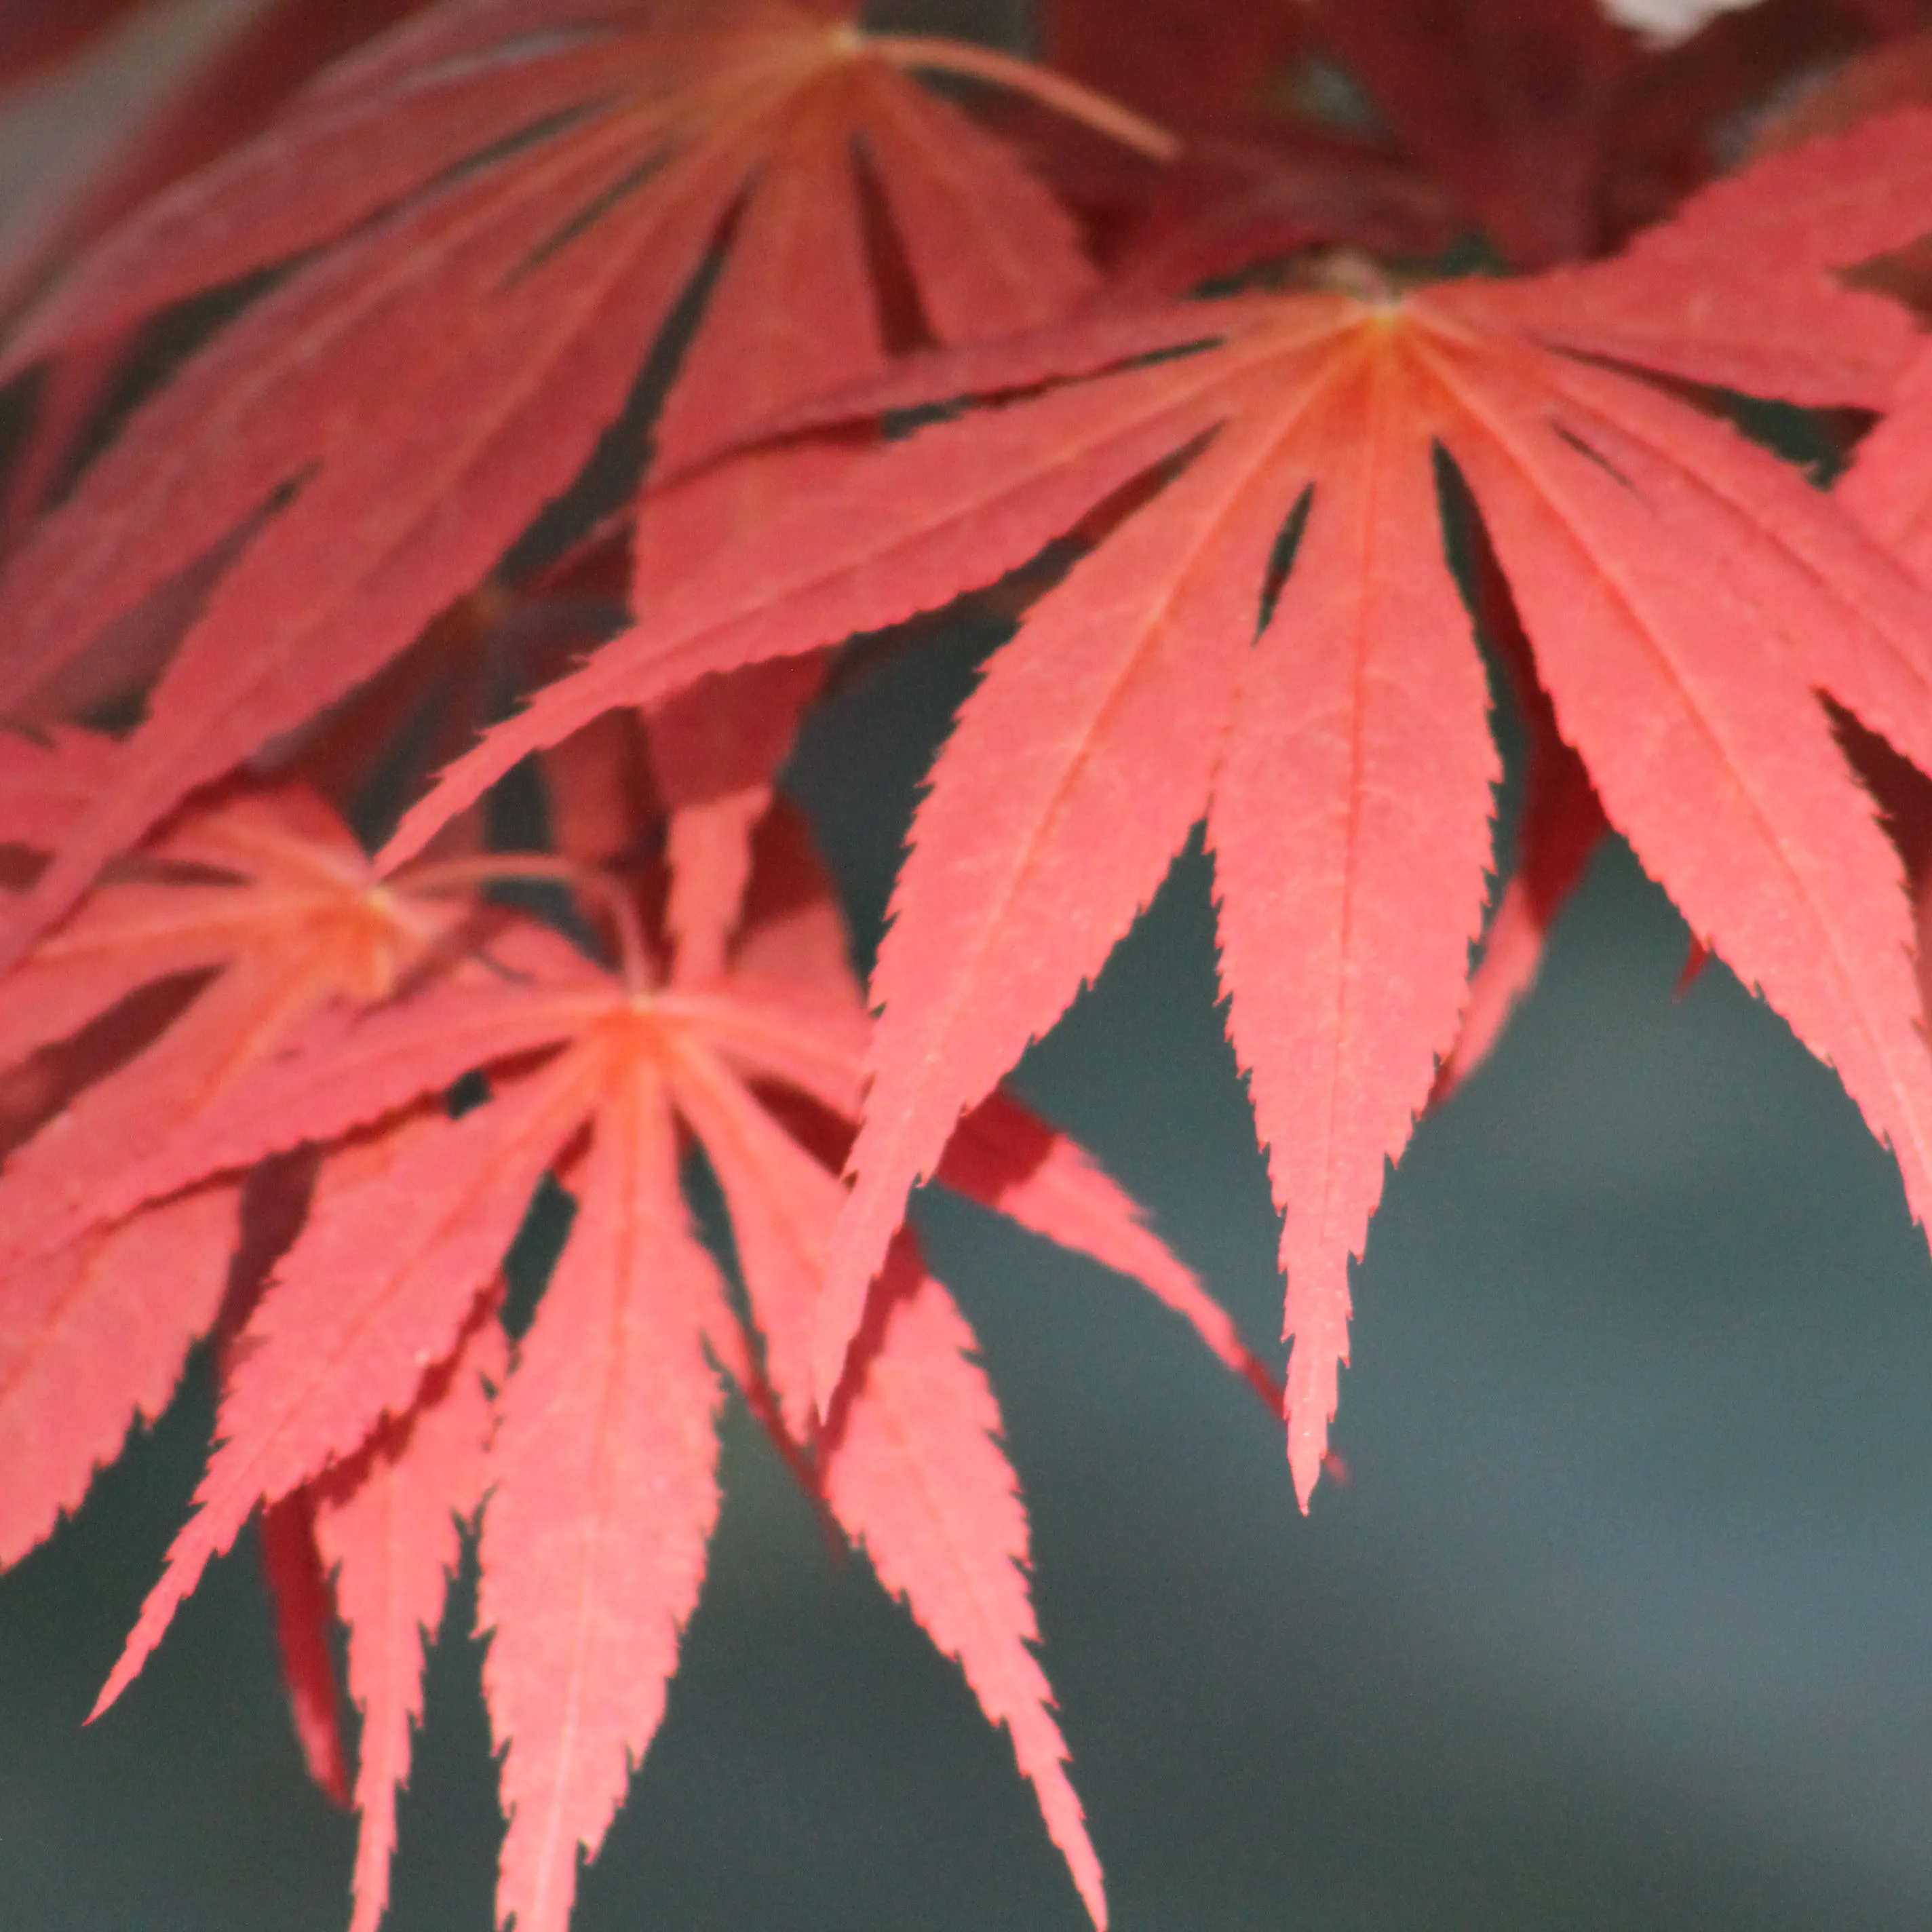
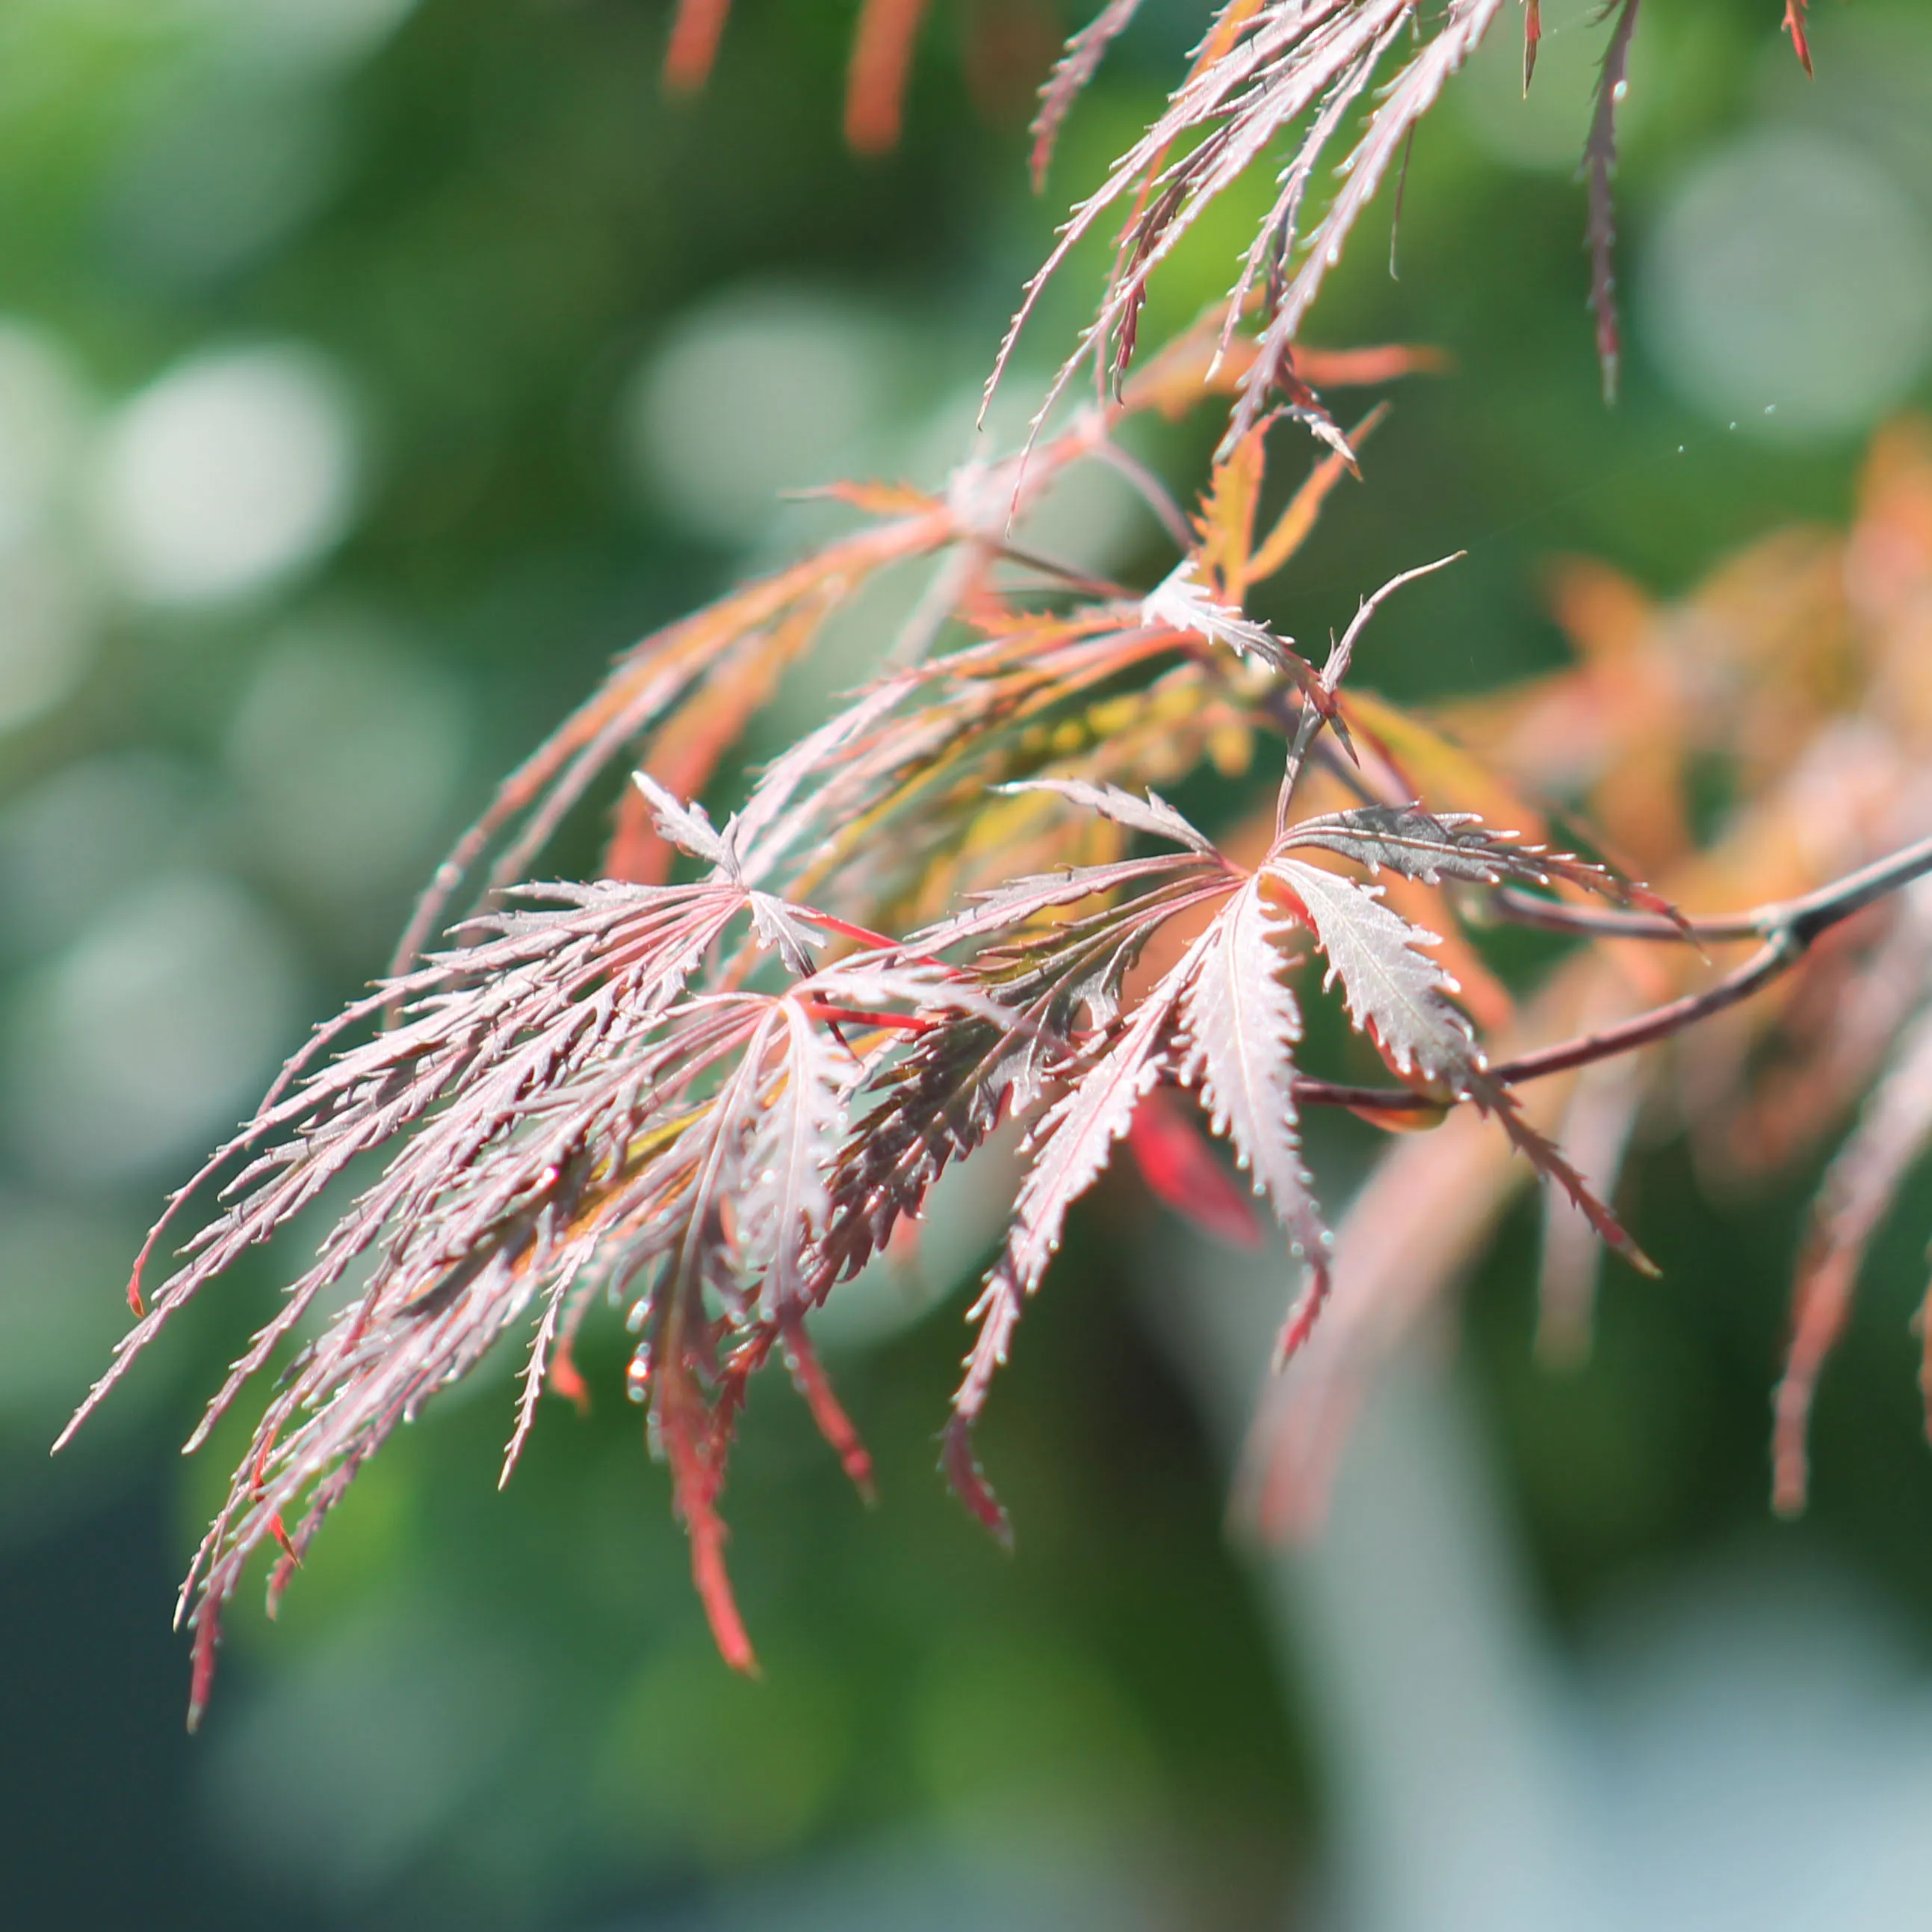
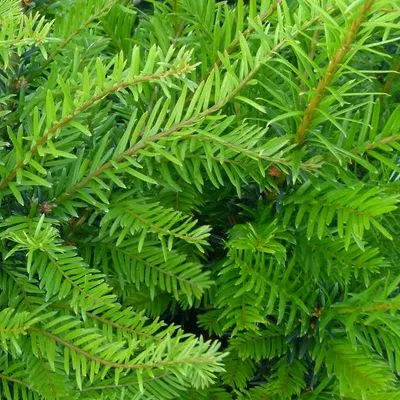
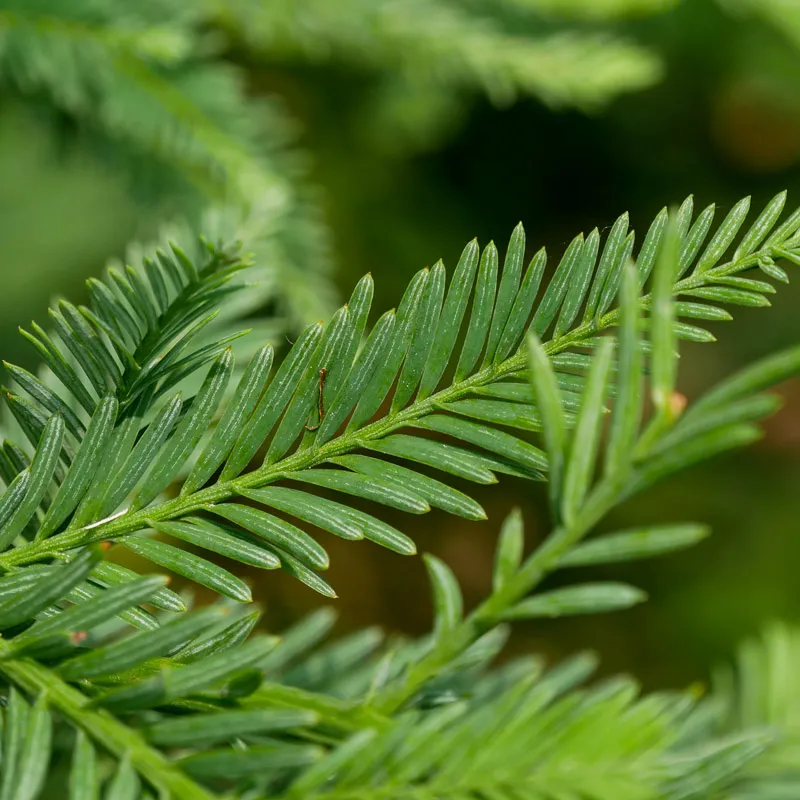

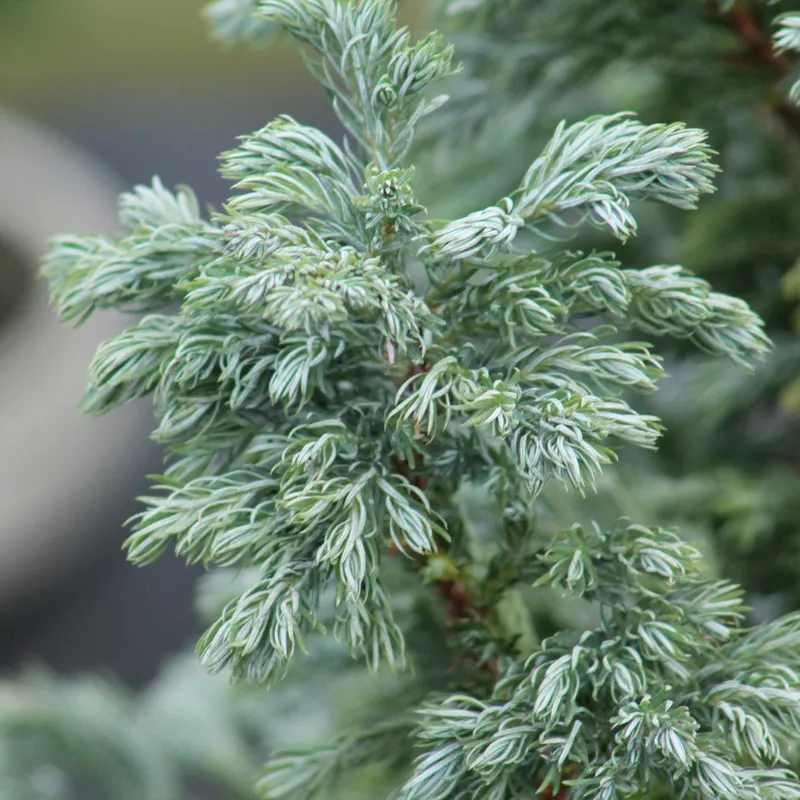
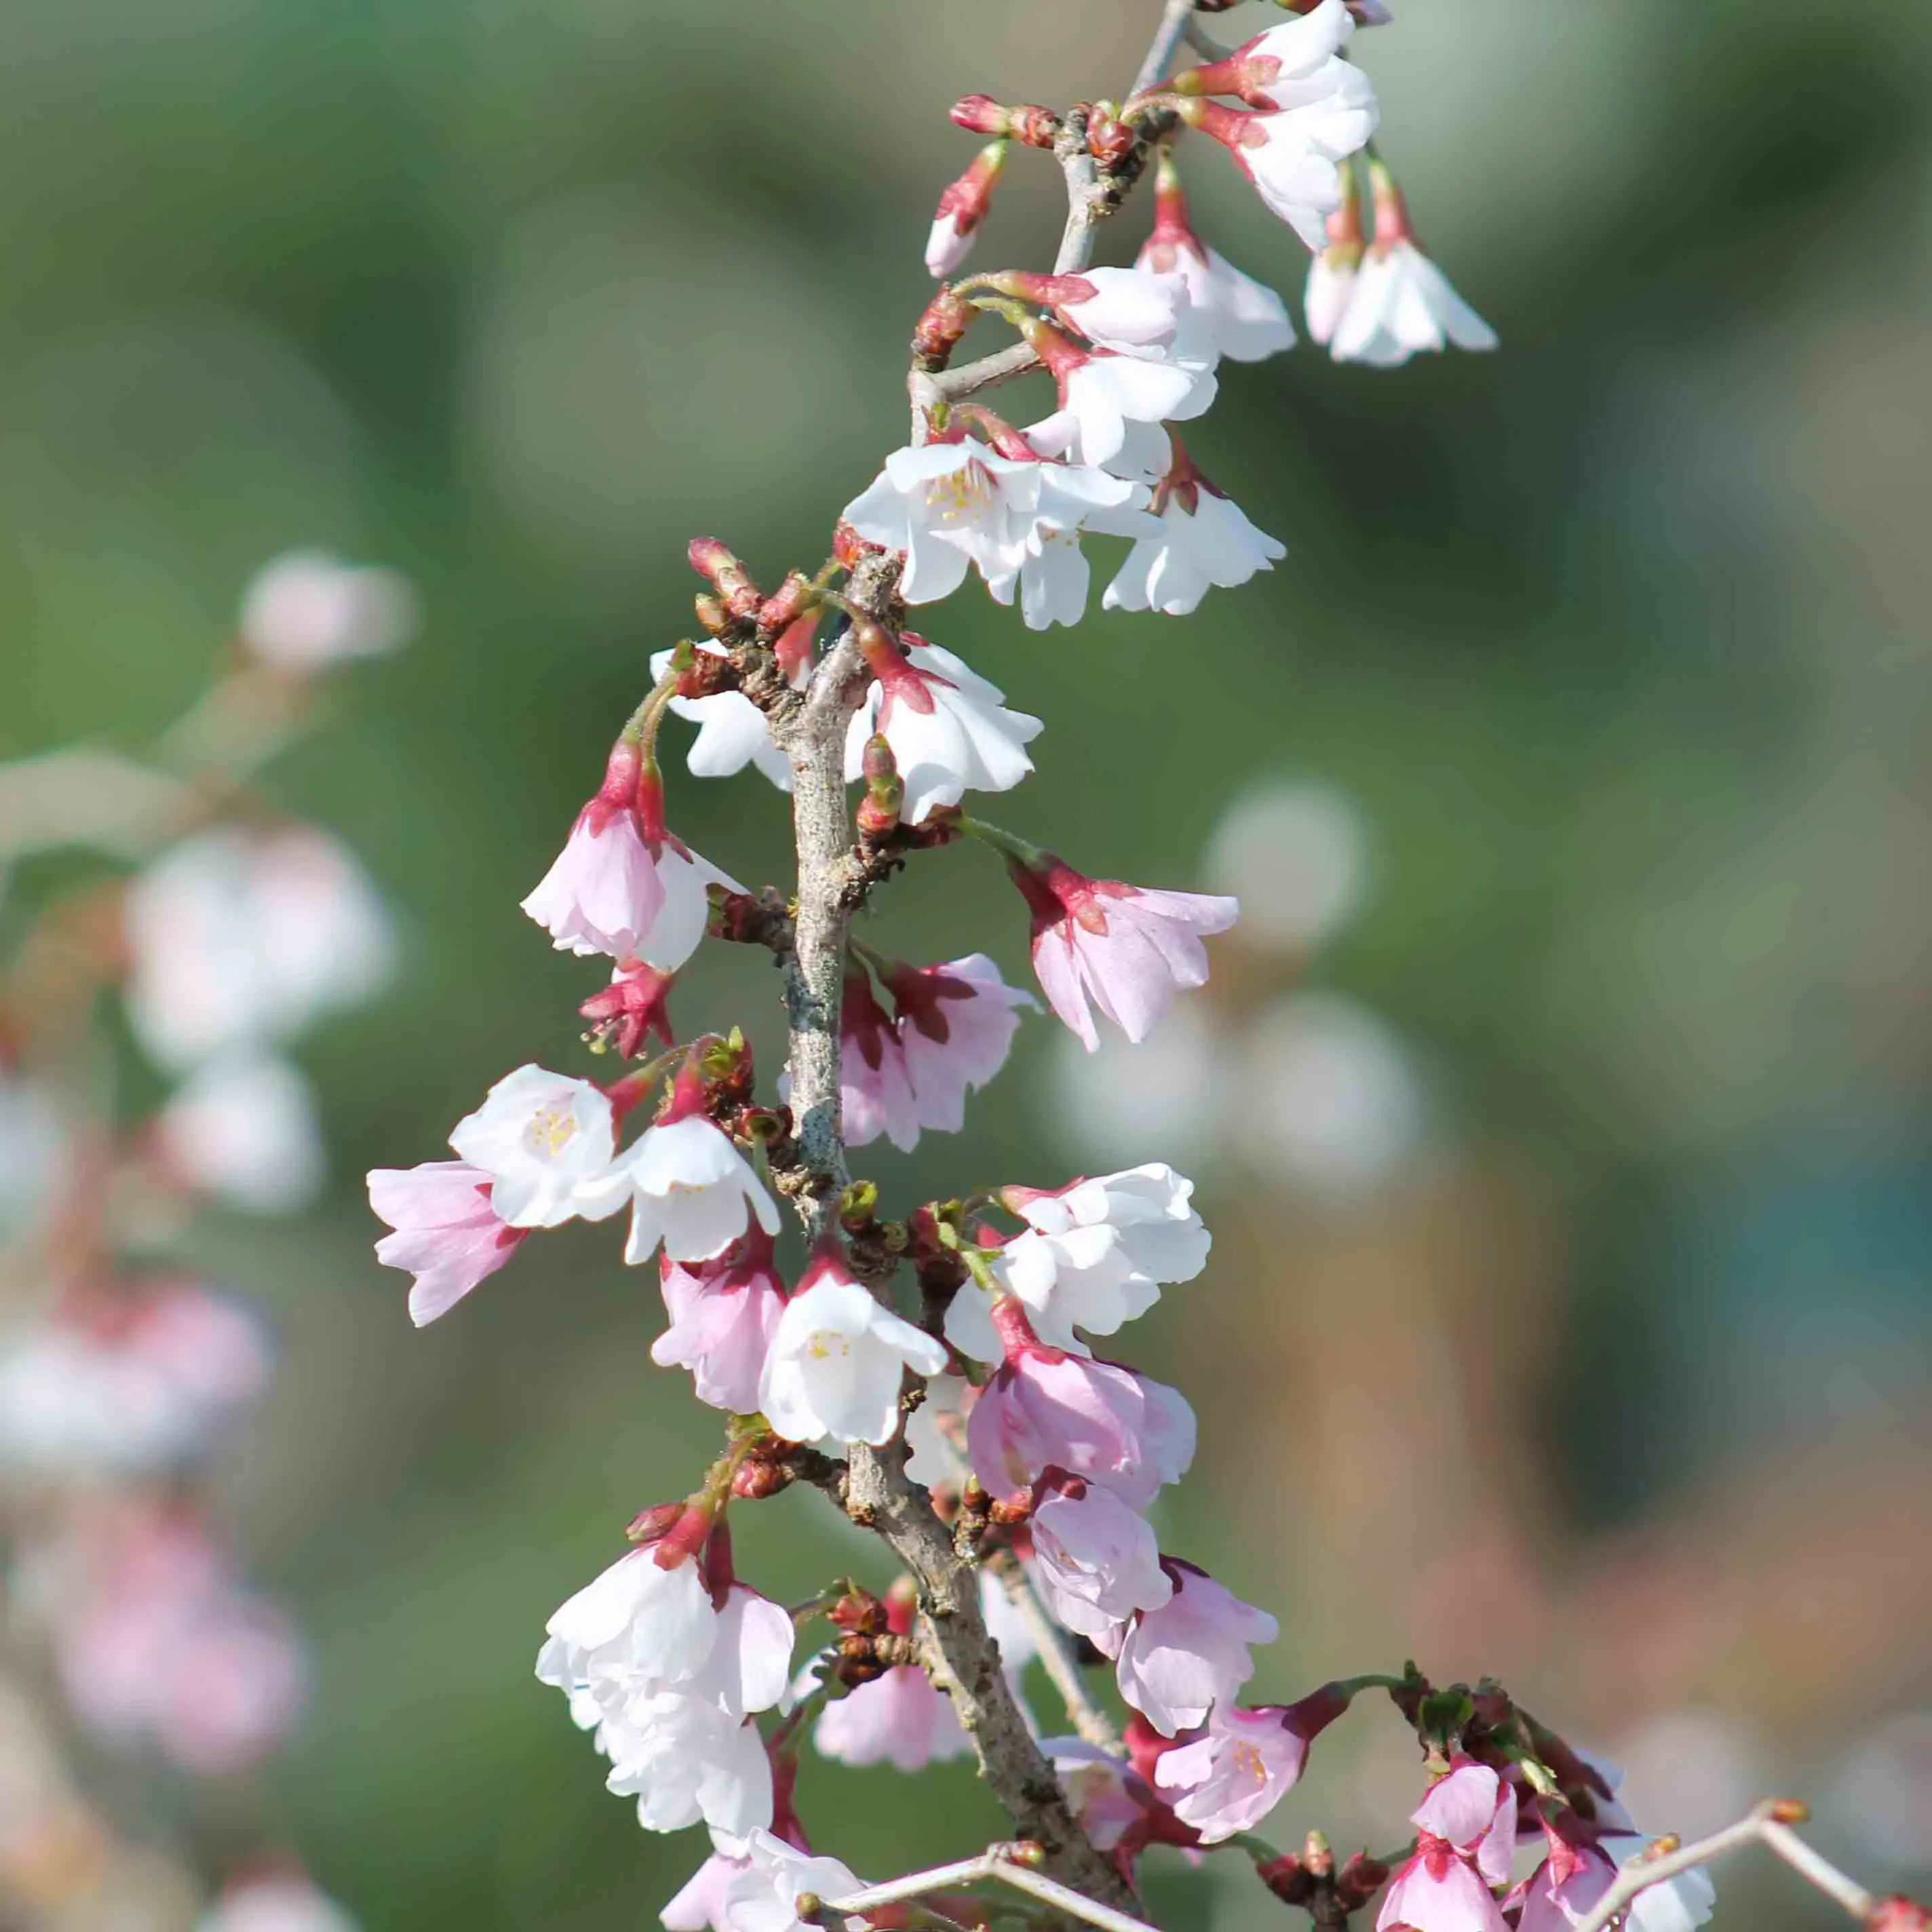

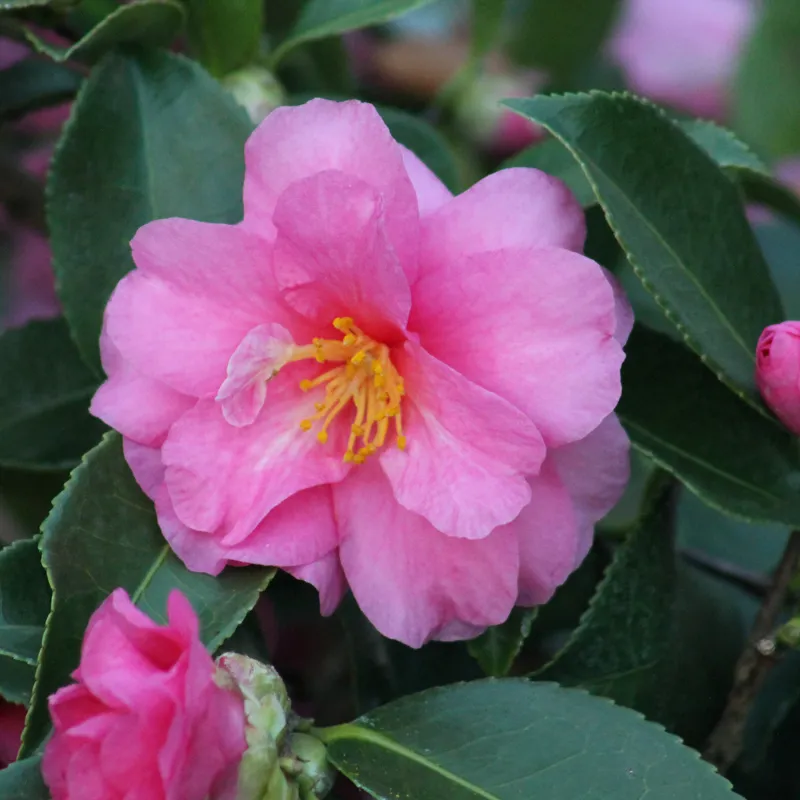
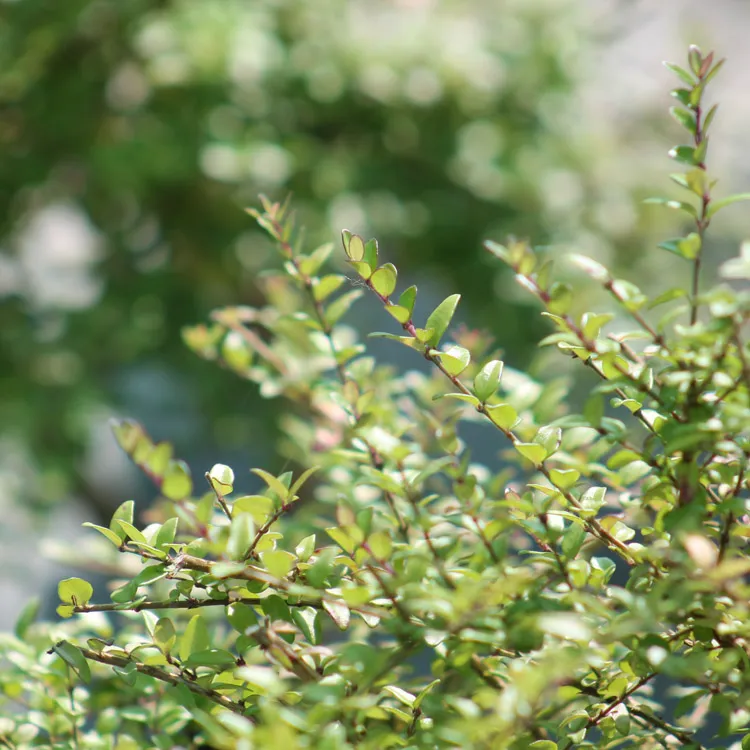
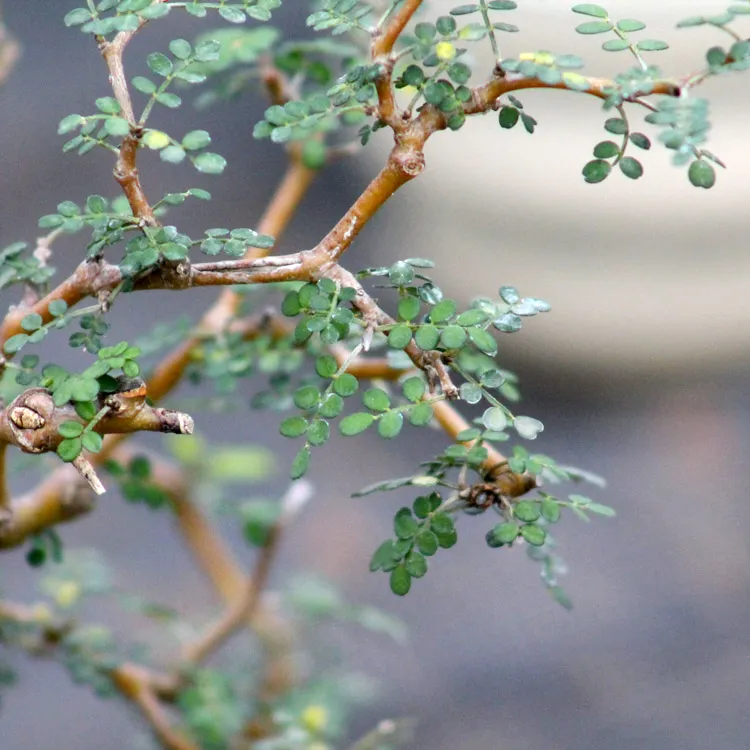
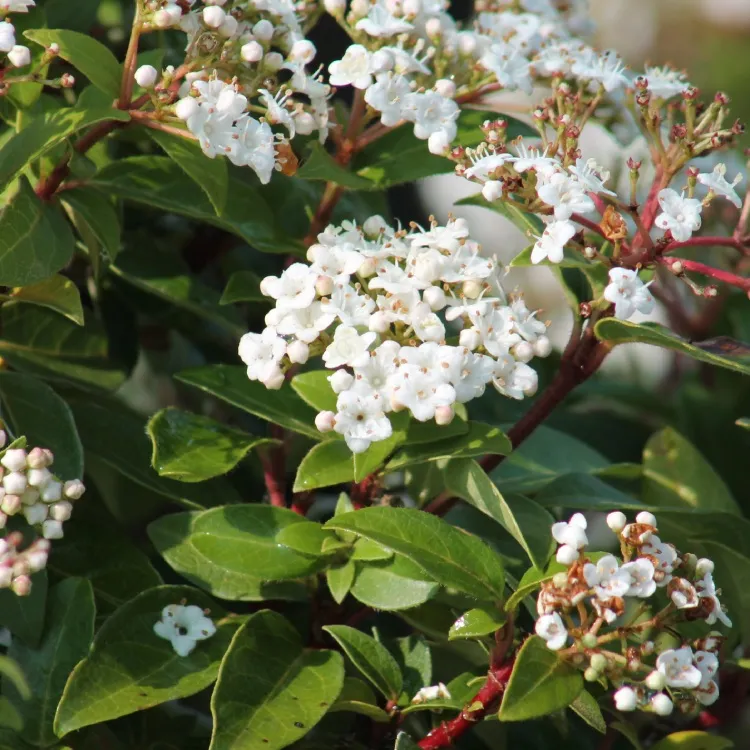

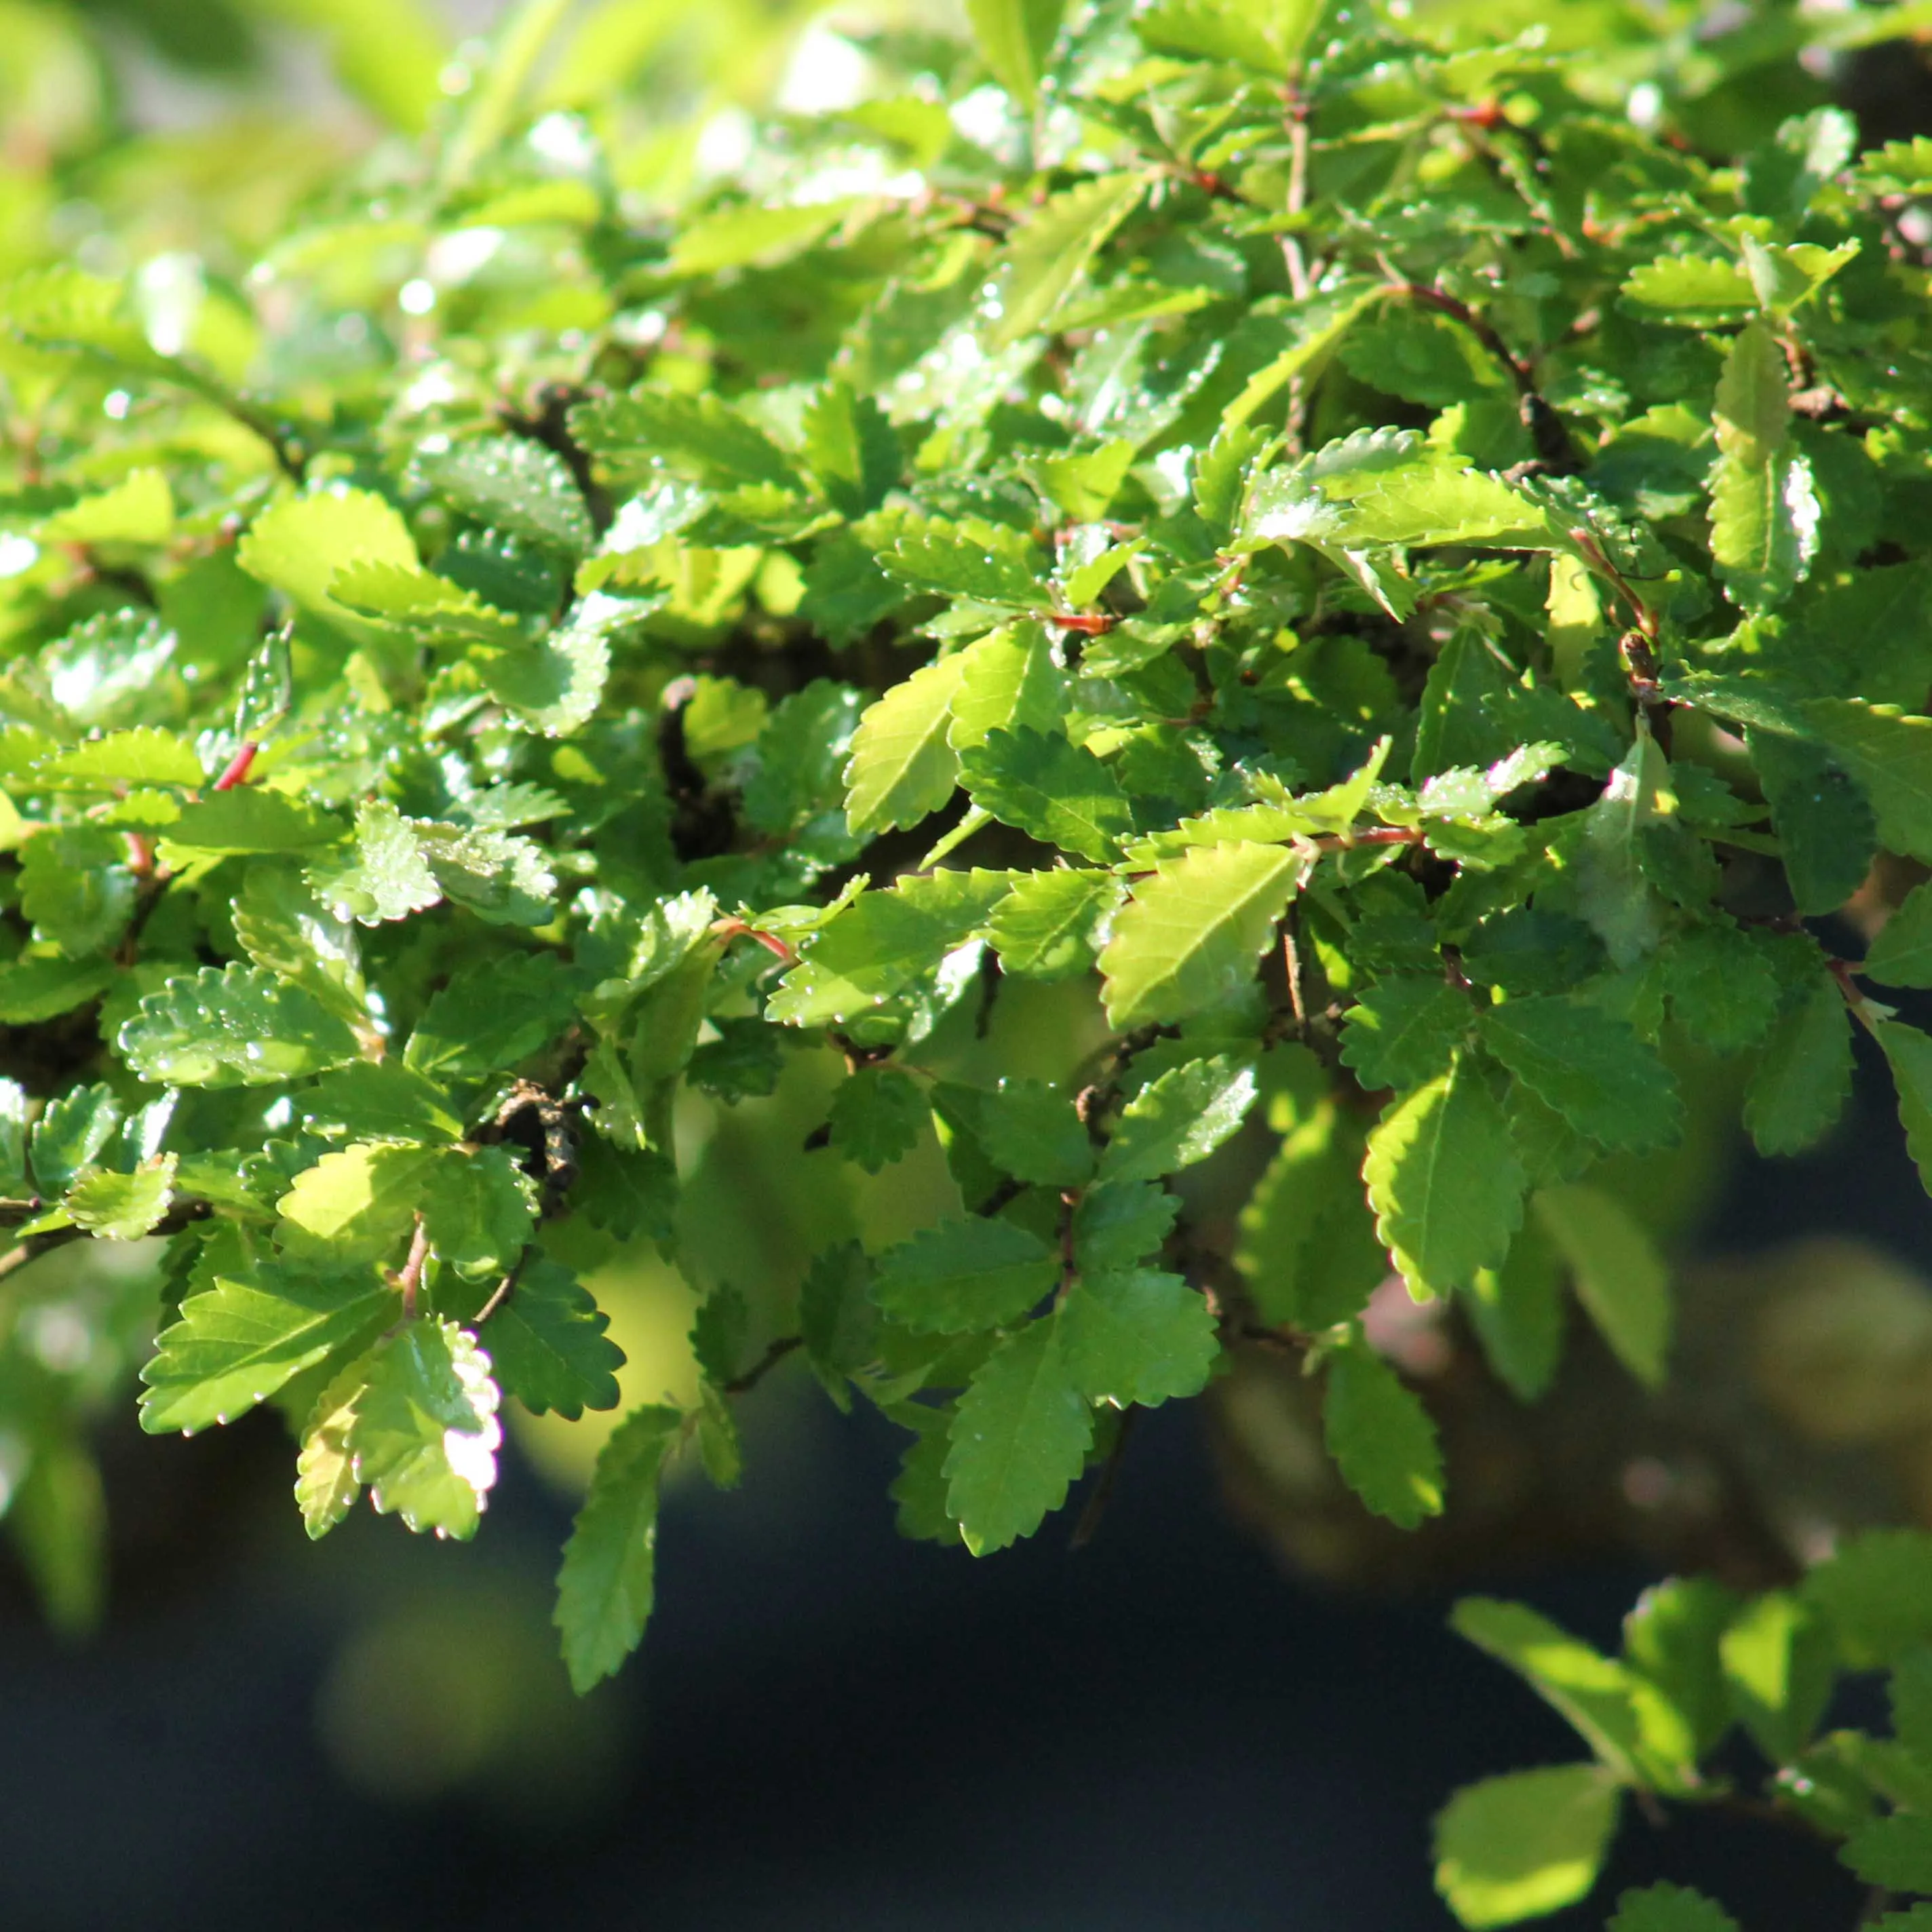


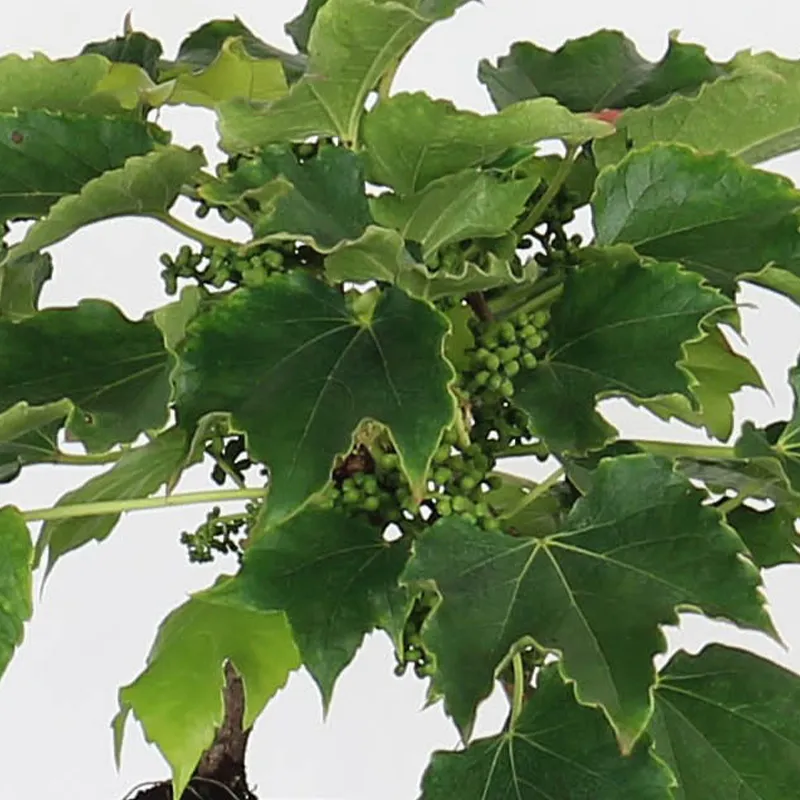
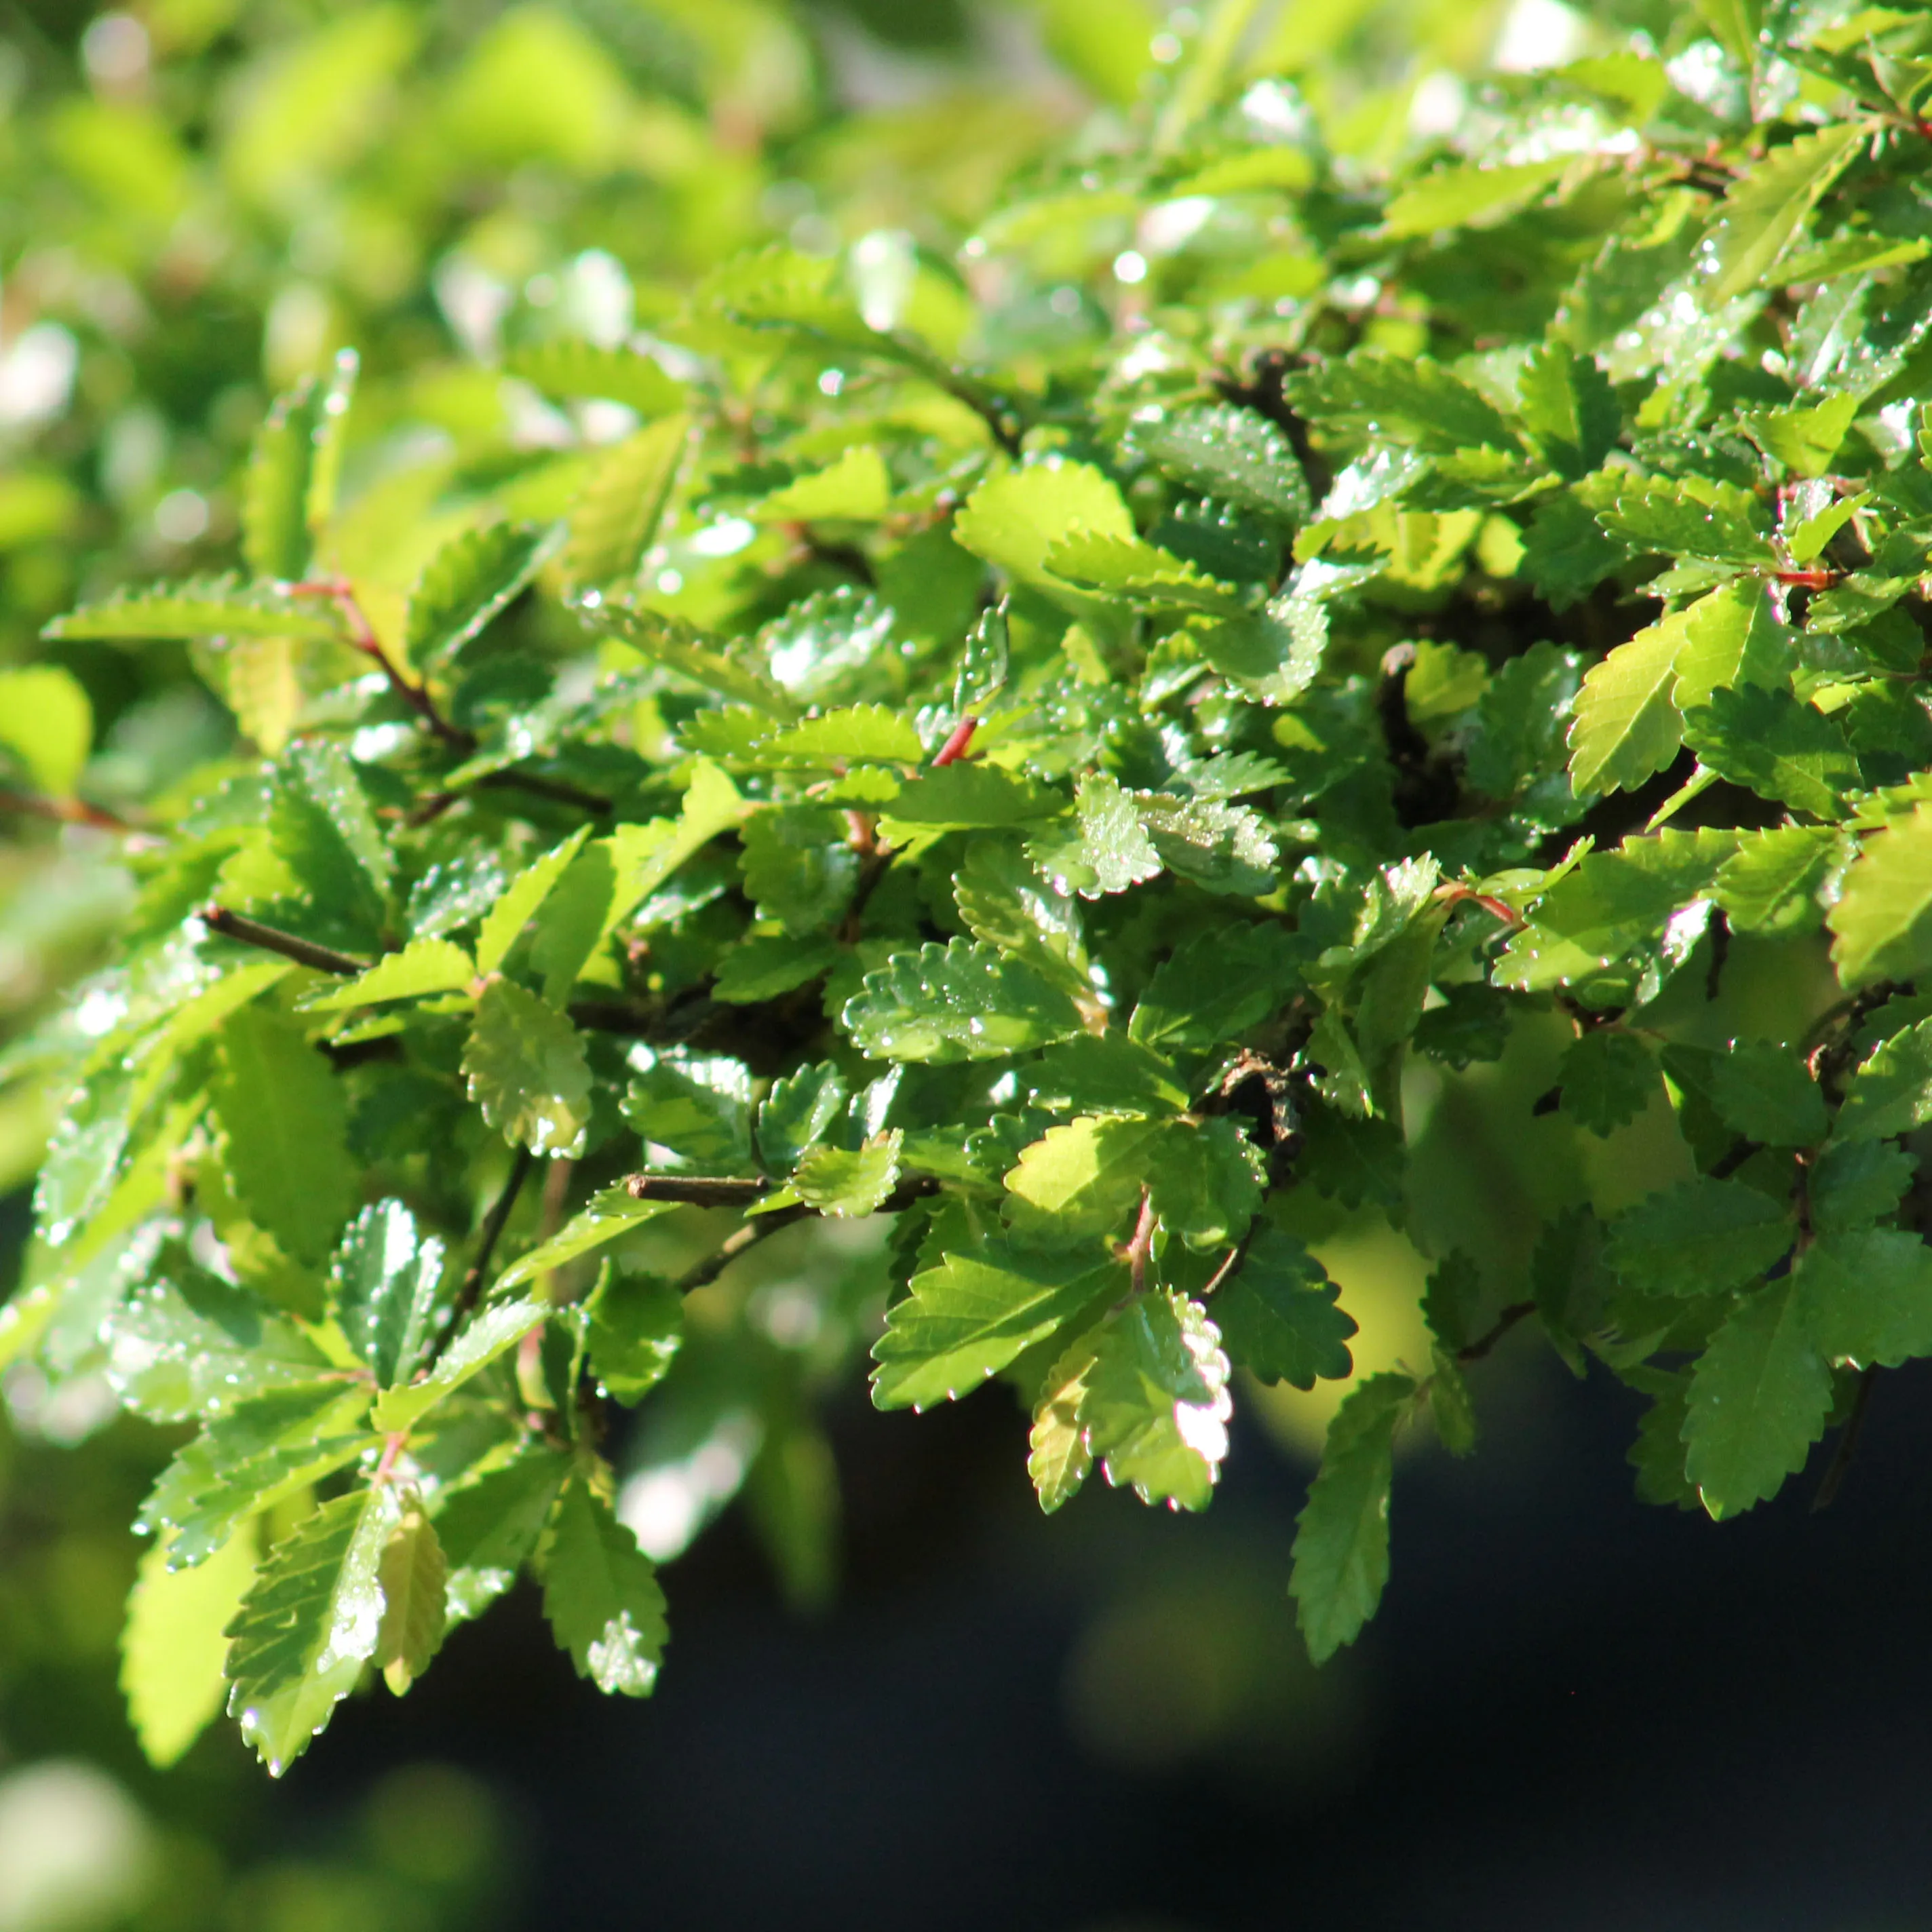
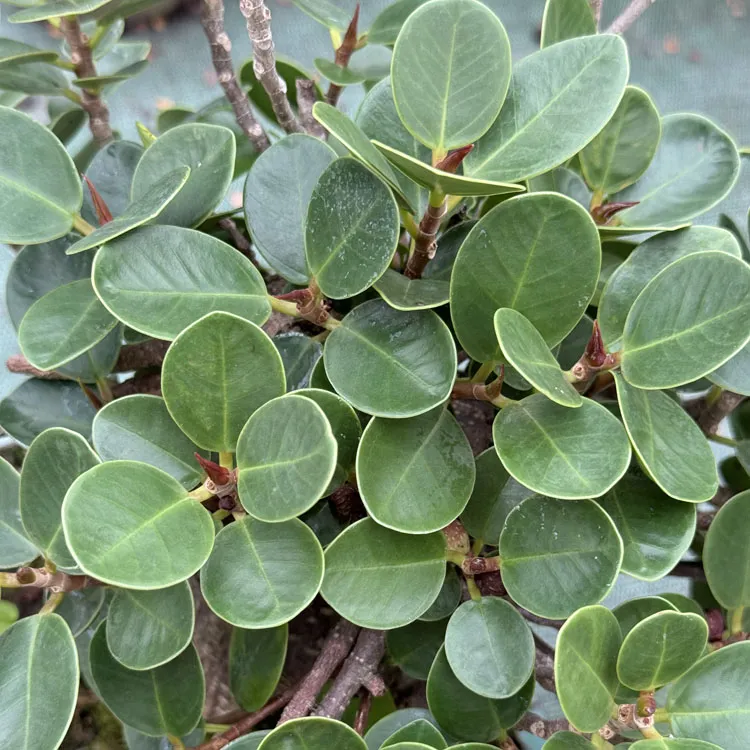
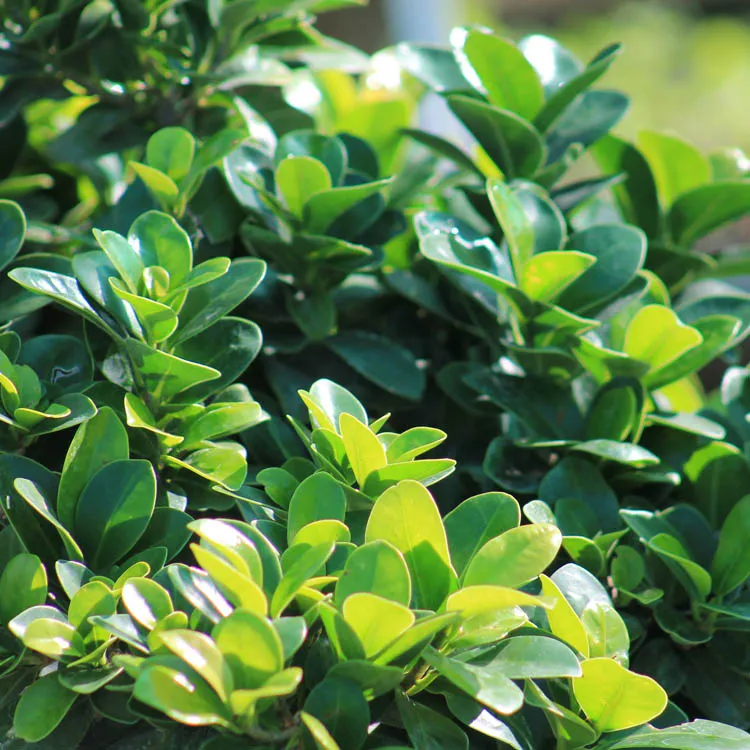
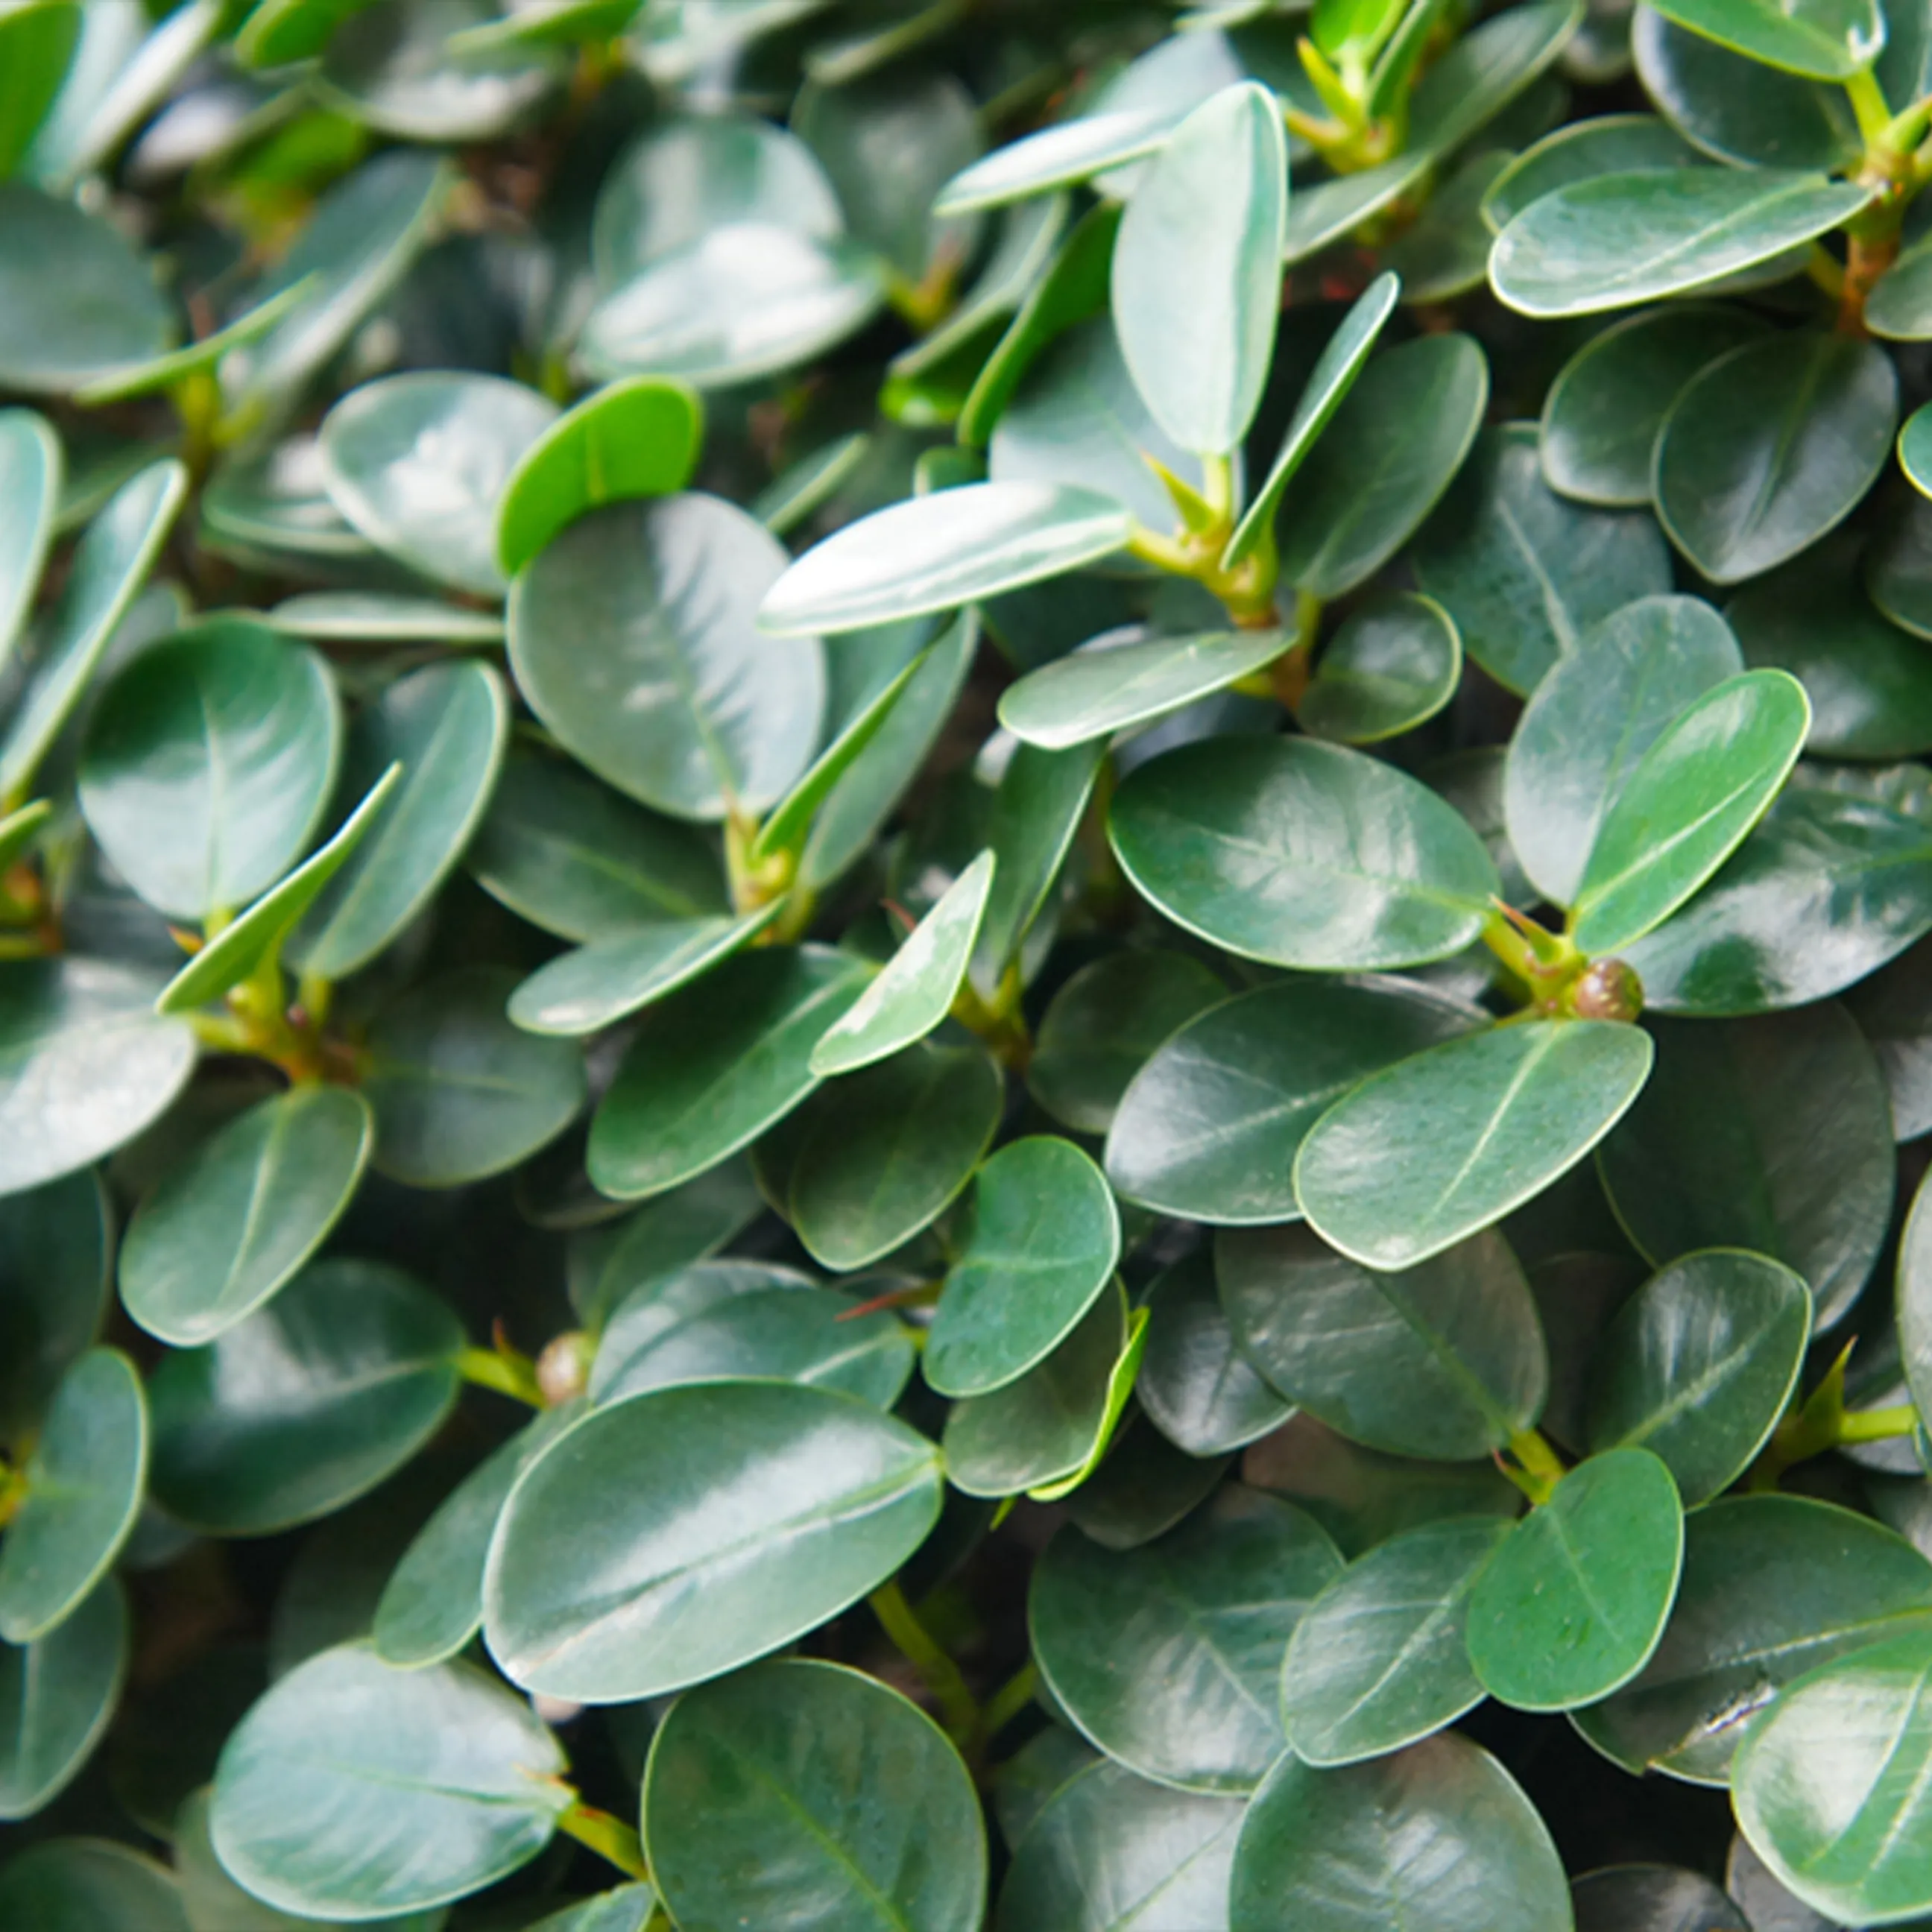

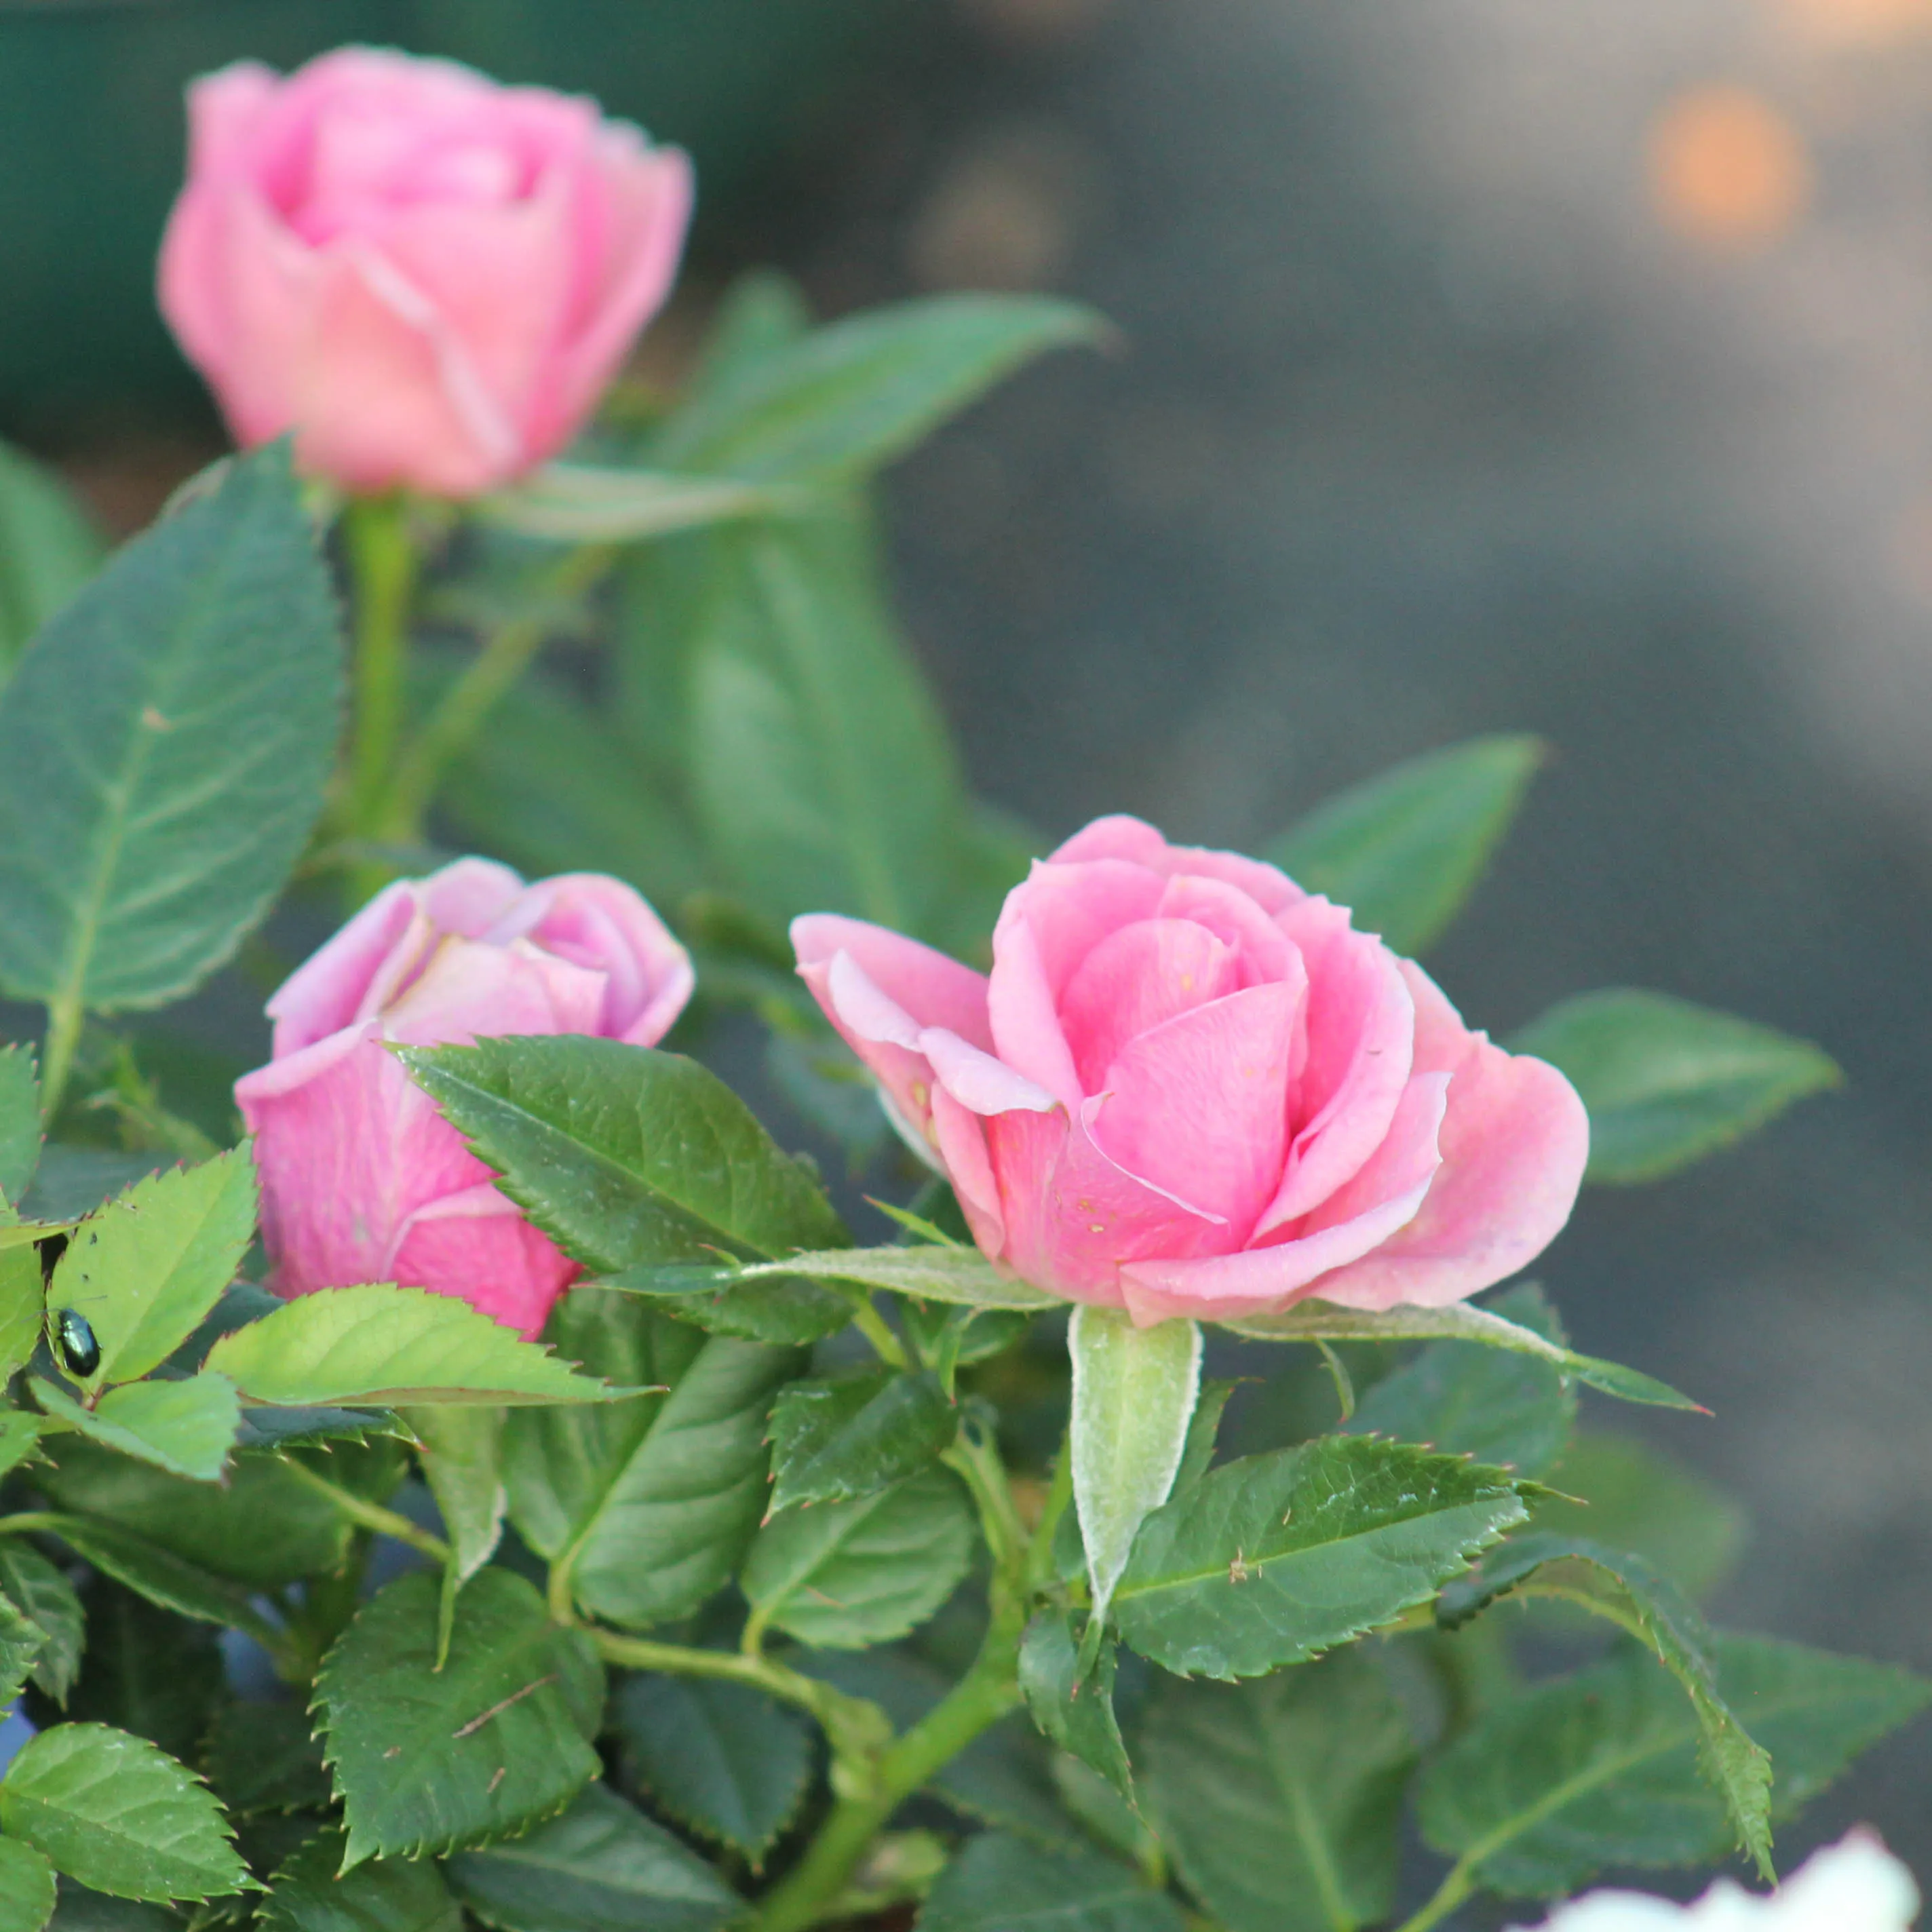

Most bonsai deciduous trees are trained using the clip and grow technique, resulting in massive trunks with soft shapes. In the early days of bonsai, when the use of ligature had not become the norm, many trees were trained in this way, solely by pruning.
But it's a technique that's not so easy to master. It often takes decades to get a bonsai that is presentable in exhibition, but the result is most of the time stunning, with a very natural rendering.
What is the clip and grow technique?
To answer this question, we must first go back to the fundamentals of bonsai aesthetics. What we are looking to have is:
- A trunk with a nice taper, i.e. it should be massive at the base and regularly become thinner and thinner as you go up towards the top;
- The trunk should have a slight movement, unless you are looking to form a strictly straight bonsai (the formal straight style, or CHOKKAN)
- The lower branches should be larger than the top branches, and also have taper and slight movement.
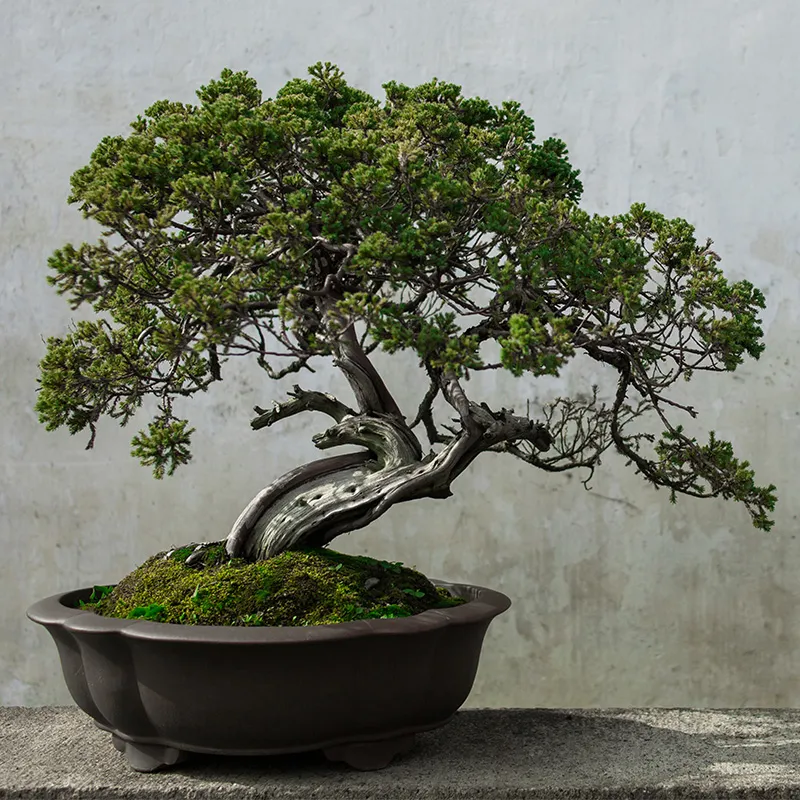
It is these elements that, in part, give the impression of having an old tree in front of you, with a natural look.
Now imagine that you have a plant set with which you want to create a bonsai. The trunk is usually thin (relative to the height of the tree), lacks taper and looks more like a straight stake. It gives the image of a young tree, and not that of this venerable tree that has survived the decades.
It will therefore be necessary to make this young plant bigger, and work it regularly to give it this sought-after taper. The clip and grow technique will help us with this.
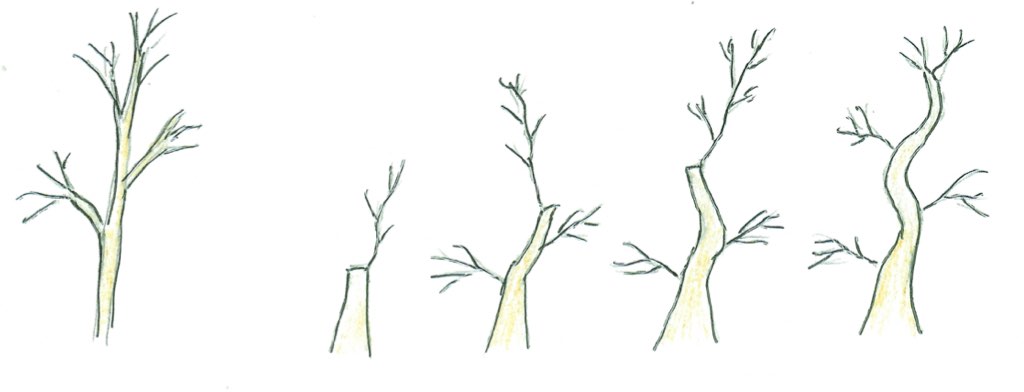
The principle of clip and grow is to let your tree grow freely in order to make it bigger, then prune it severely to force it to emit new buds, which will give continuity to the trunk and branches.
When should you use this technique?
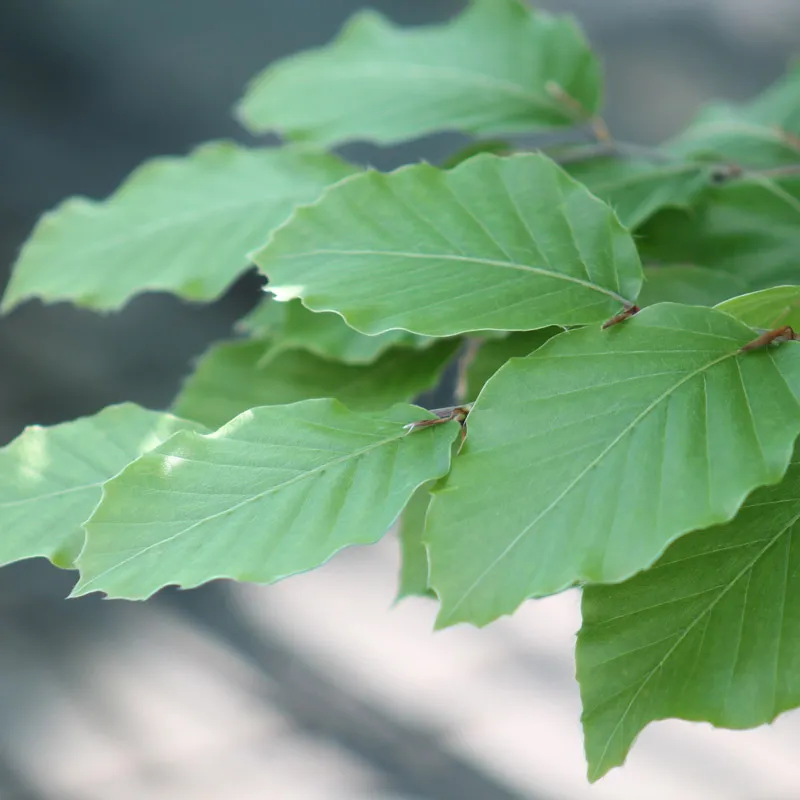
To fully understand clip and grow, you need to understand how a tree grows. When you prune the year's twigs (i.e., do maintenance pruning), you block growth (see: how to prune a bonsai).
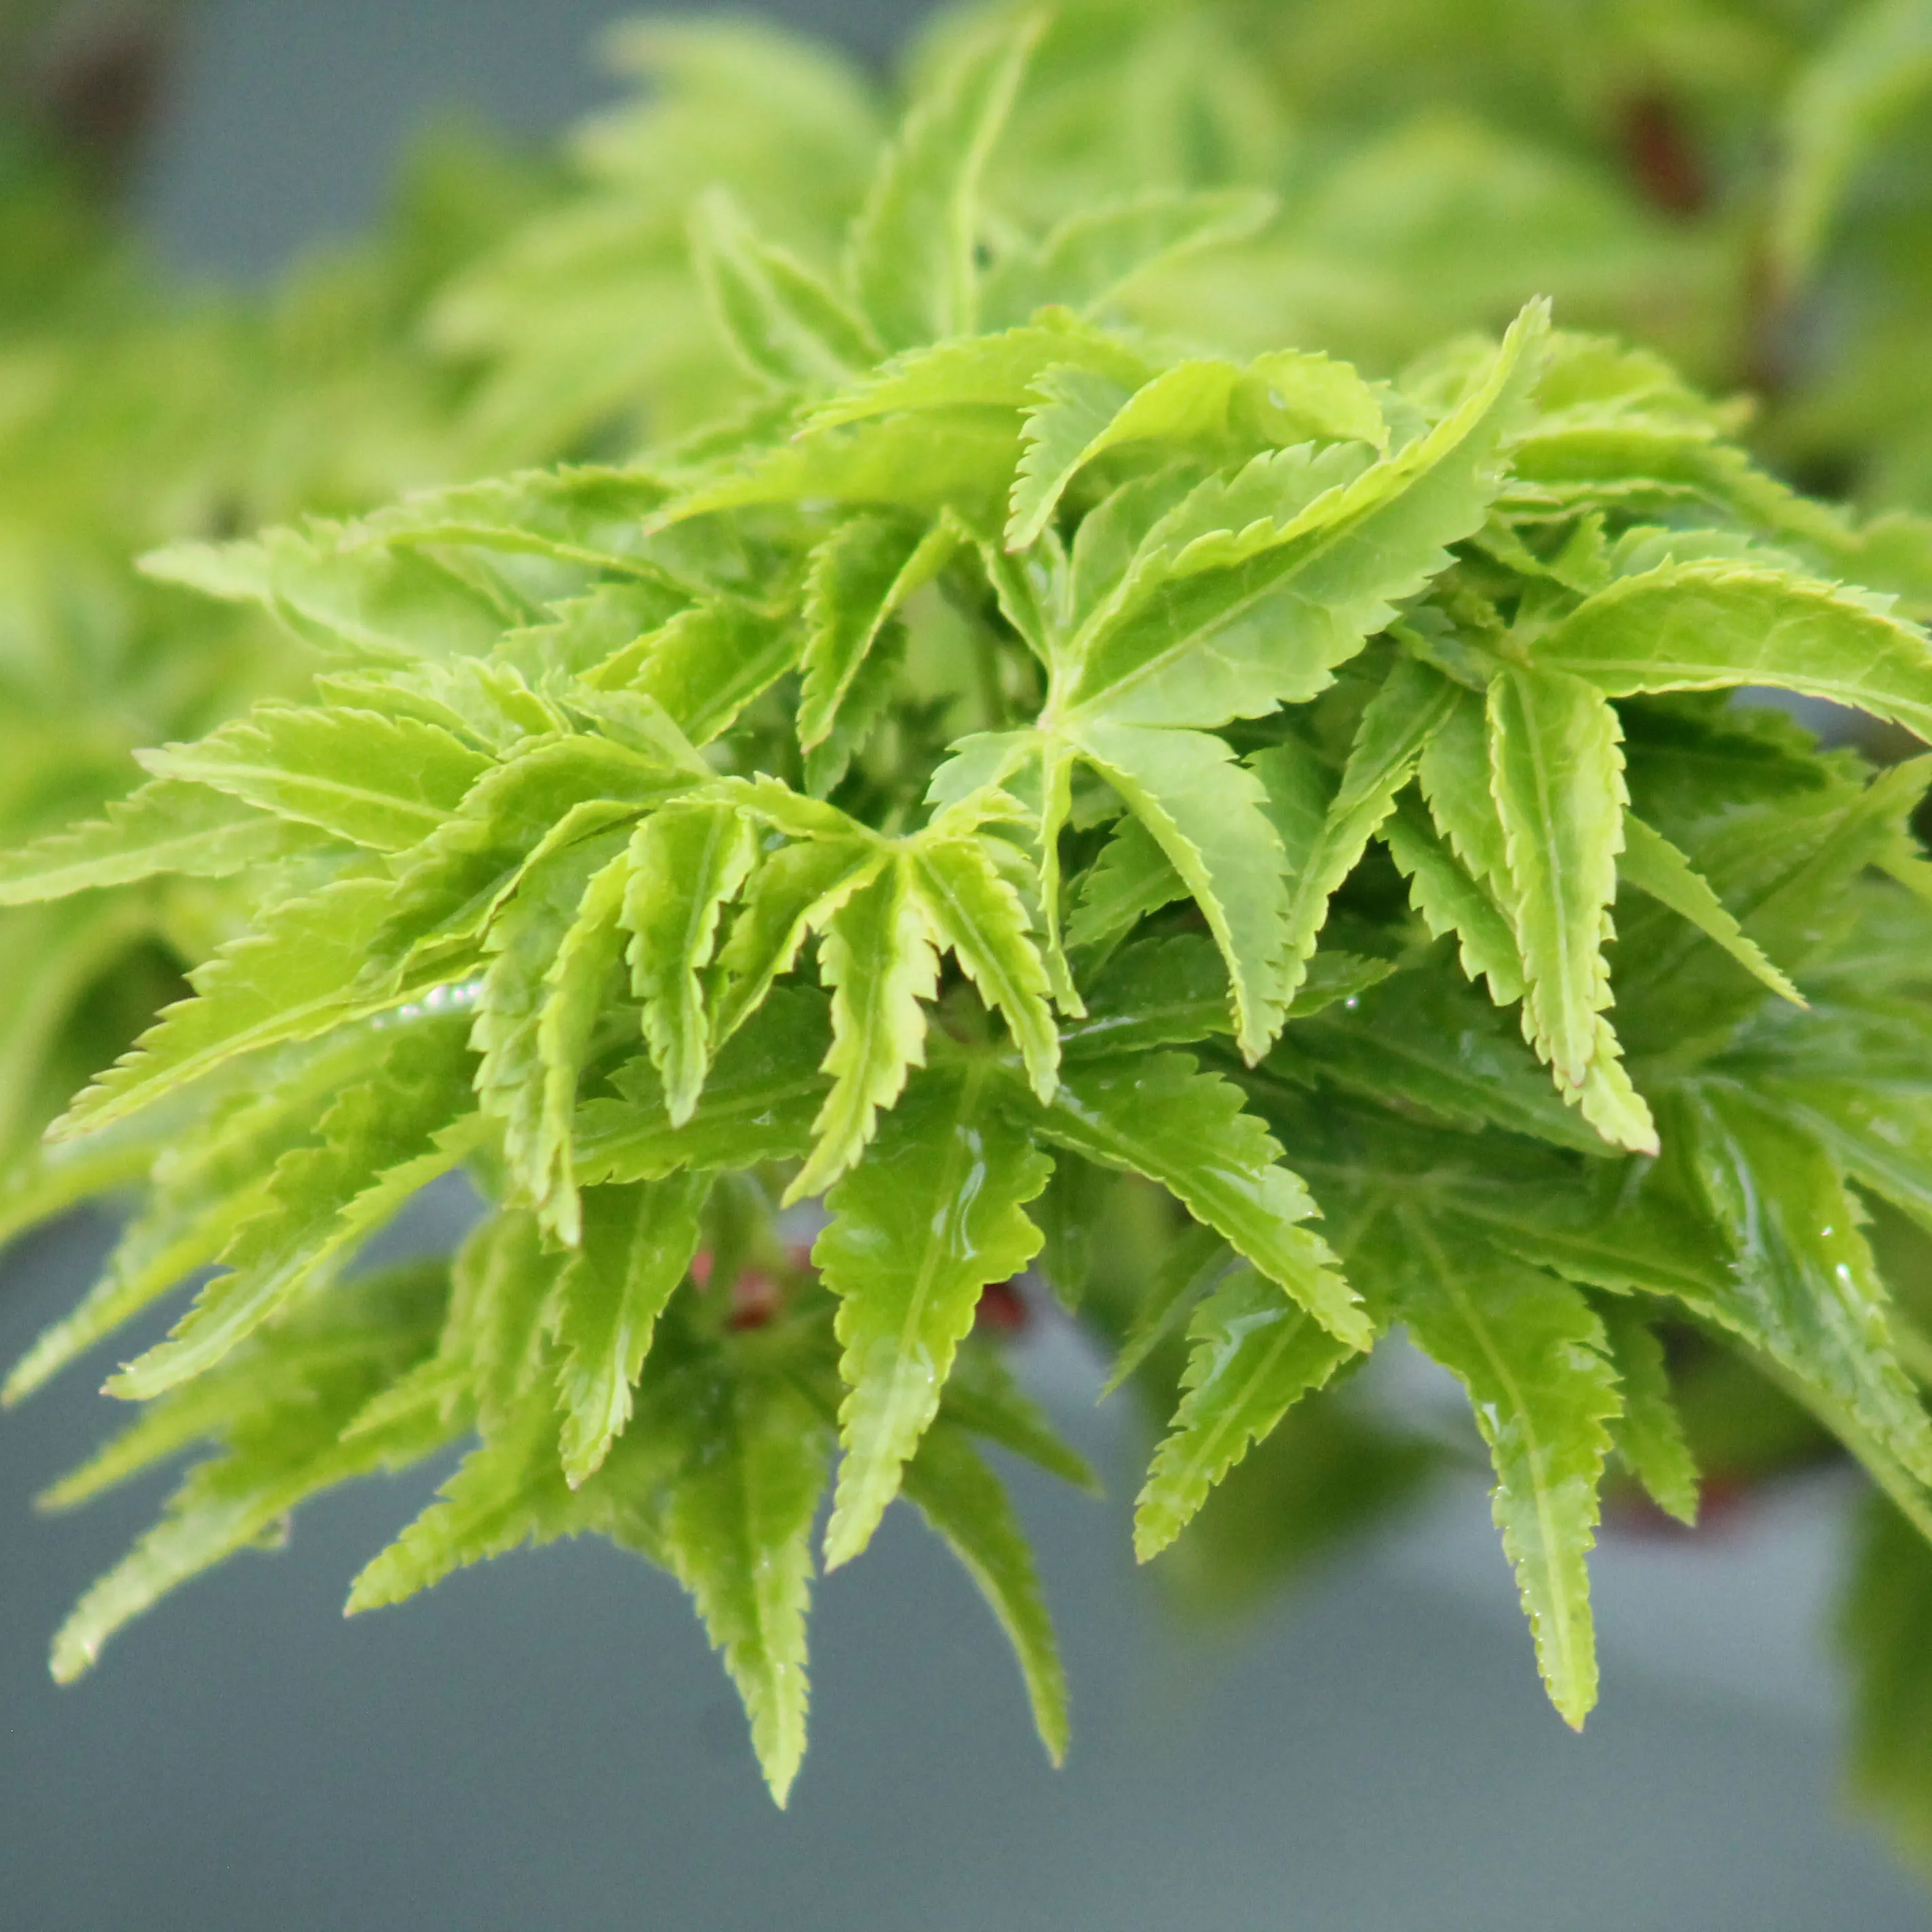
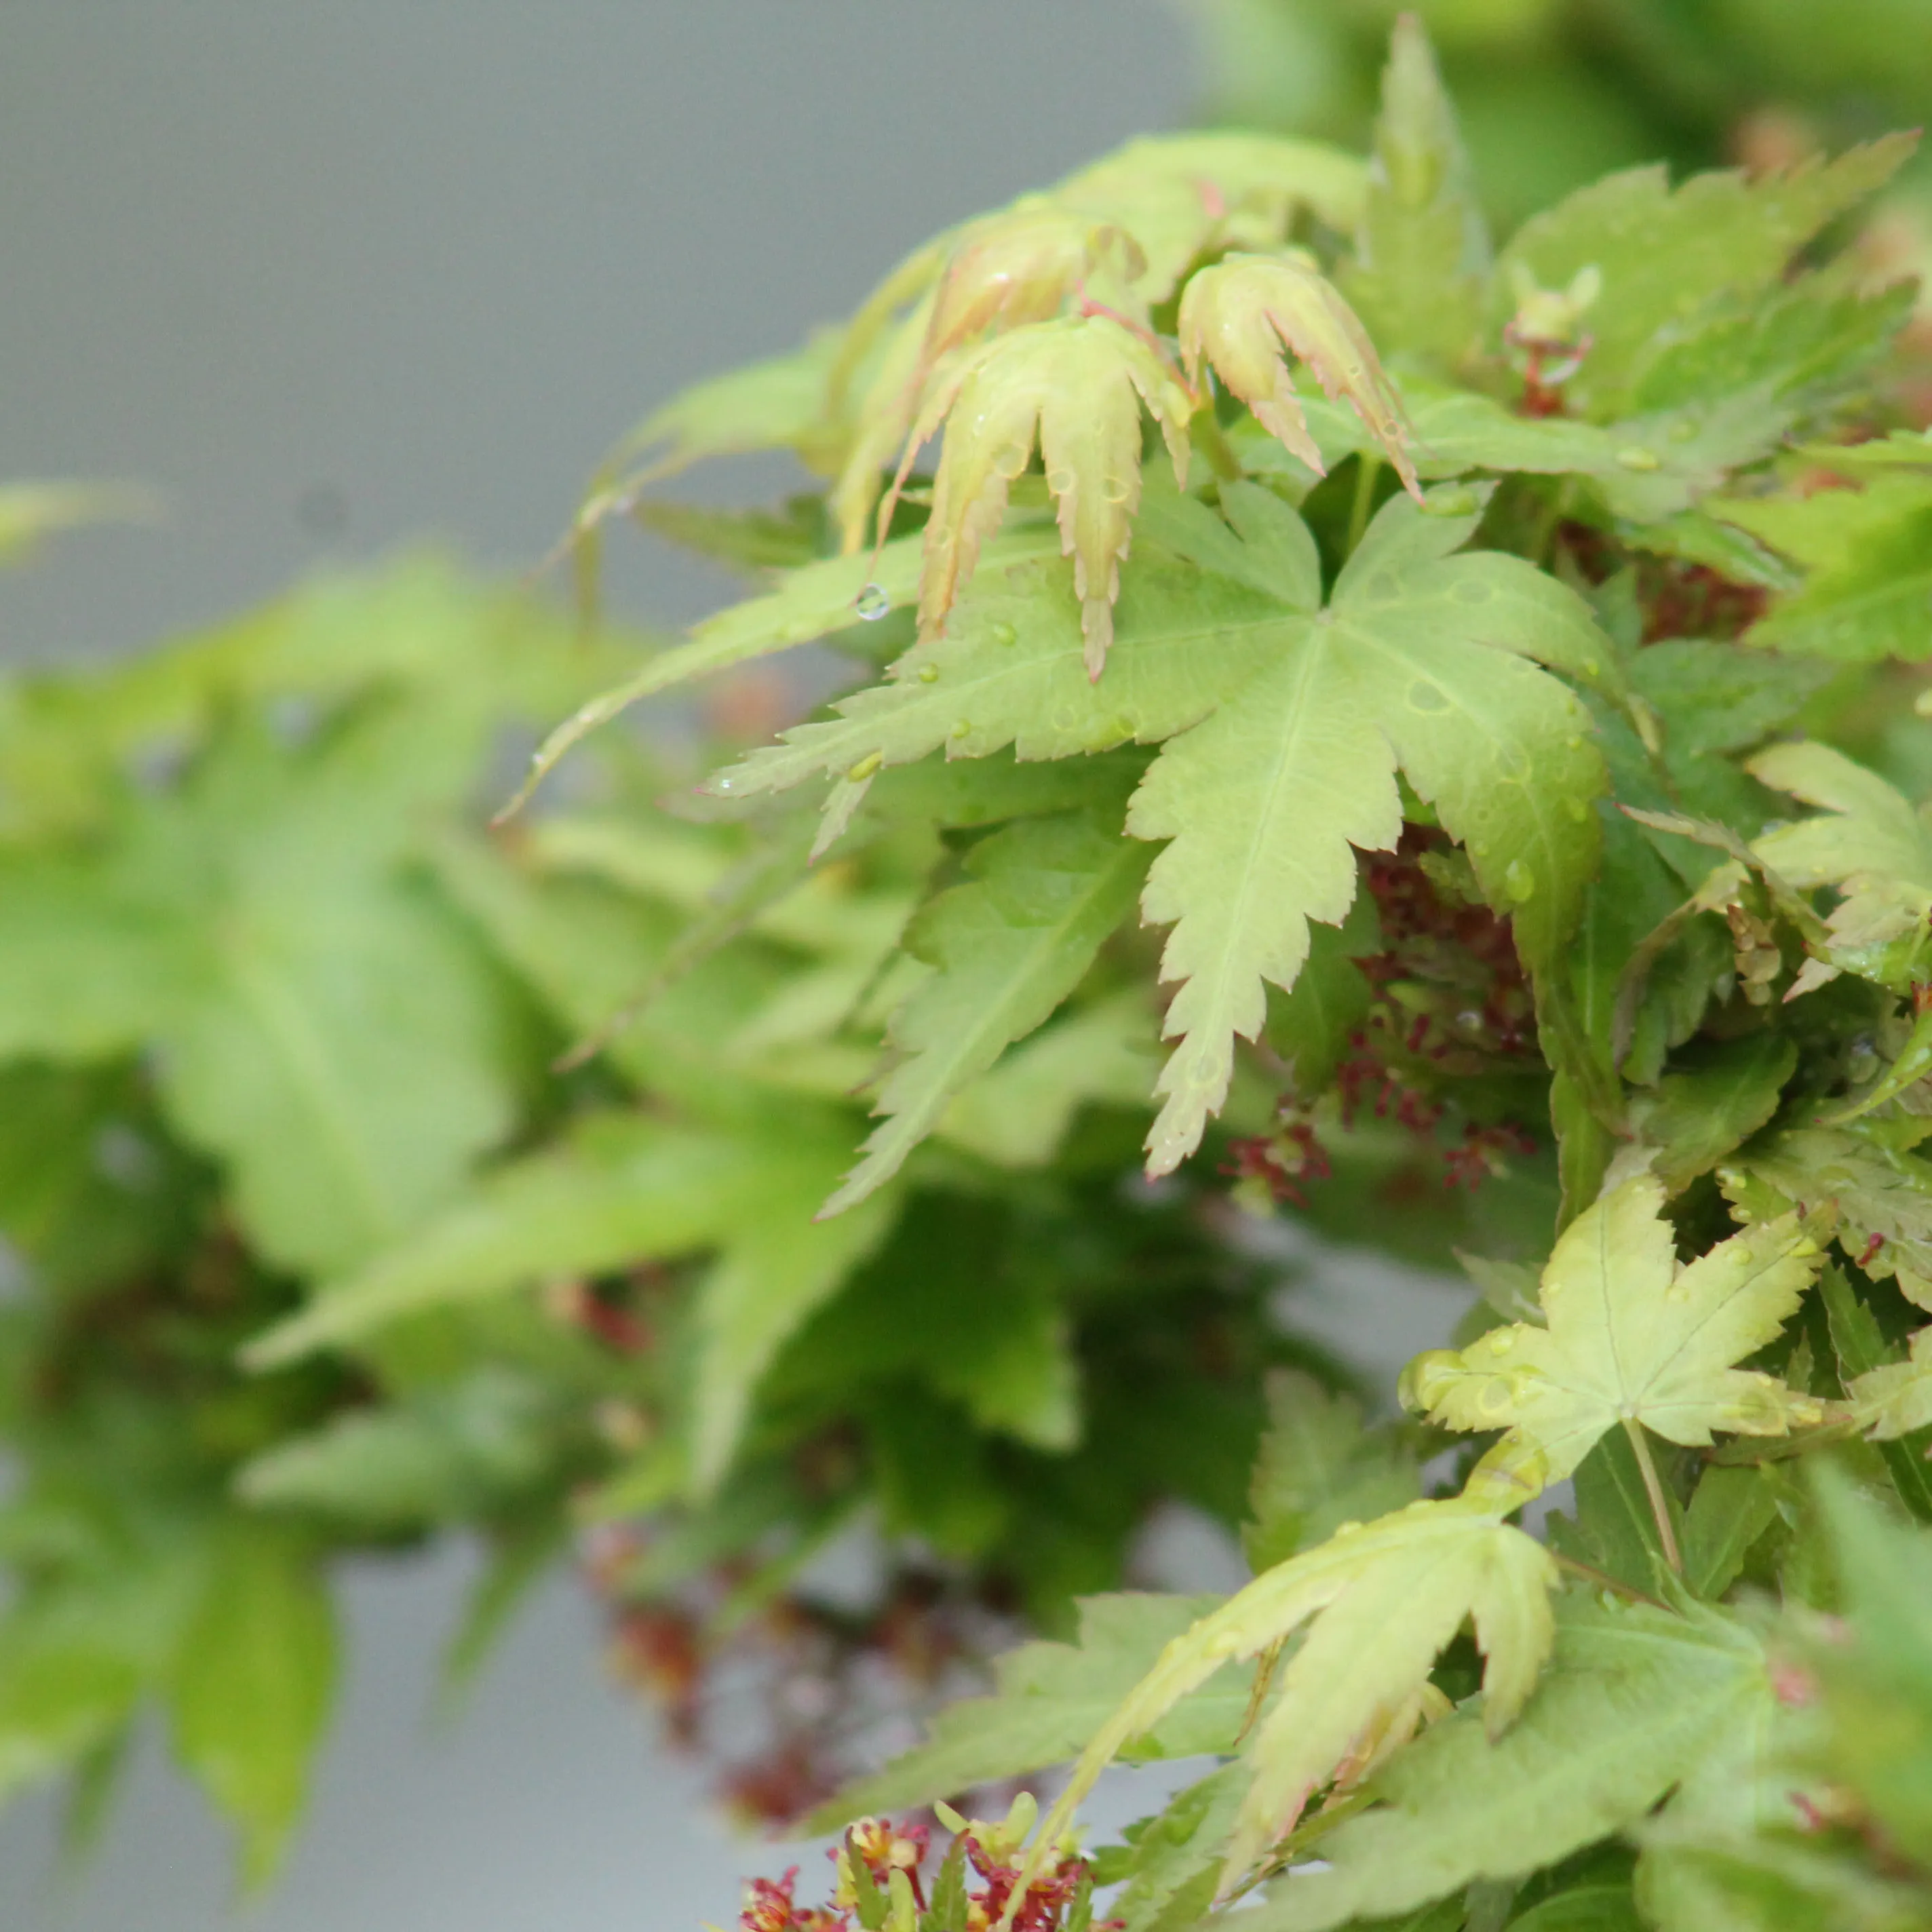
On the contrary, if you let it grow, the trunk (or branch) will elongate and develop a lot of foliage. The leaves will produce energy (through photosynthesis) that will be used to create new tissues. This is referred to as " sap pull".
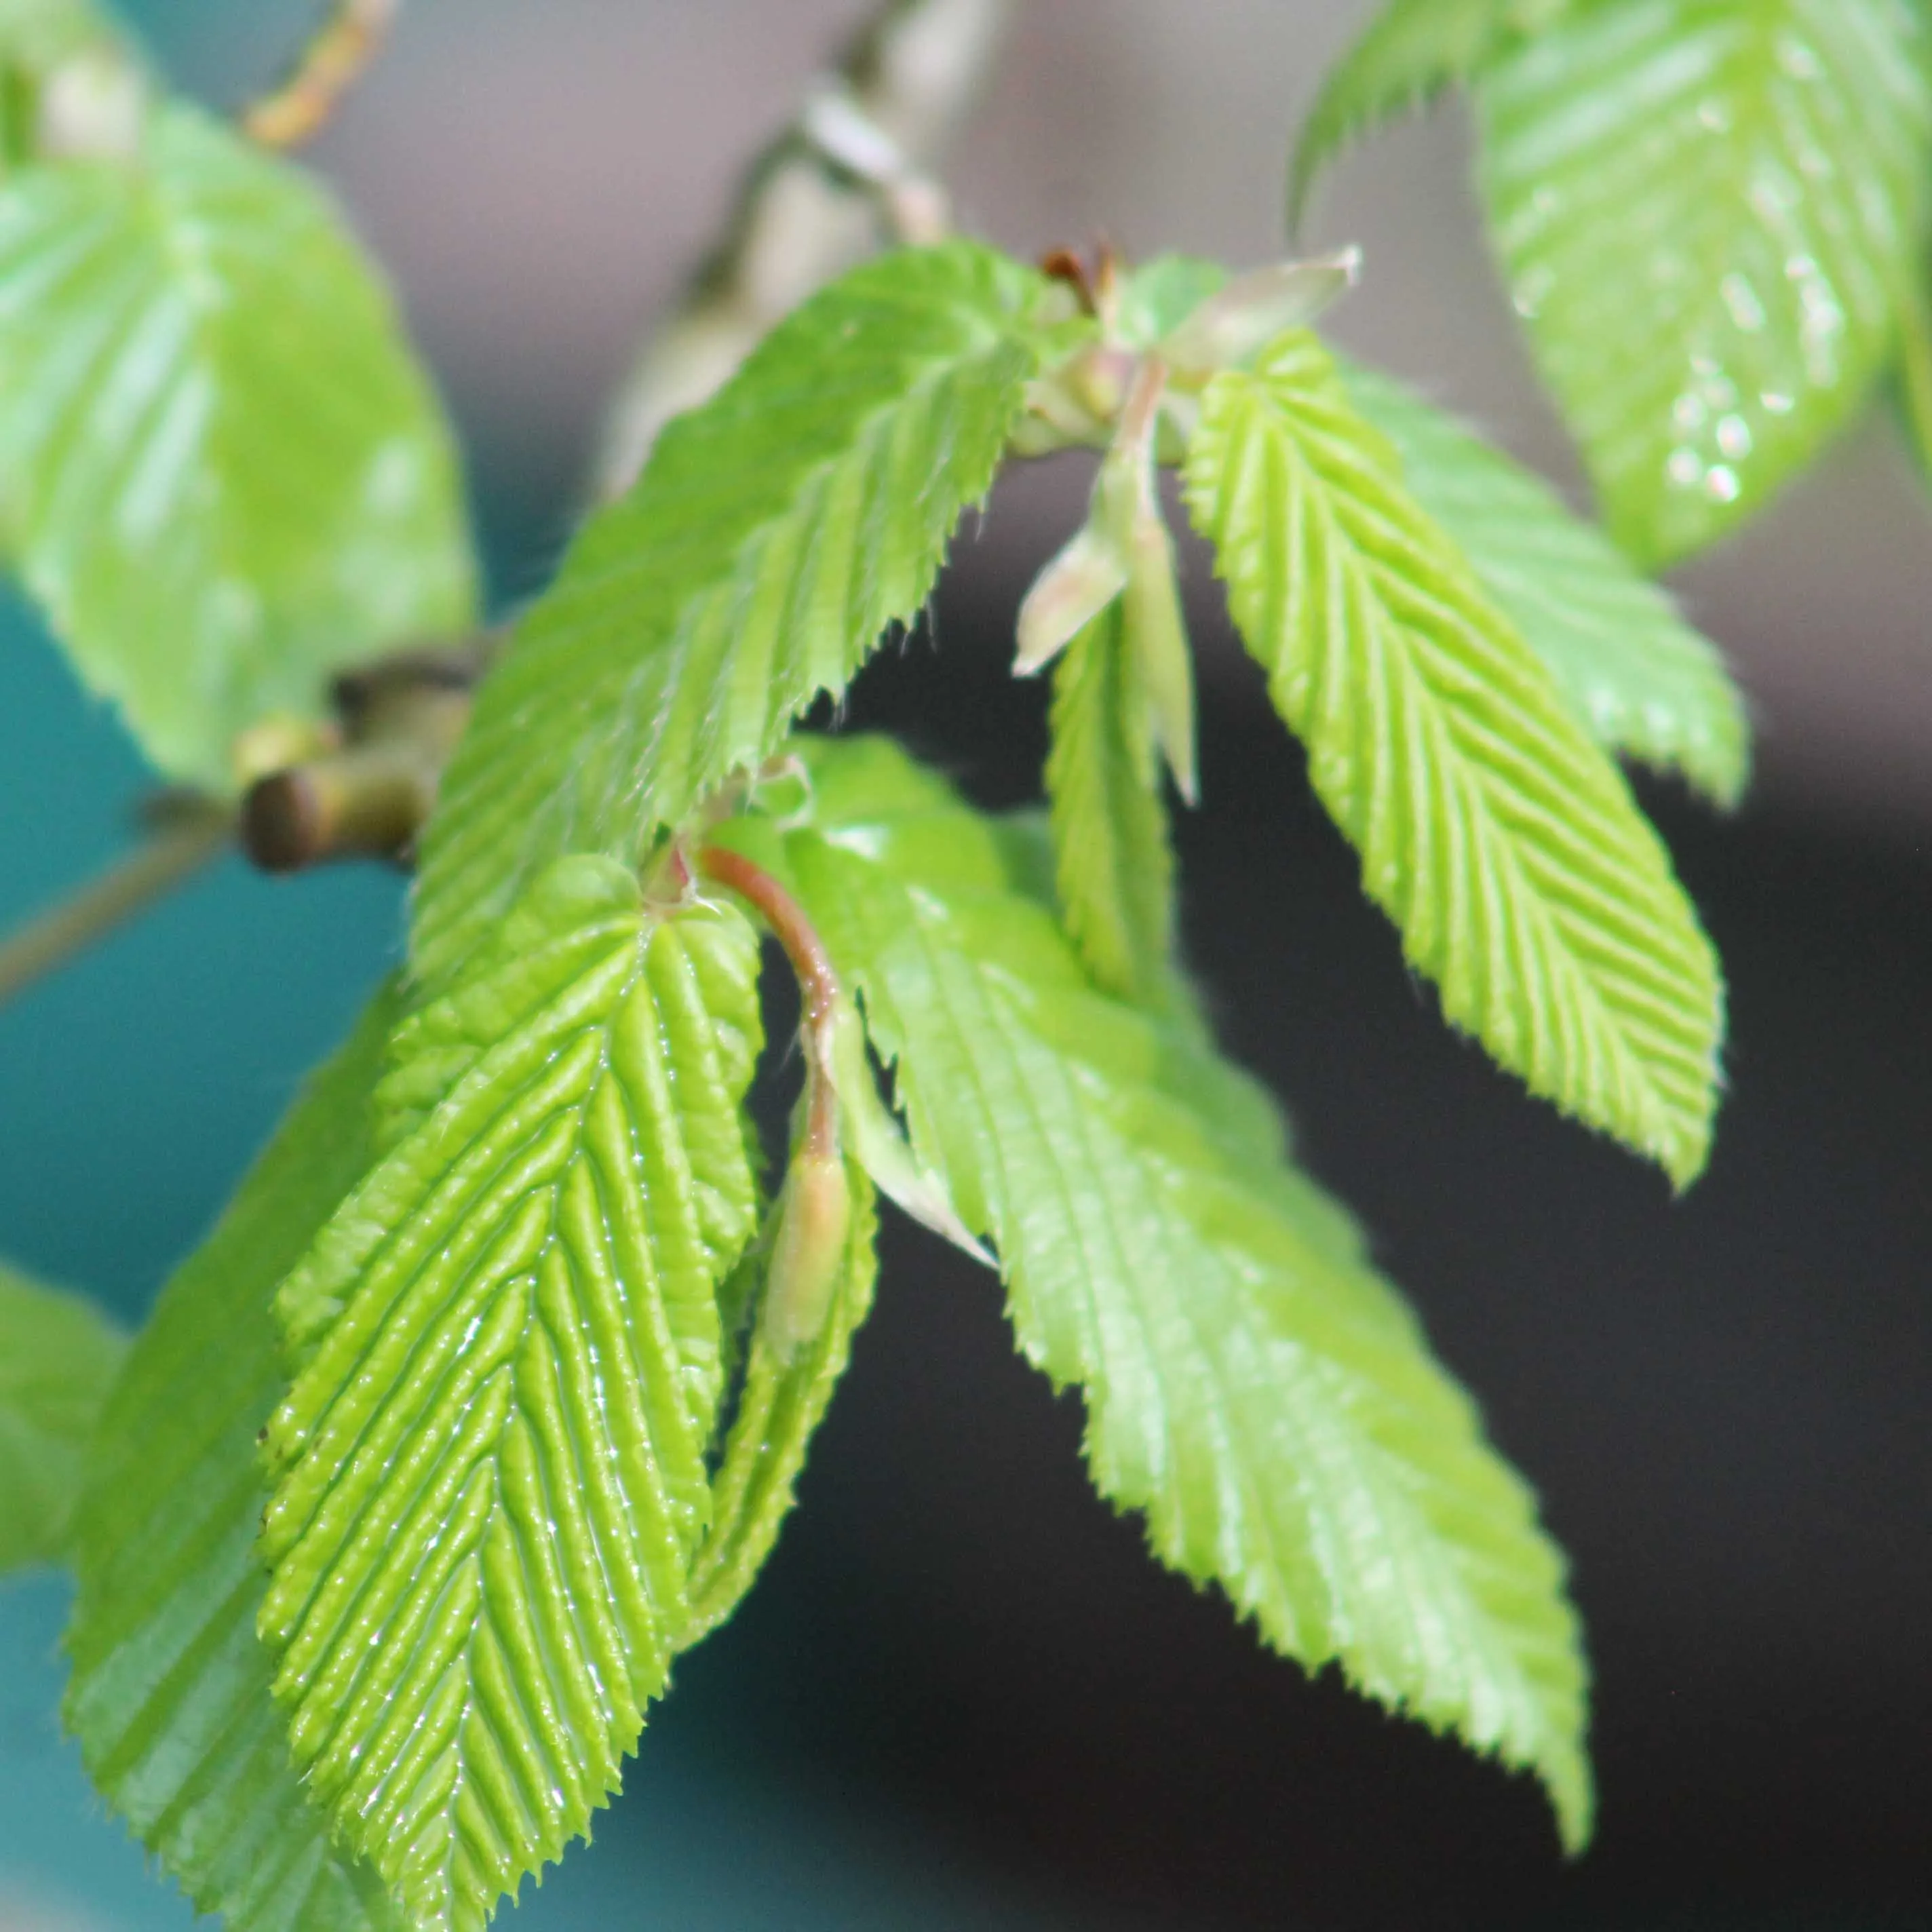
You will first see this sap pull elongate and when it becomes lignified (transforms from green tissue to wood), its diameter will increase. The more you let it grow, the more foliage there will be, and the bigger the sap will grow.
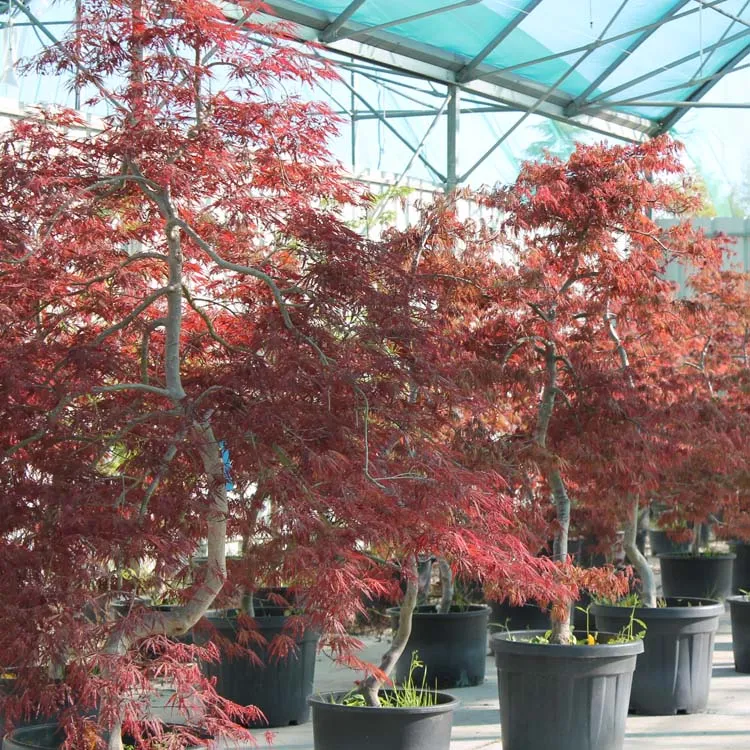
The technique works best if your tree is grown in a large pot, or even in the ground. Everything that happens at the top, also happens at the bottom, and vice versa. The massive increase in foliage will stimulate the appearance of roots, and vice versa.
Don't be afraid to let it grow, even if the sap pulls becomes very long. In Japan, it is not uncommon to see nurserymen leaving tigers more than a meter high. On the other hand, this can cause problems with the stability of the bonsai and the wind. Do not hesitate, if necessary, to attach the sap puller if it rises too high.
From what diameter should you carve?
When you let the trunk or branches grow, you're going to end up with long stems, but when should you prune them? We often see hobbyists cutting in late fall, when the structure is being pruned. In fact, it is more important to prune according to the objective to be achieved.
If you have a young plant with a trunk diameter of 1 centimeter and you want it to be 10 centimeters at the base, it will be wiser to let it grow for 1 year or even 2 before cutting it back.
Although it is not a hard and fast rule, we advise you to leave the tiger until you reach half the desired diameter. That is, if you want a trunk with a base of 6 centimeters, do not cut until you have reached 3 centimeters.
The tree will continue to cool down when you let it tiger again.
Pruning will be done during the winter, during the dormant period, by putting putty at the level of the cut to improve healing (we will come back to this). Be aware that beyond 3 centimeters, the complete healing of a cut becomes more complicated and will take years.
The following spring, many buds will appear on the trunk. You will then have to select one to ensure the continuity of the trunk, and possibly to form the future scaffold branches.
Tips from the nursery:
- Always keep 2 branches to ensure continuity. When they have grown to a few inches, keep one. This allows you to have a "spare tire" in case one of them dries up and dies;
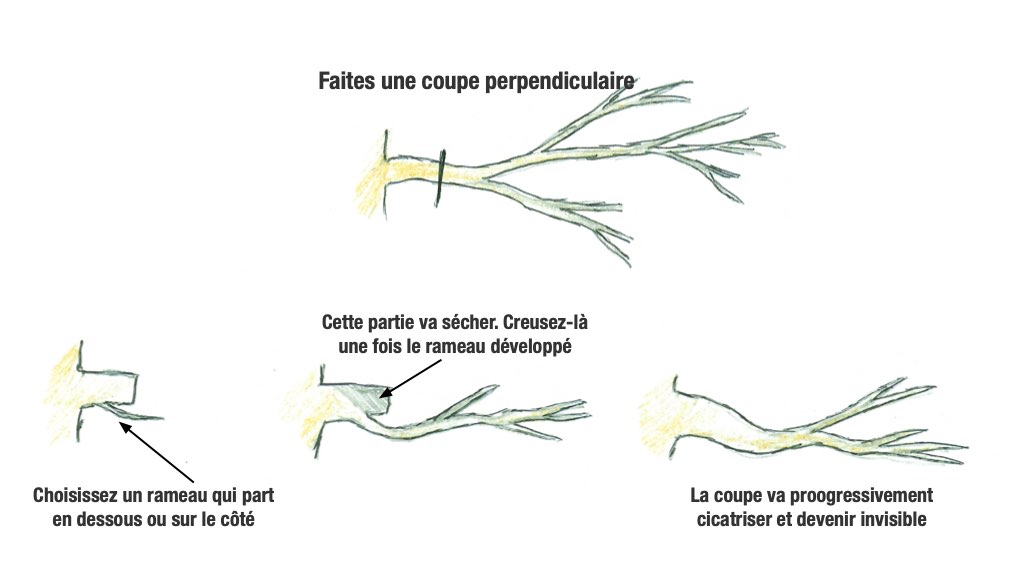
- When it comes to a branch, it is best to keep a branch on the bottom or side, and not on the top, as it will quickly grow vertically, which will not be aesthetically pleasing. A twig that emerges from underneath will make a curve to go up, will give movement and will be more natural;
- Apply a thin ligature (a little loose, but not tight) to guide the twig in the right direction. If it's the future head, point it upwards; If it's a branch, make sure that its start is horizontal, it will be more aesthetically pleasing.
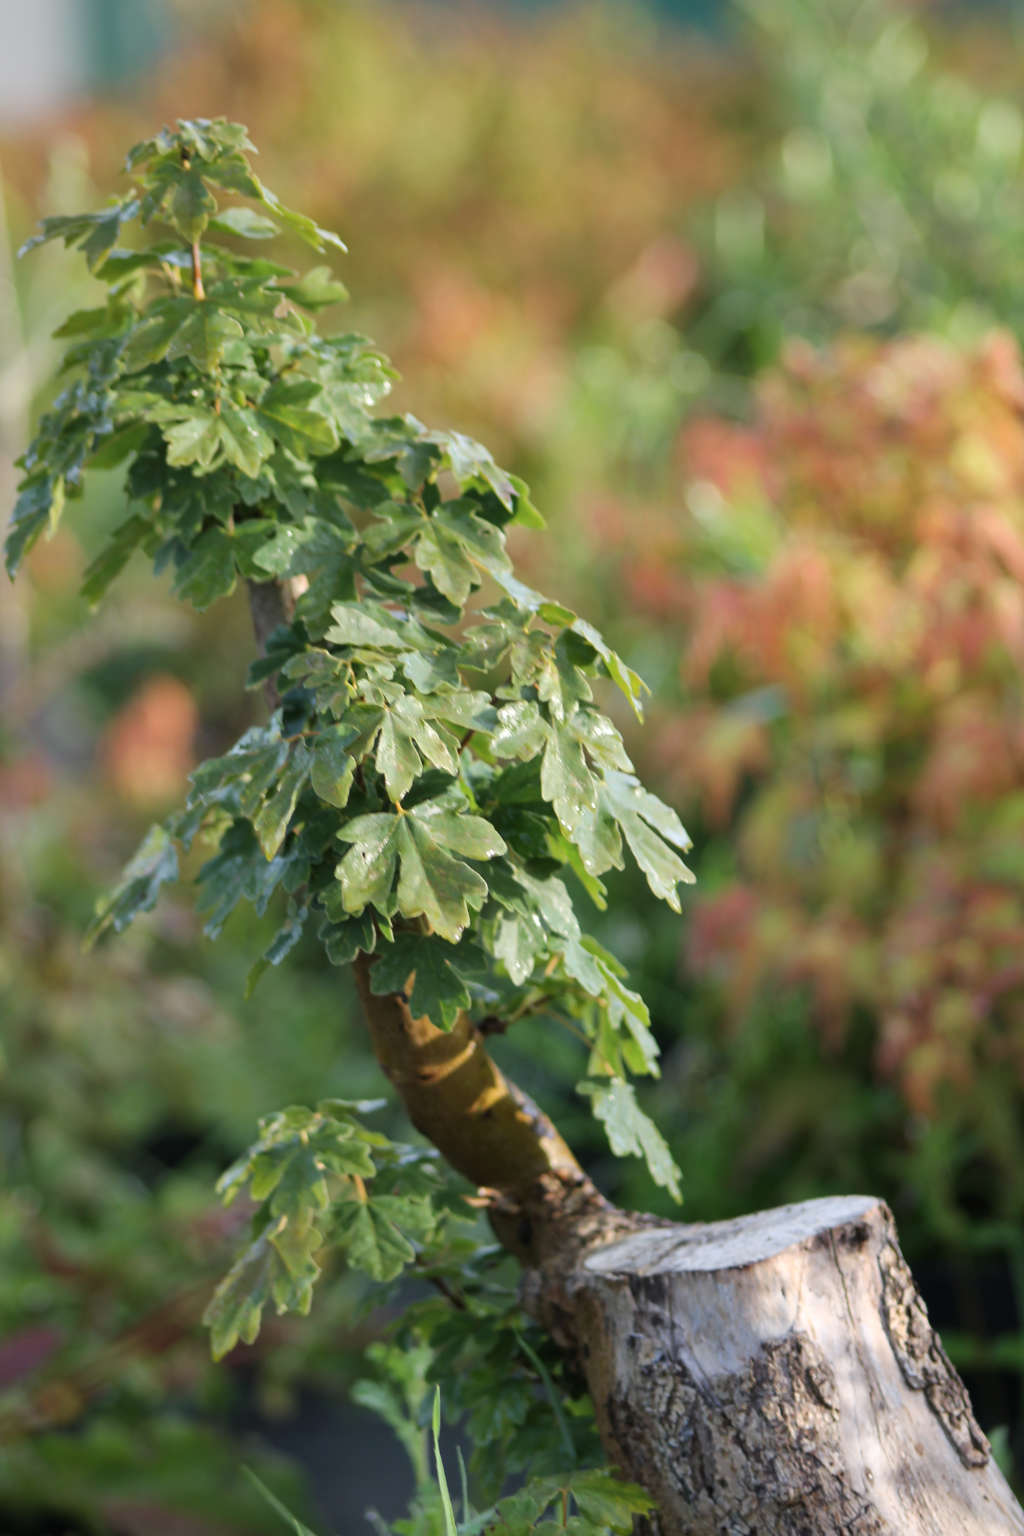
When you prune the sap puller, the twig that is going to be used to ensure continuity will not be exactly in the extension (of the trunk or the branch). And don't try to create straight tubes. On the contrary, a different growth angle will give movement to the trunk or branch.
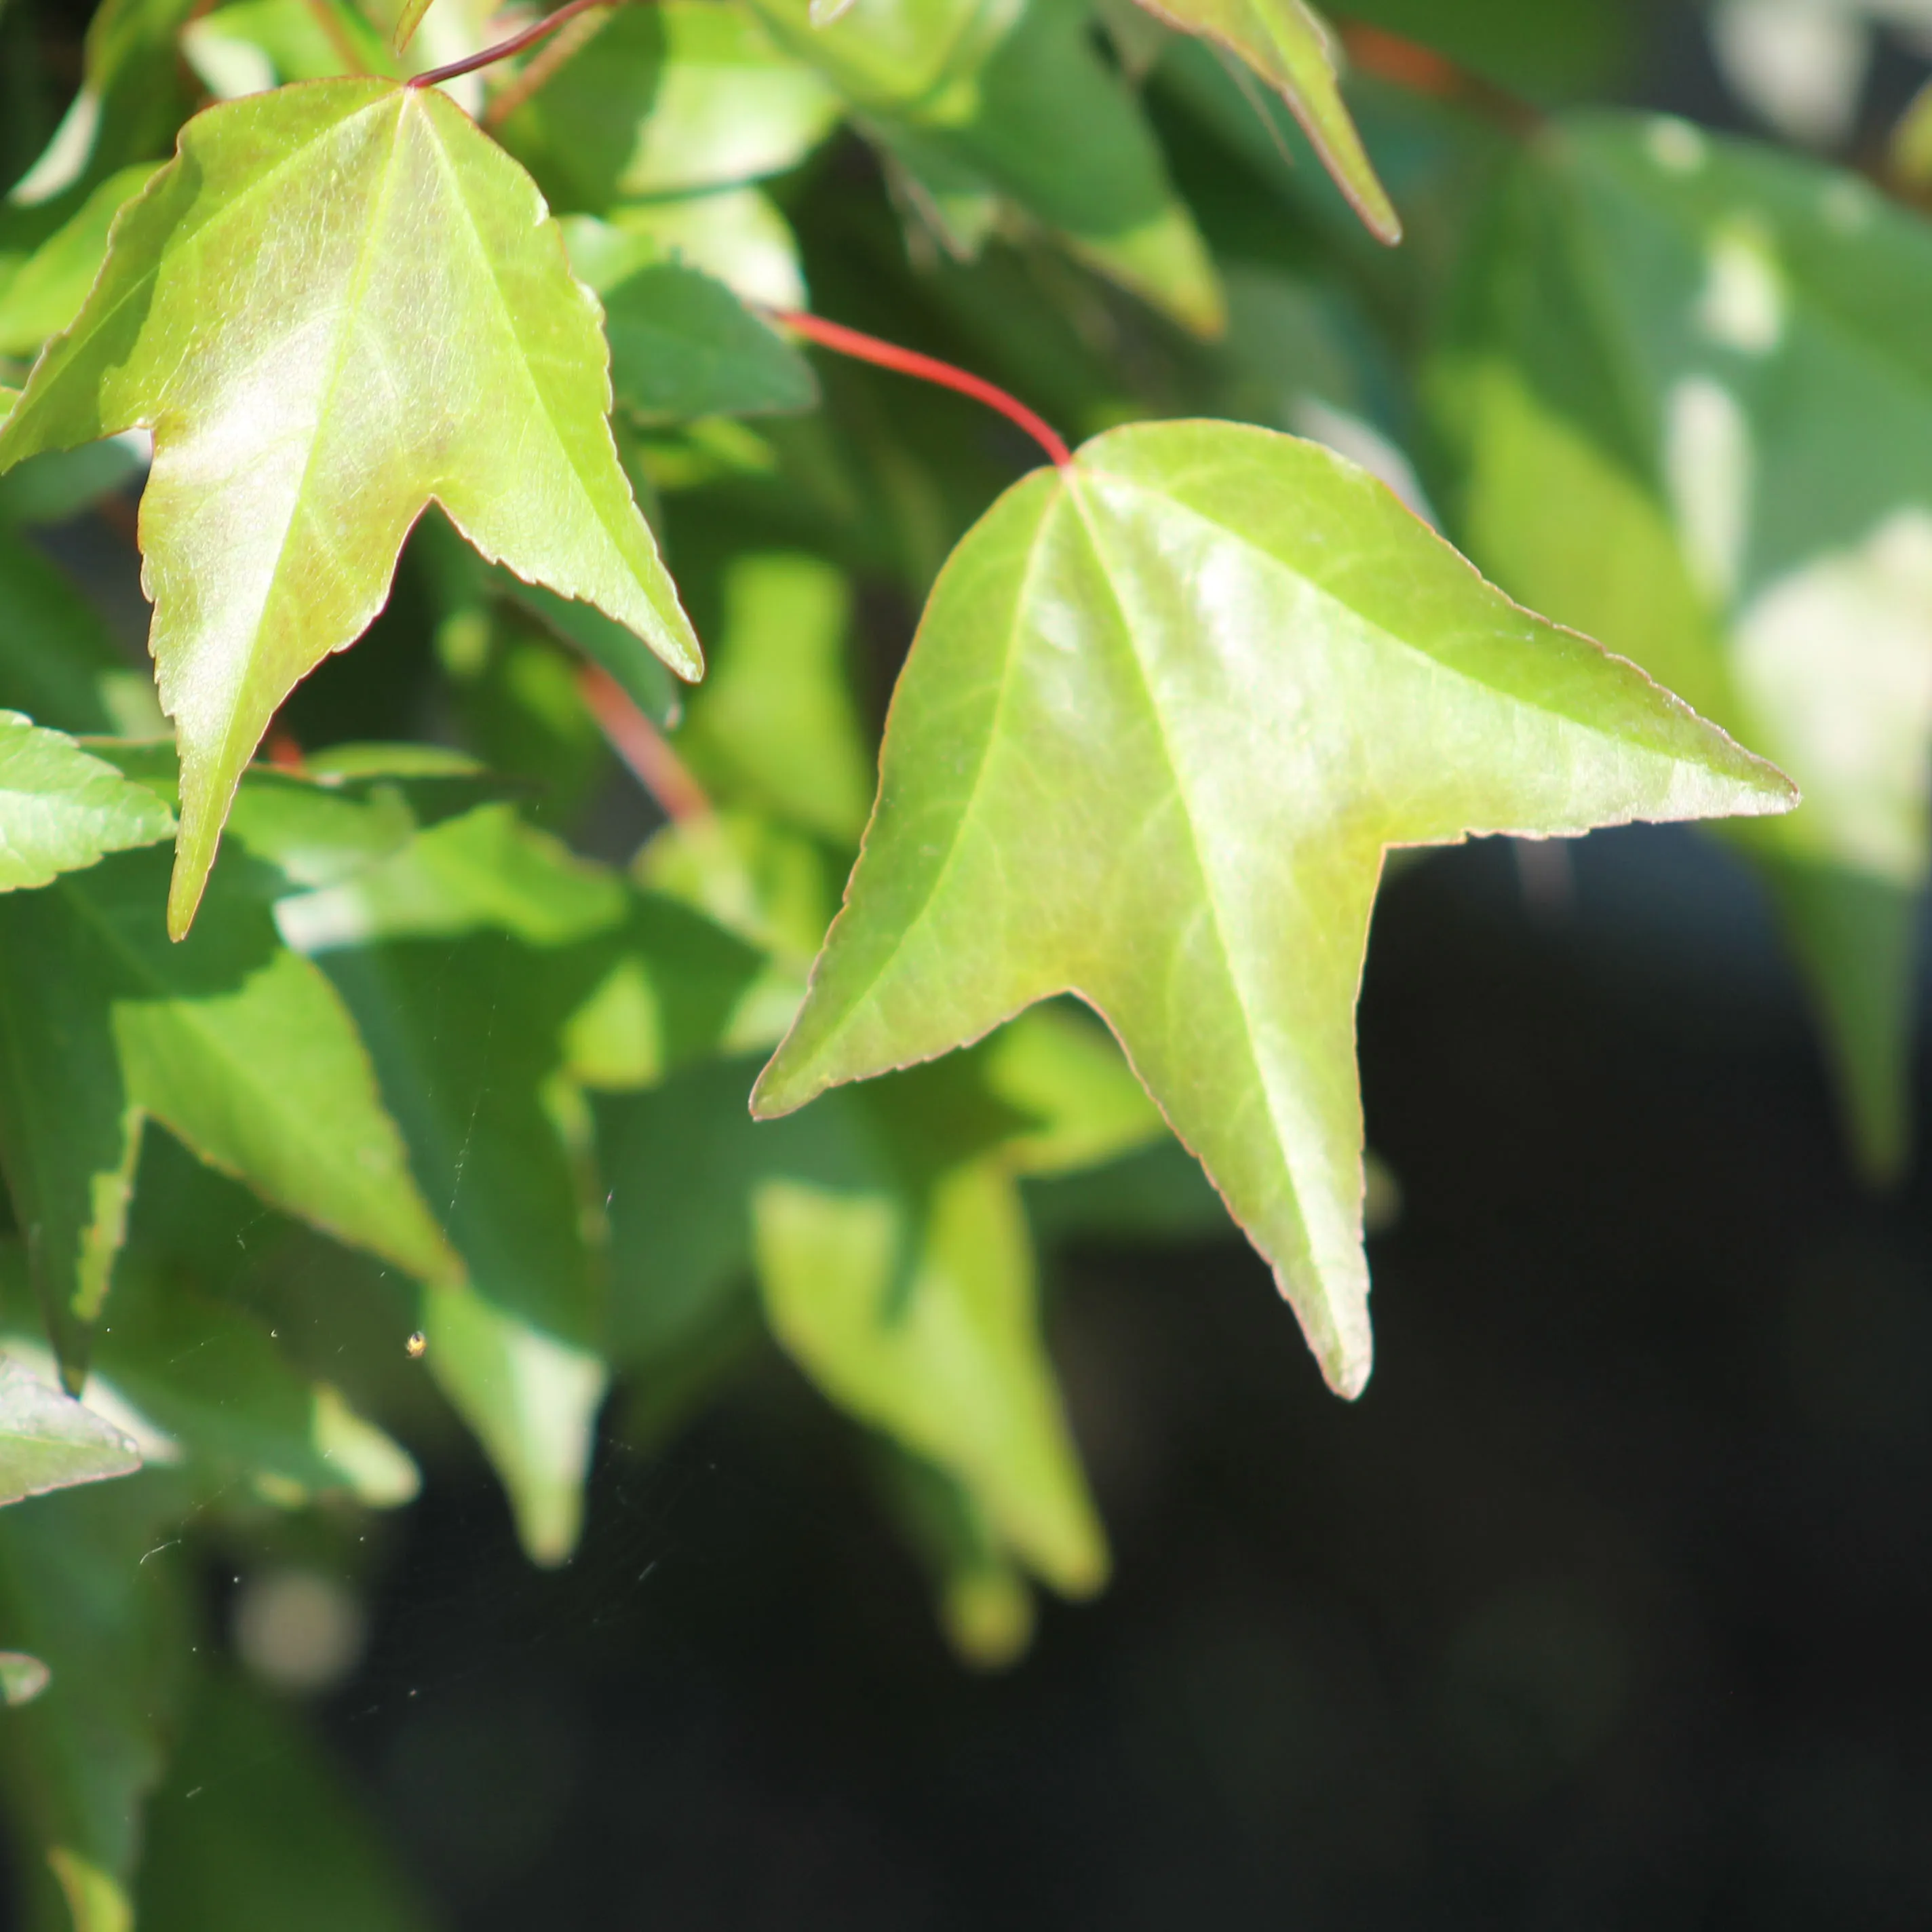
Always prune a little from the top of where you want to have buds, because depending on the species there are not necessarily latent buds on the whole trunk. With a Chinese elm, you will most certainly have it just at the level of the cut, but with a Japanese maple it can be 1, 2 or even 3 centimeters upstream of the cut.
When pruning, make a cut perpendicular to the branch, don't try to dig. The wood will dry above the last buds. Once you have selected the twigs you want to keep, and they have developed, then you can dig out the cut, remove all the dry part, return to the living wood and work on the healing so that it closes.
How do you heal a big cut?
One of the problems with clip and grow is that this technique will leave large cuts, especially when you want to form a large trunk. If a 1 centimeter diameter cup will easily close, it is another thing when it is 3 or 5 centimeters.
The use of a putty is still debated within the bonsai community. We use it, mainly to avoid drying out too quickly at the cutting level, and to avoid too much sap withdrawal.
After a few weeks, you will see a scarring around the cut. New fabrics will gradually be created to cover the area you have cut.
Except that, when the cut is too big, this bead will no longer evolve. It is then necessary to stimulate it again so that it continues to close the wound.
To do this, in the spring, trim the stuffing slightly with a cutter or scalpel, about 1 millimeter all around the inside of the bead. Healing will then resume.
Also note that the more you let a bonsai grow freely, the more foliage it will develop, the greater the flow of sap and the faster it will heal.
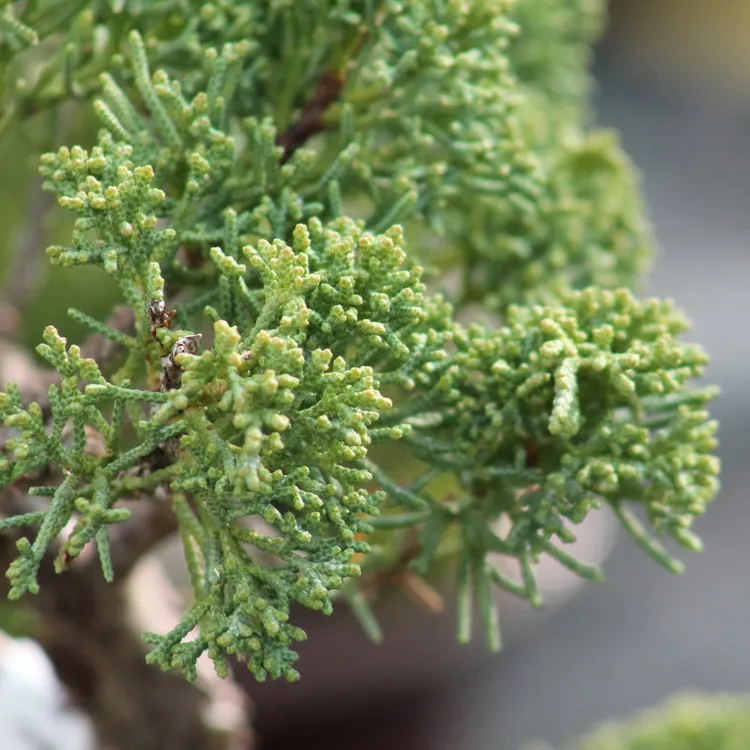
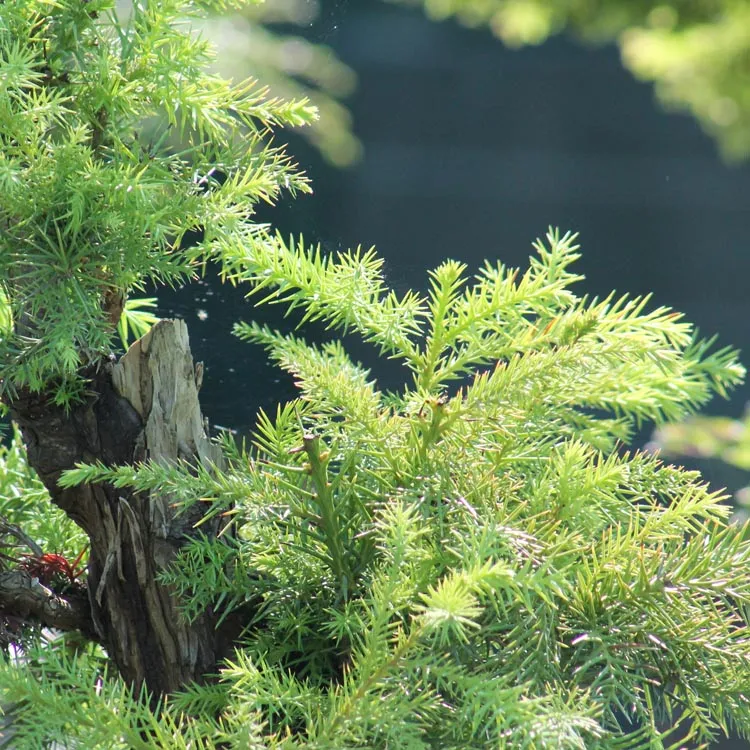
You also have the option of treating the dead wood cut, for example by making a jin or shari. But this technique is still reserved for conifers whose dead wood resists time.
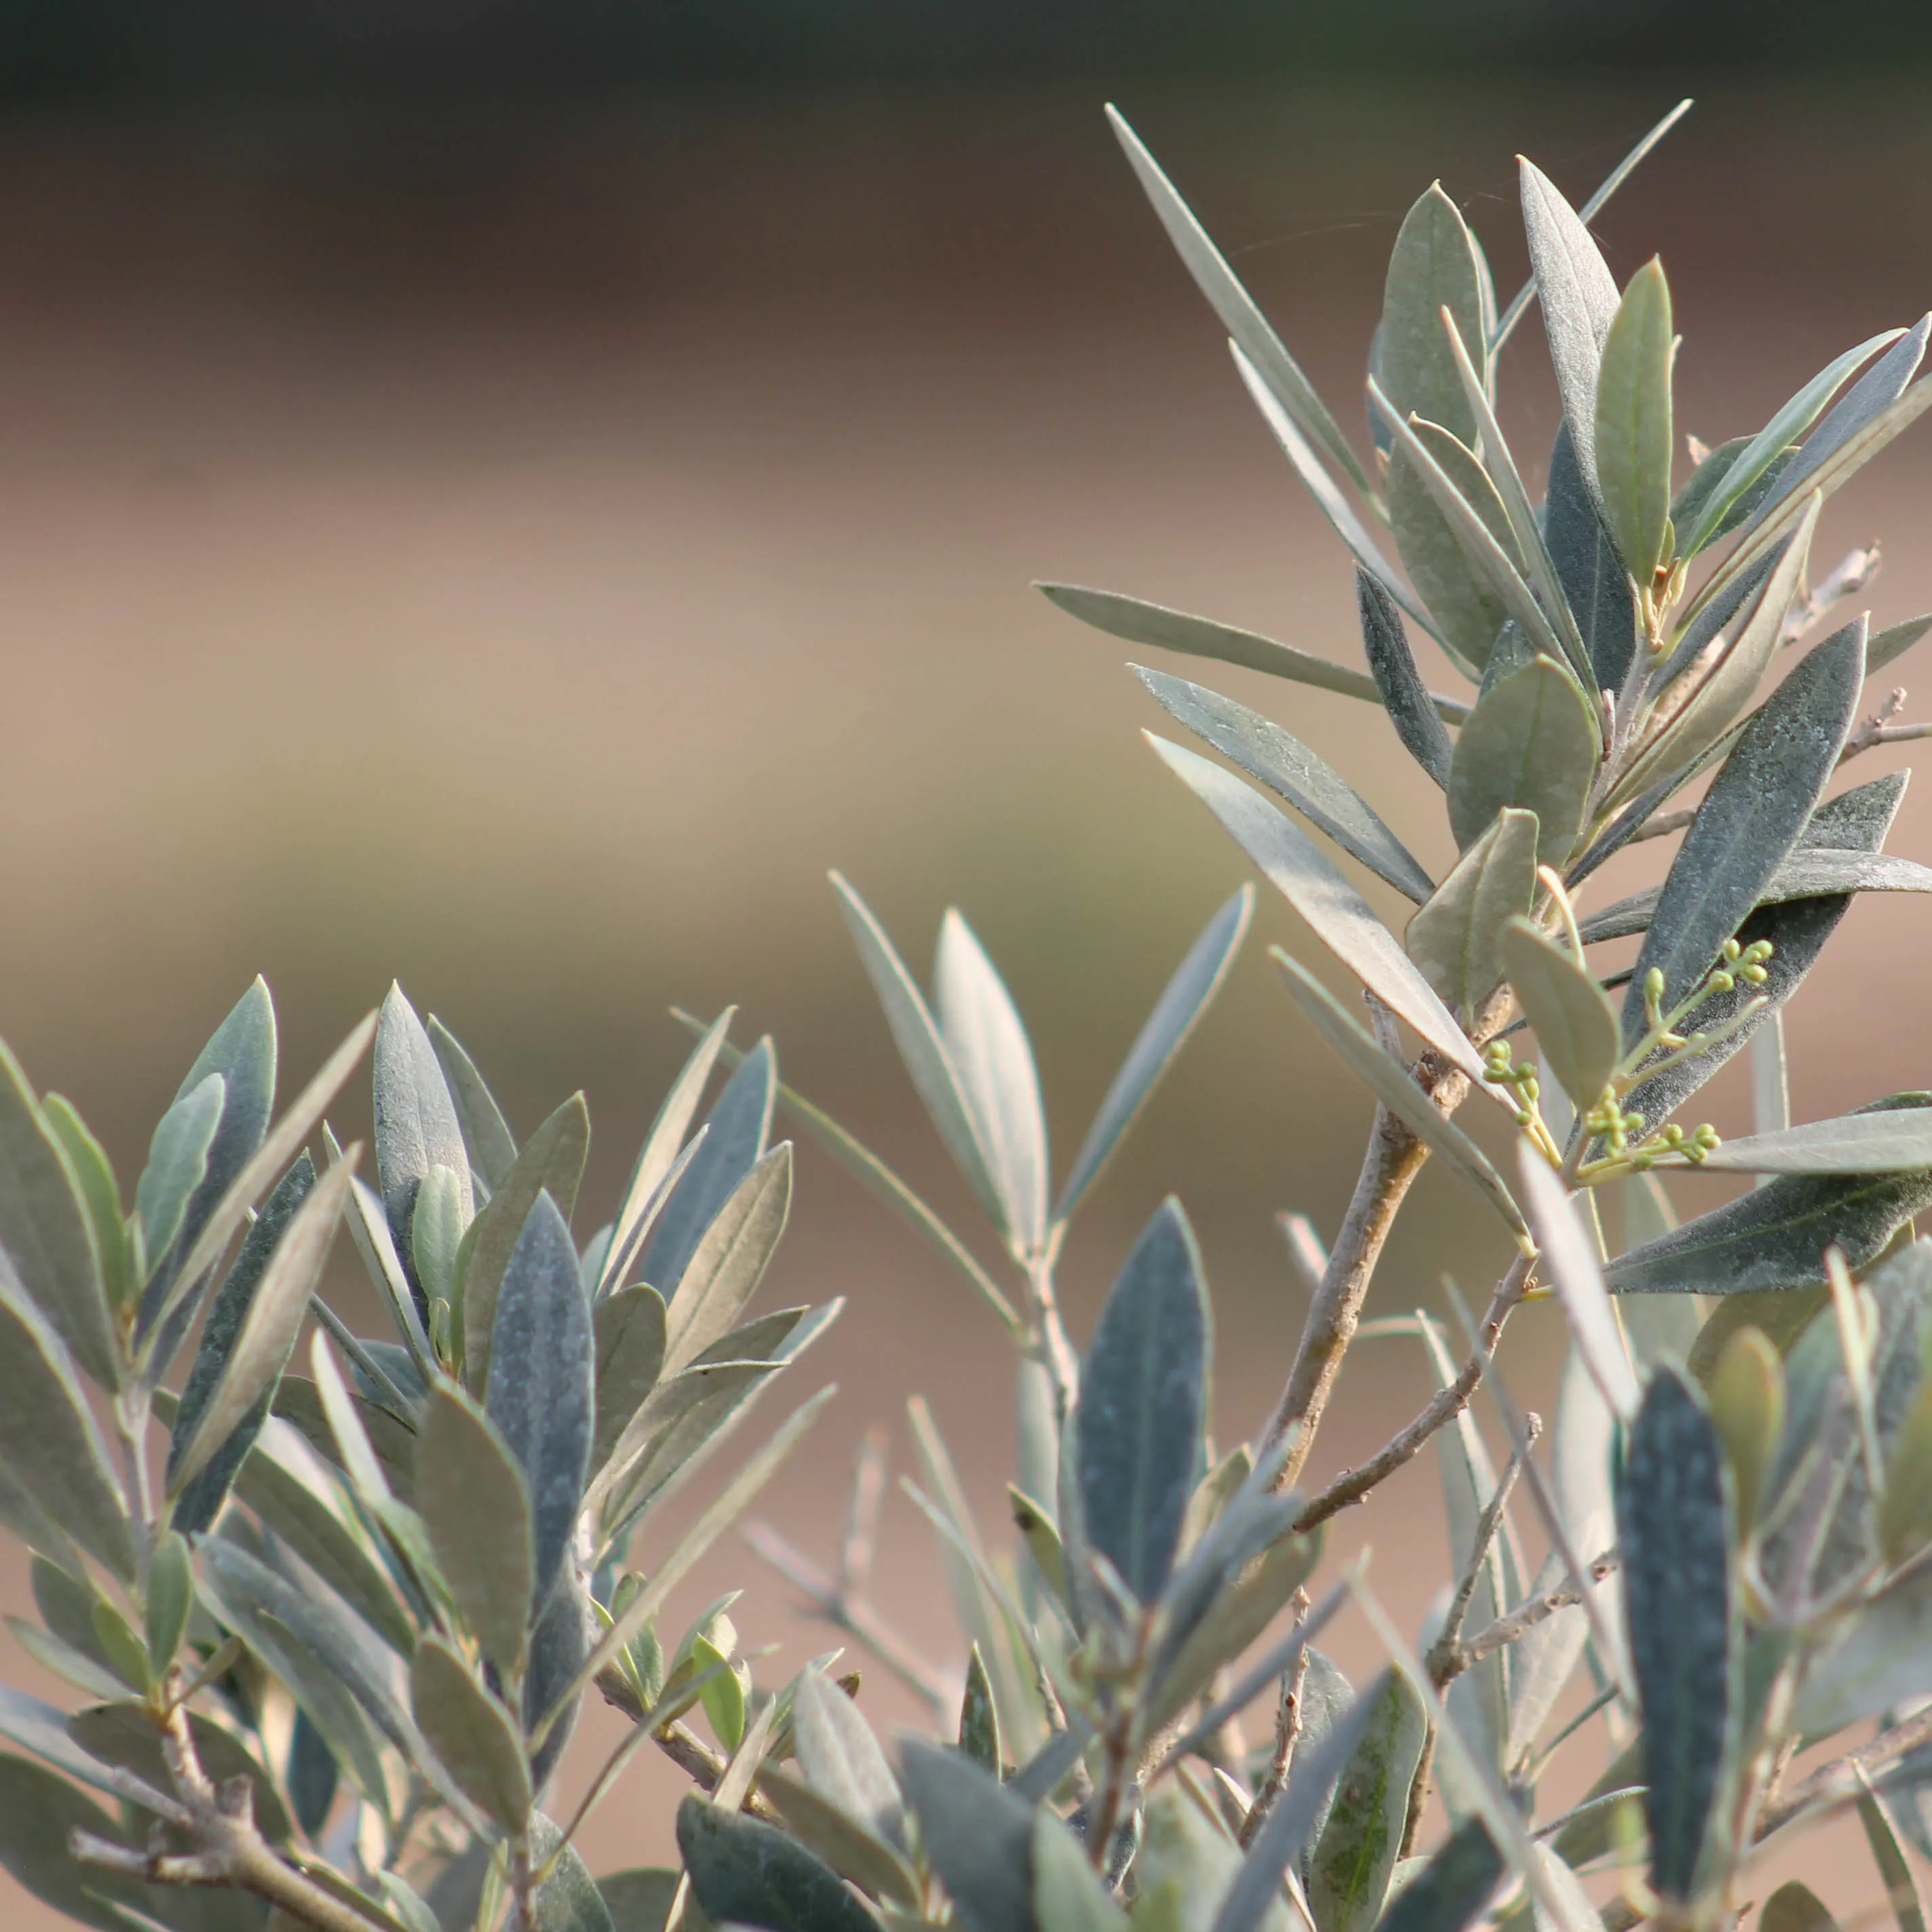
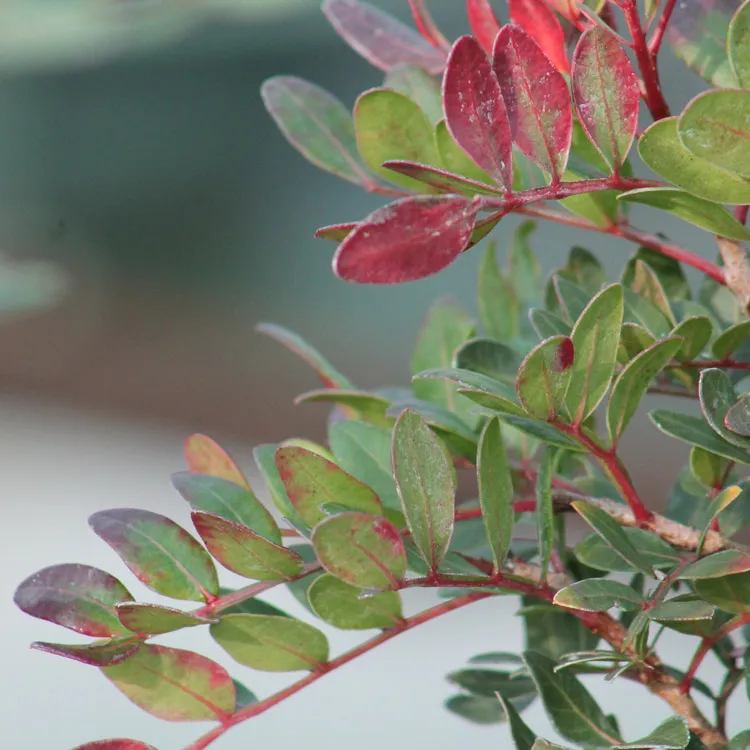
Some deciduous trees, such as olive trees or boxwoods, have a very hard wood that is resistant to bad weather. You will be able to make dead wood, and it is even the only valid option because these species heal very poorly (if at all).
On the other hand, on the majority of deciduous trees, especially those with soft wood, the shari will not last for years and you will get a hollow trunk.
Can you use clip and grow on only one part of a bonsai?
Let's take the case of a bonsai tree that already has a shape, but the lowest branch, which should be the biggest, is thinner than the ones above. The extreme case is when you decide to create a new branch from a bud, as a branch there would improve aesthetics and fill a hole.
If you let the whole tree grow without pruning it, all the branches will grow bigger (and even mainly the head, because of apical dominance). However, what you want is to grow only one branch.
The solution is then to prune your bonsai regularly, except for the part you want to make bigger. The pruned parts will keep the same diameter, those that grow freely will become stronger.
In just a few years, it is possible to form a new branch with the desired diameter!
Can clip and grow be used on all trees?
The basic principle of this technique is to let it grow, prune very short and then start again on the new shoots. But for this to happen, the tree must rebud backwards. However, this is not the case for all species.
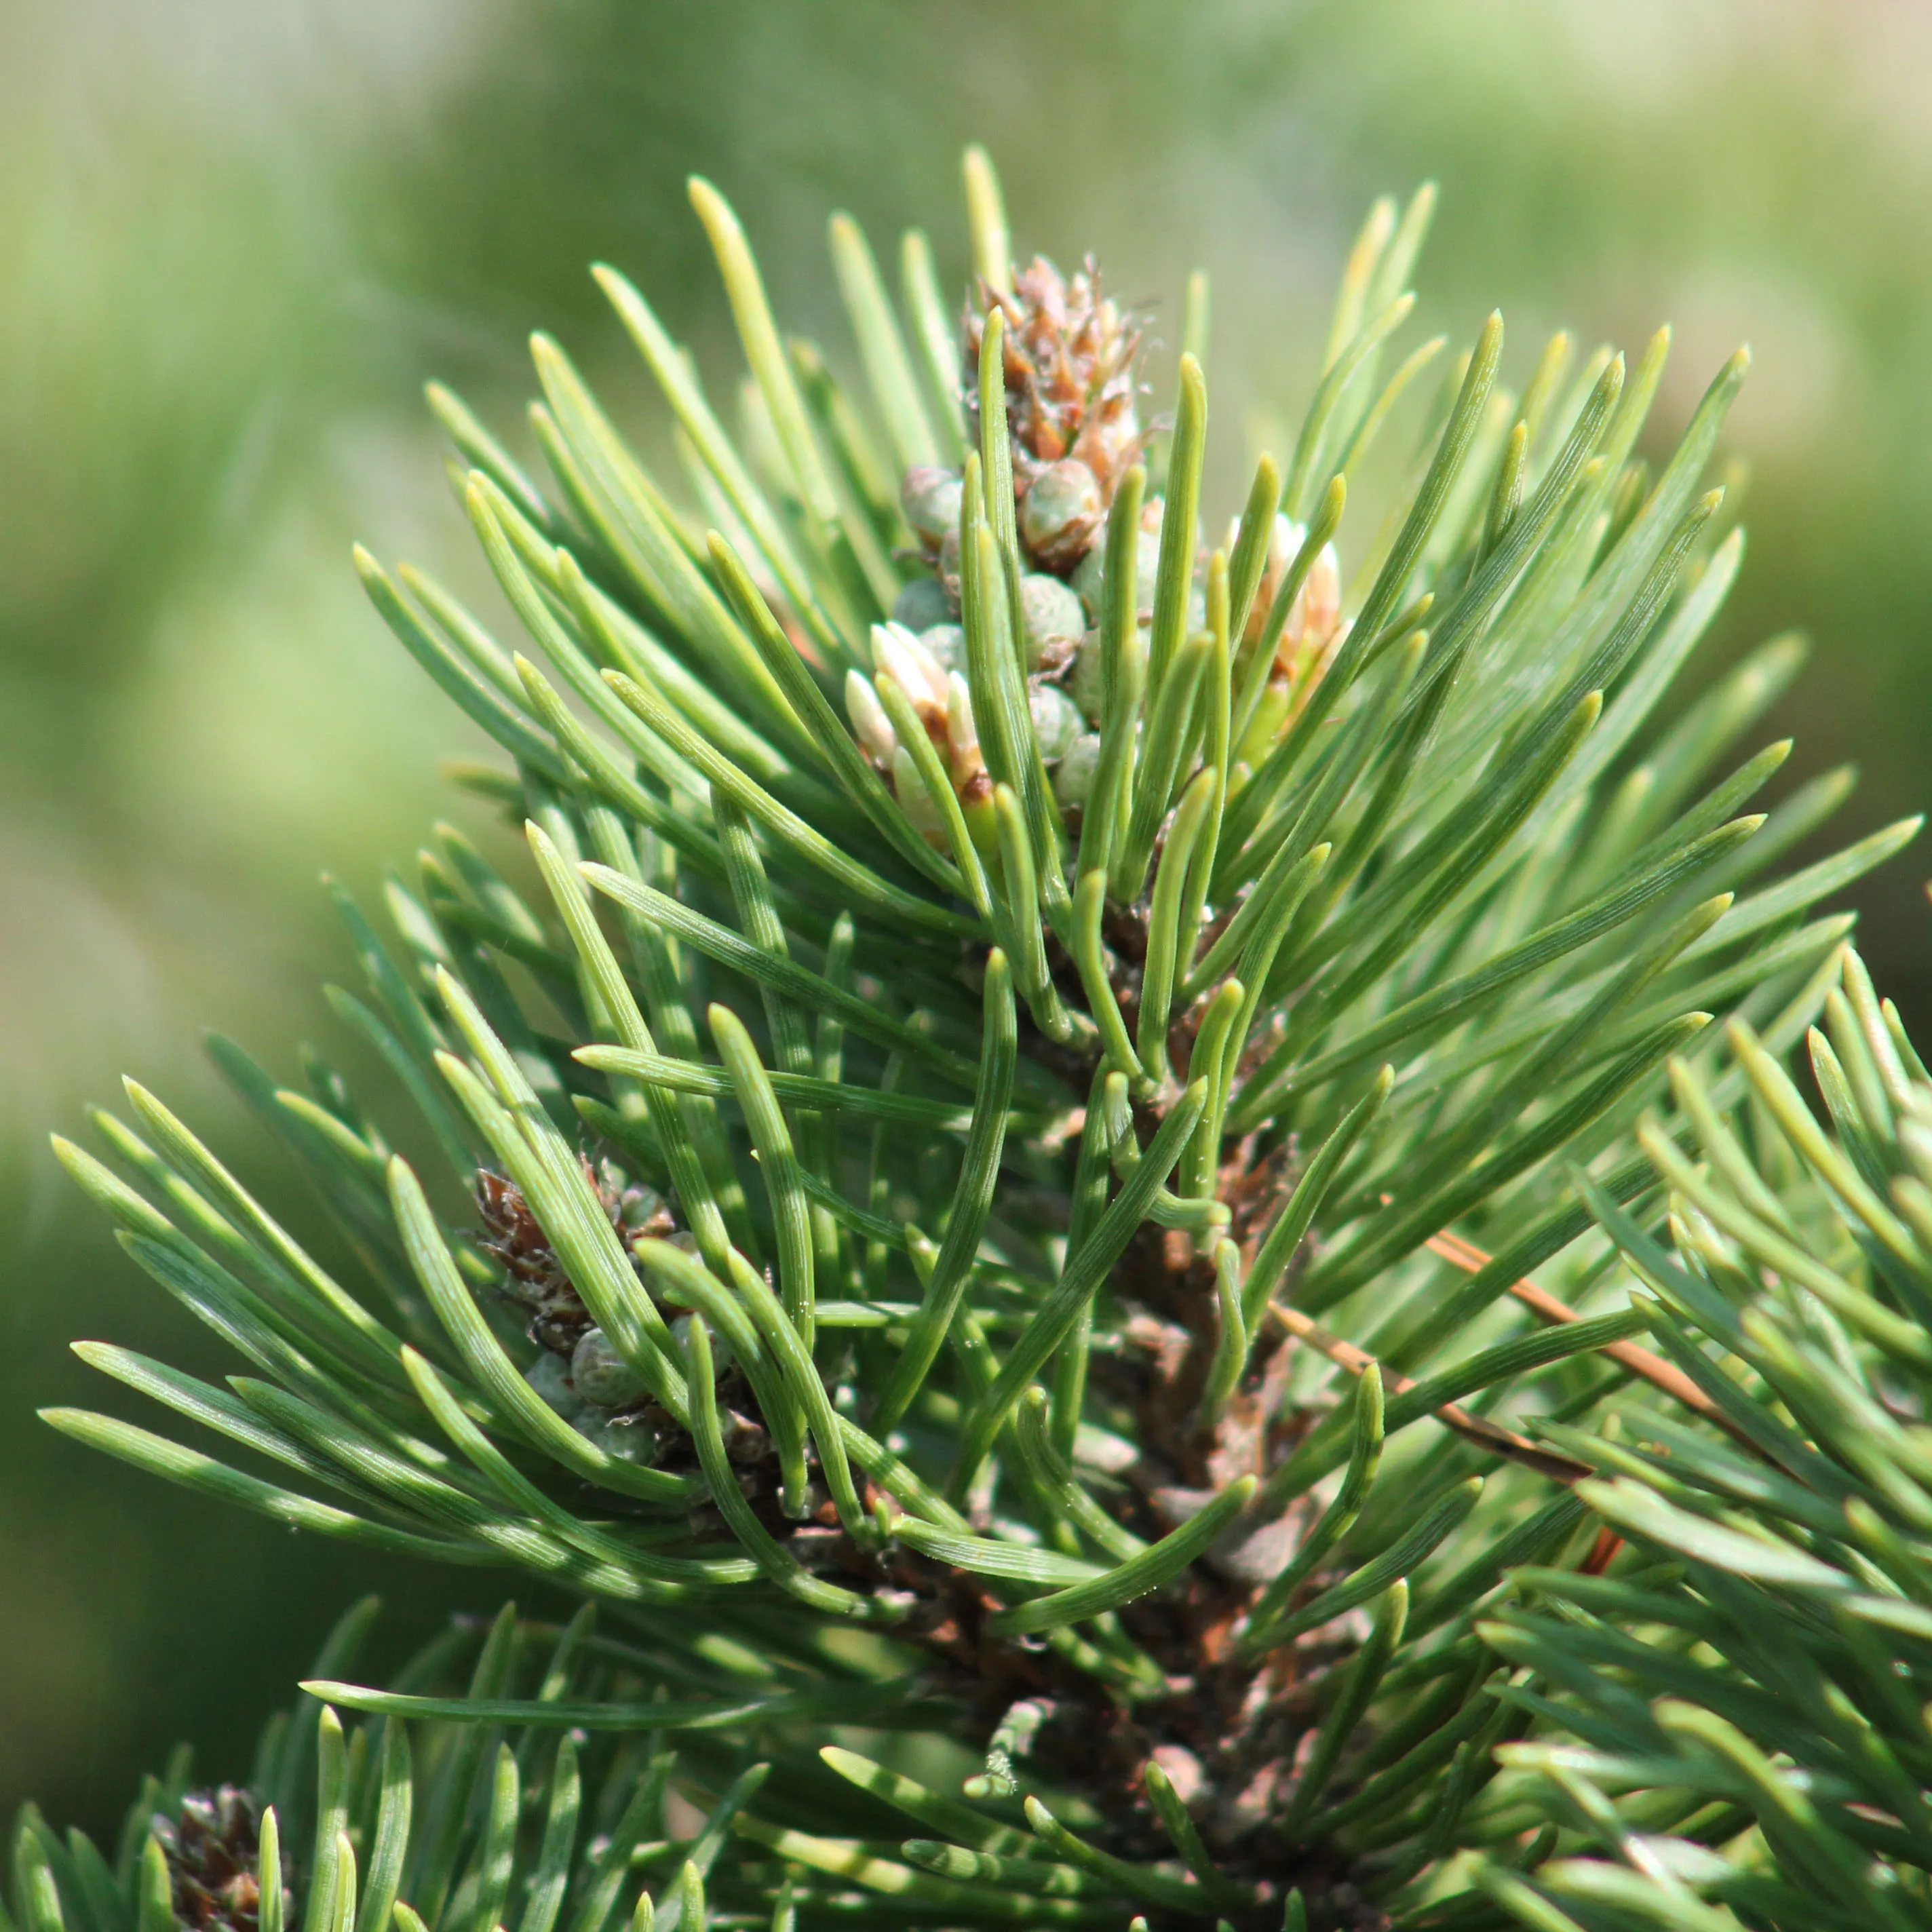
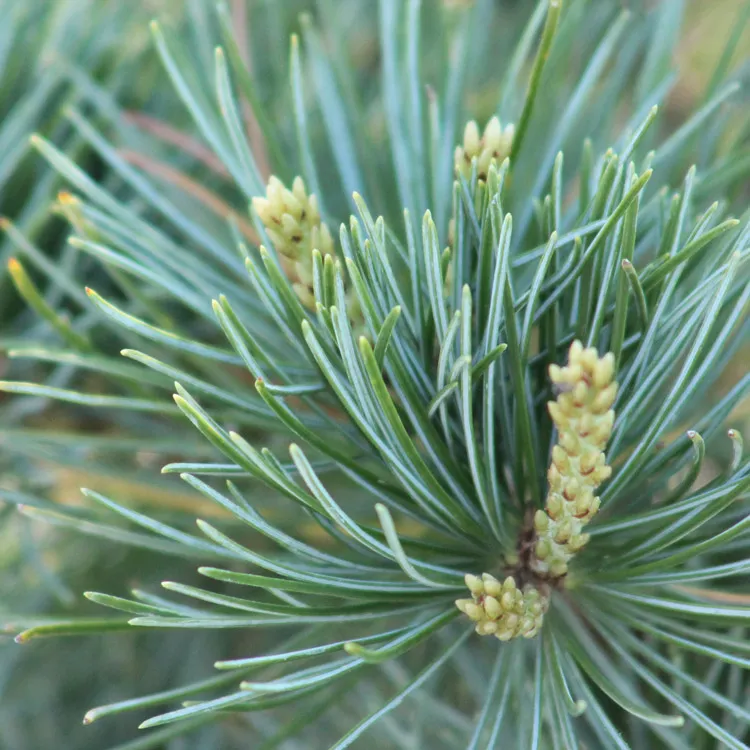
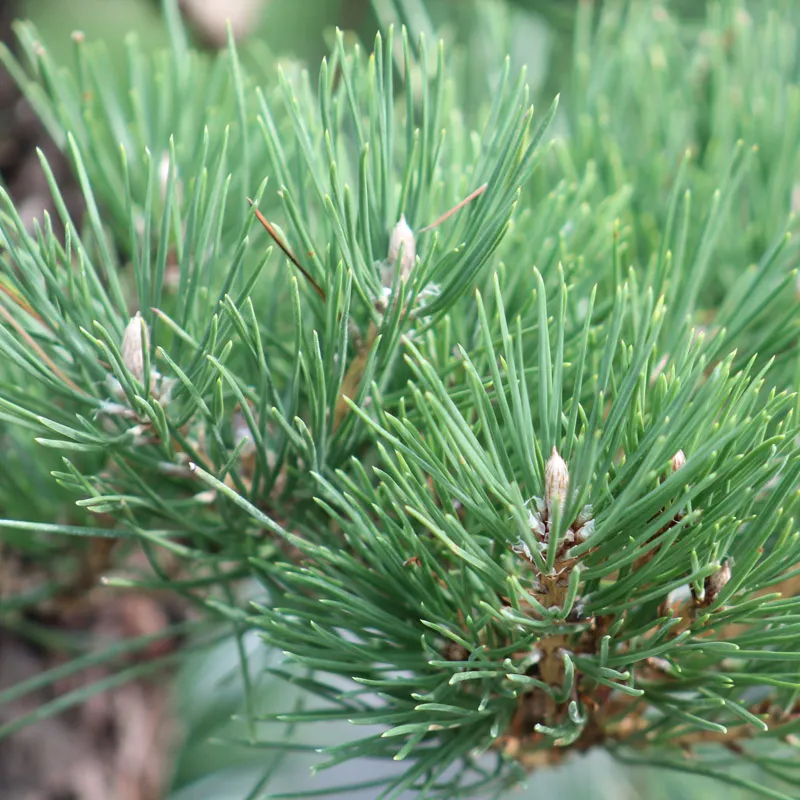
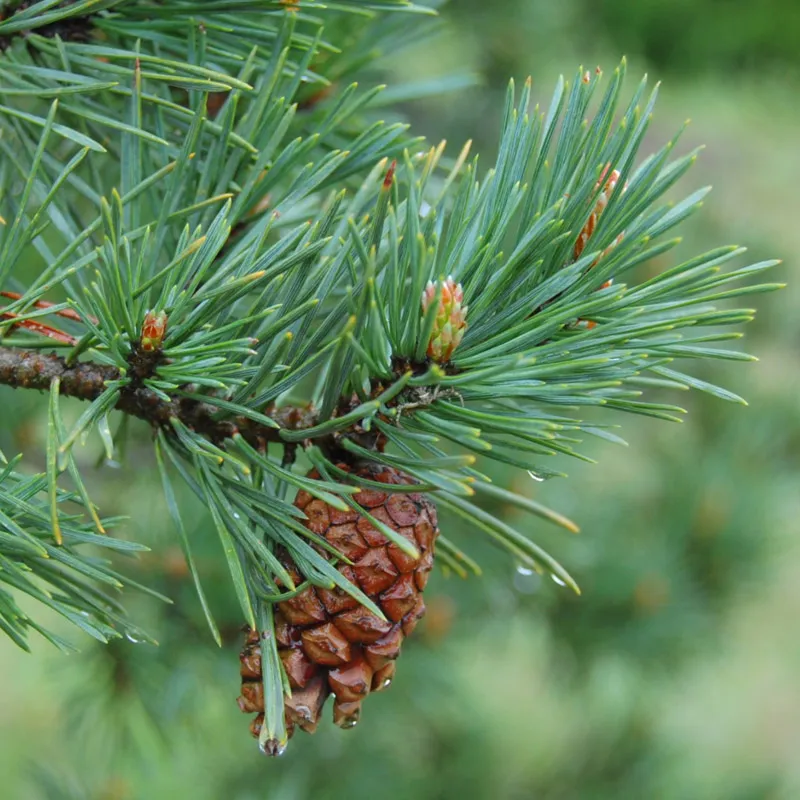
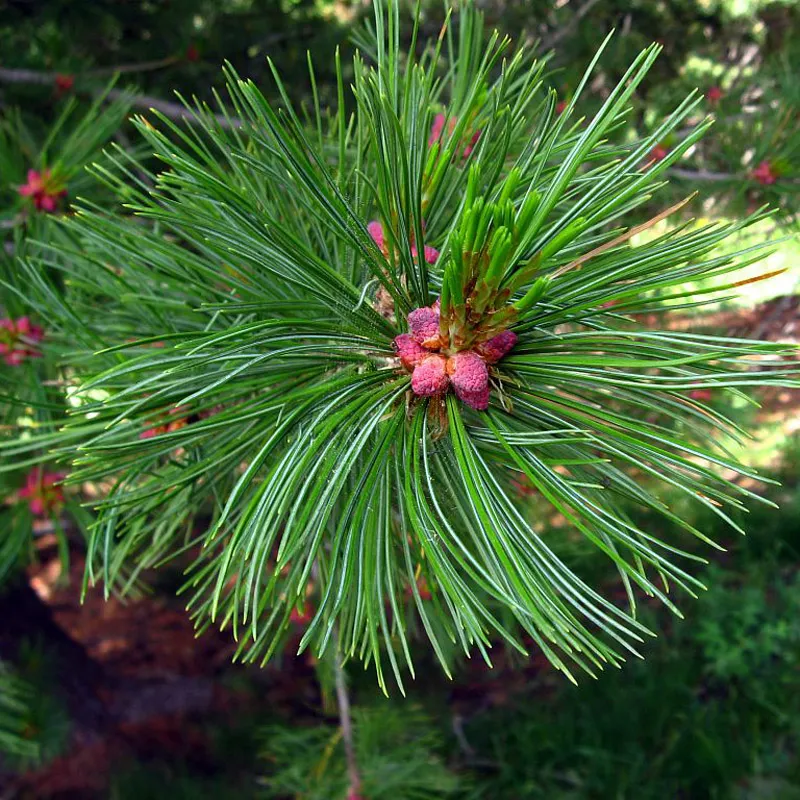
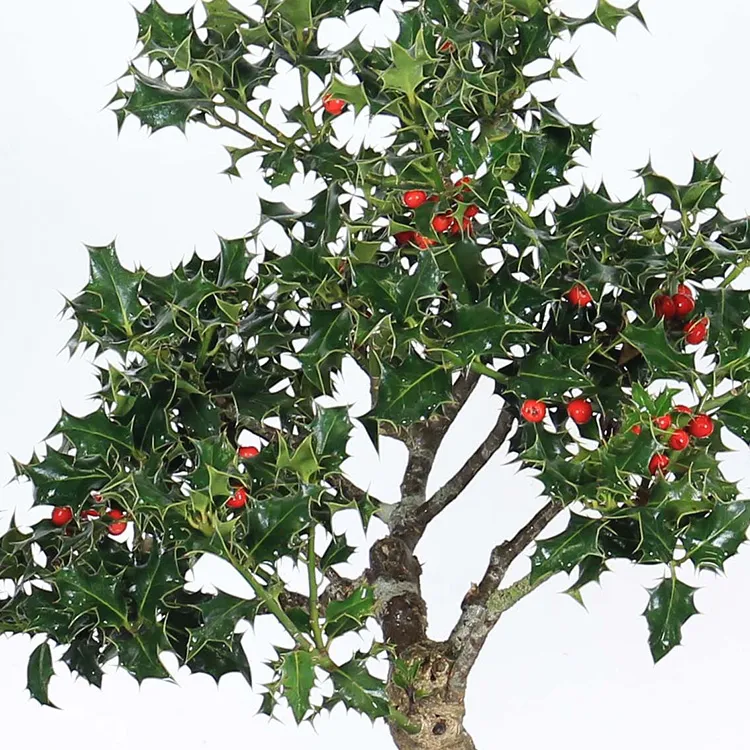
Generally, deciduous trees will naturally emit many back buds when pruned, but for most conifers this will not be the case. If you prune a pine branch into bonsai, without leaving any vegetation, the branch will dry out and die. It's the same for bonsai junipers.
There are, however, a few conifers that have the ability to disbud on bare wood, for example yews, but this is certainly the exception that proves the rule.
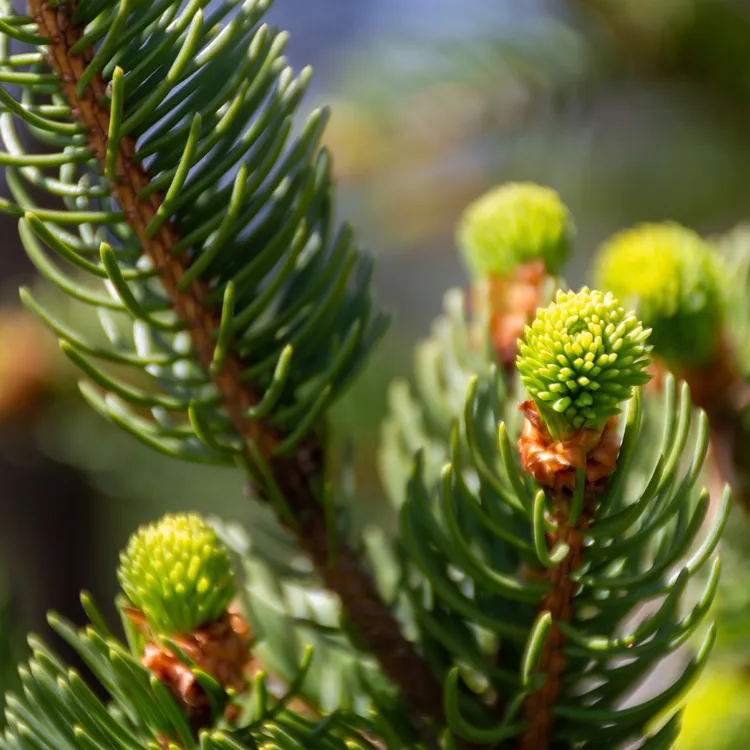
This is why clip and grow will be used much more to form a deciduous bonsai. For a pine tree, you'll have to do it a little differently. You can let a branch grow to make it bigger, but always keep a small back branch that can take over. You can then prune above this small branch; The flow of sap will be conserved and it will then take more strength to take over.
Does clip and grow replace ligation?
The laying of a ligature allows the branches of a bonsai to be placed in the desired position in relation to the desired aesthetic. So it's not a technique for creating a bonsai, but a technique for shaping.
Clip and grow, by selecting the branches that will be used to create the new branches or the continuity of the trunk, is also a shaping technique, but it has certain limitations. The growth is not necessarily going to go in the exact direction you want.
It is possible to create a bonsai by pruning alone, but it is a technique that is rather adapted to deciduous trees, with a slightly freer shaping.
On a conifer, if you want to have well-defined trays, as you can see in the catalogues of the major Japanese exhibitions, you will necessarily have to go through the ligature.
The two techniques should not be pitted against each other, but rather complementary.