
 Production of French Bonsai


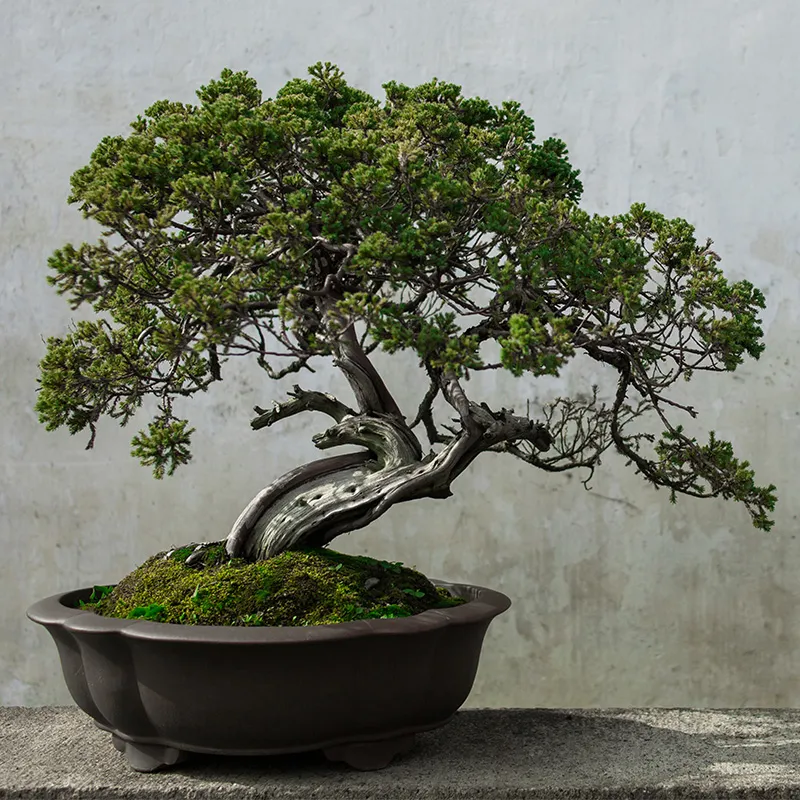
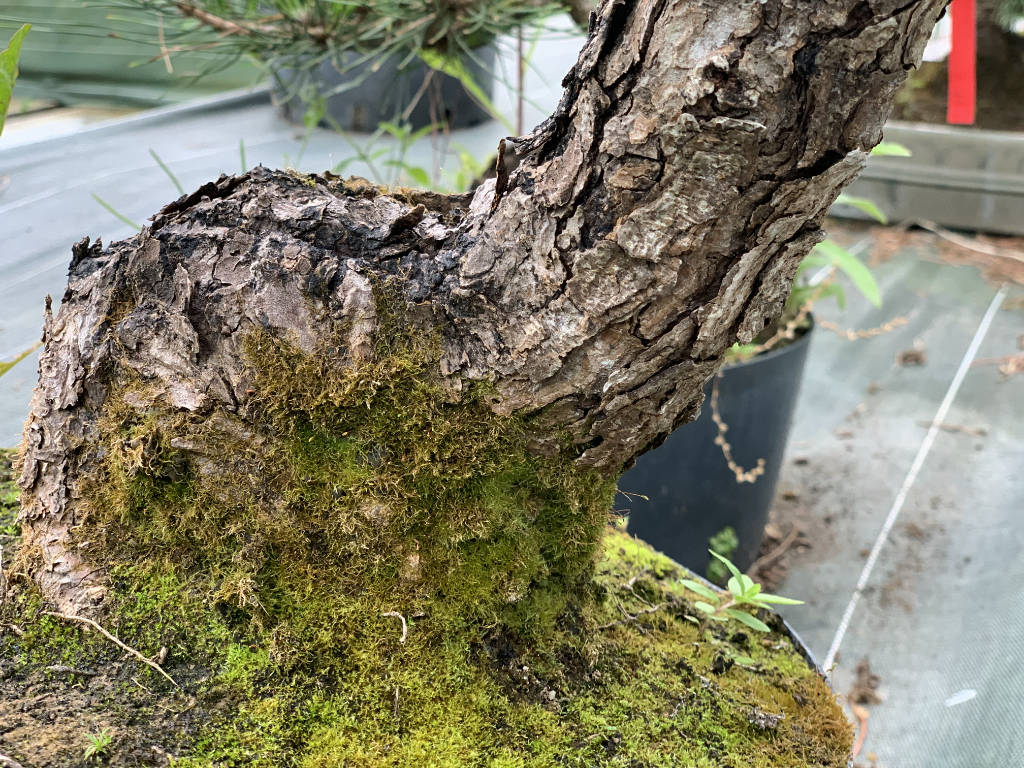
Bonsai pines are highly prized by enthusiasts, and the black pine is certainly the most emblematic. A must-have in major Japanese exhibitions, it evokes strength and power with its massive trunk and dense plateaus.
At the nursery, this is one of our favorite trees, some of which have been cultivated for more than 40 years, first by growing them in the open field and then formed in pots to gradually become bonsai.
» See all our Japanese black pines online
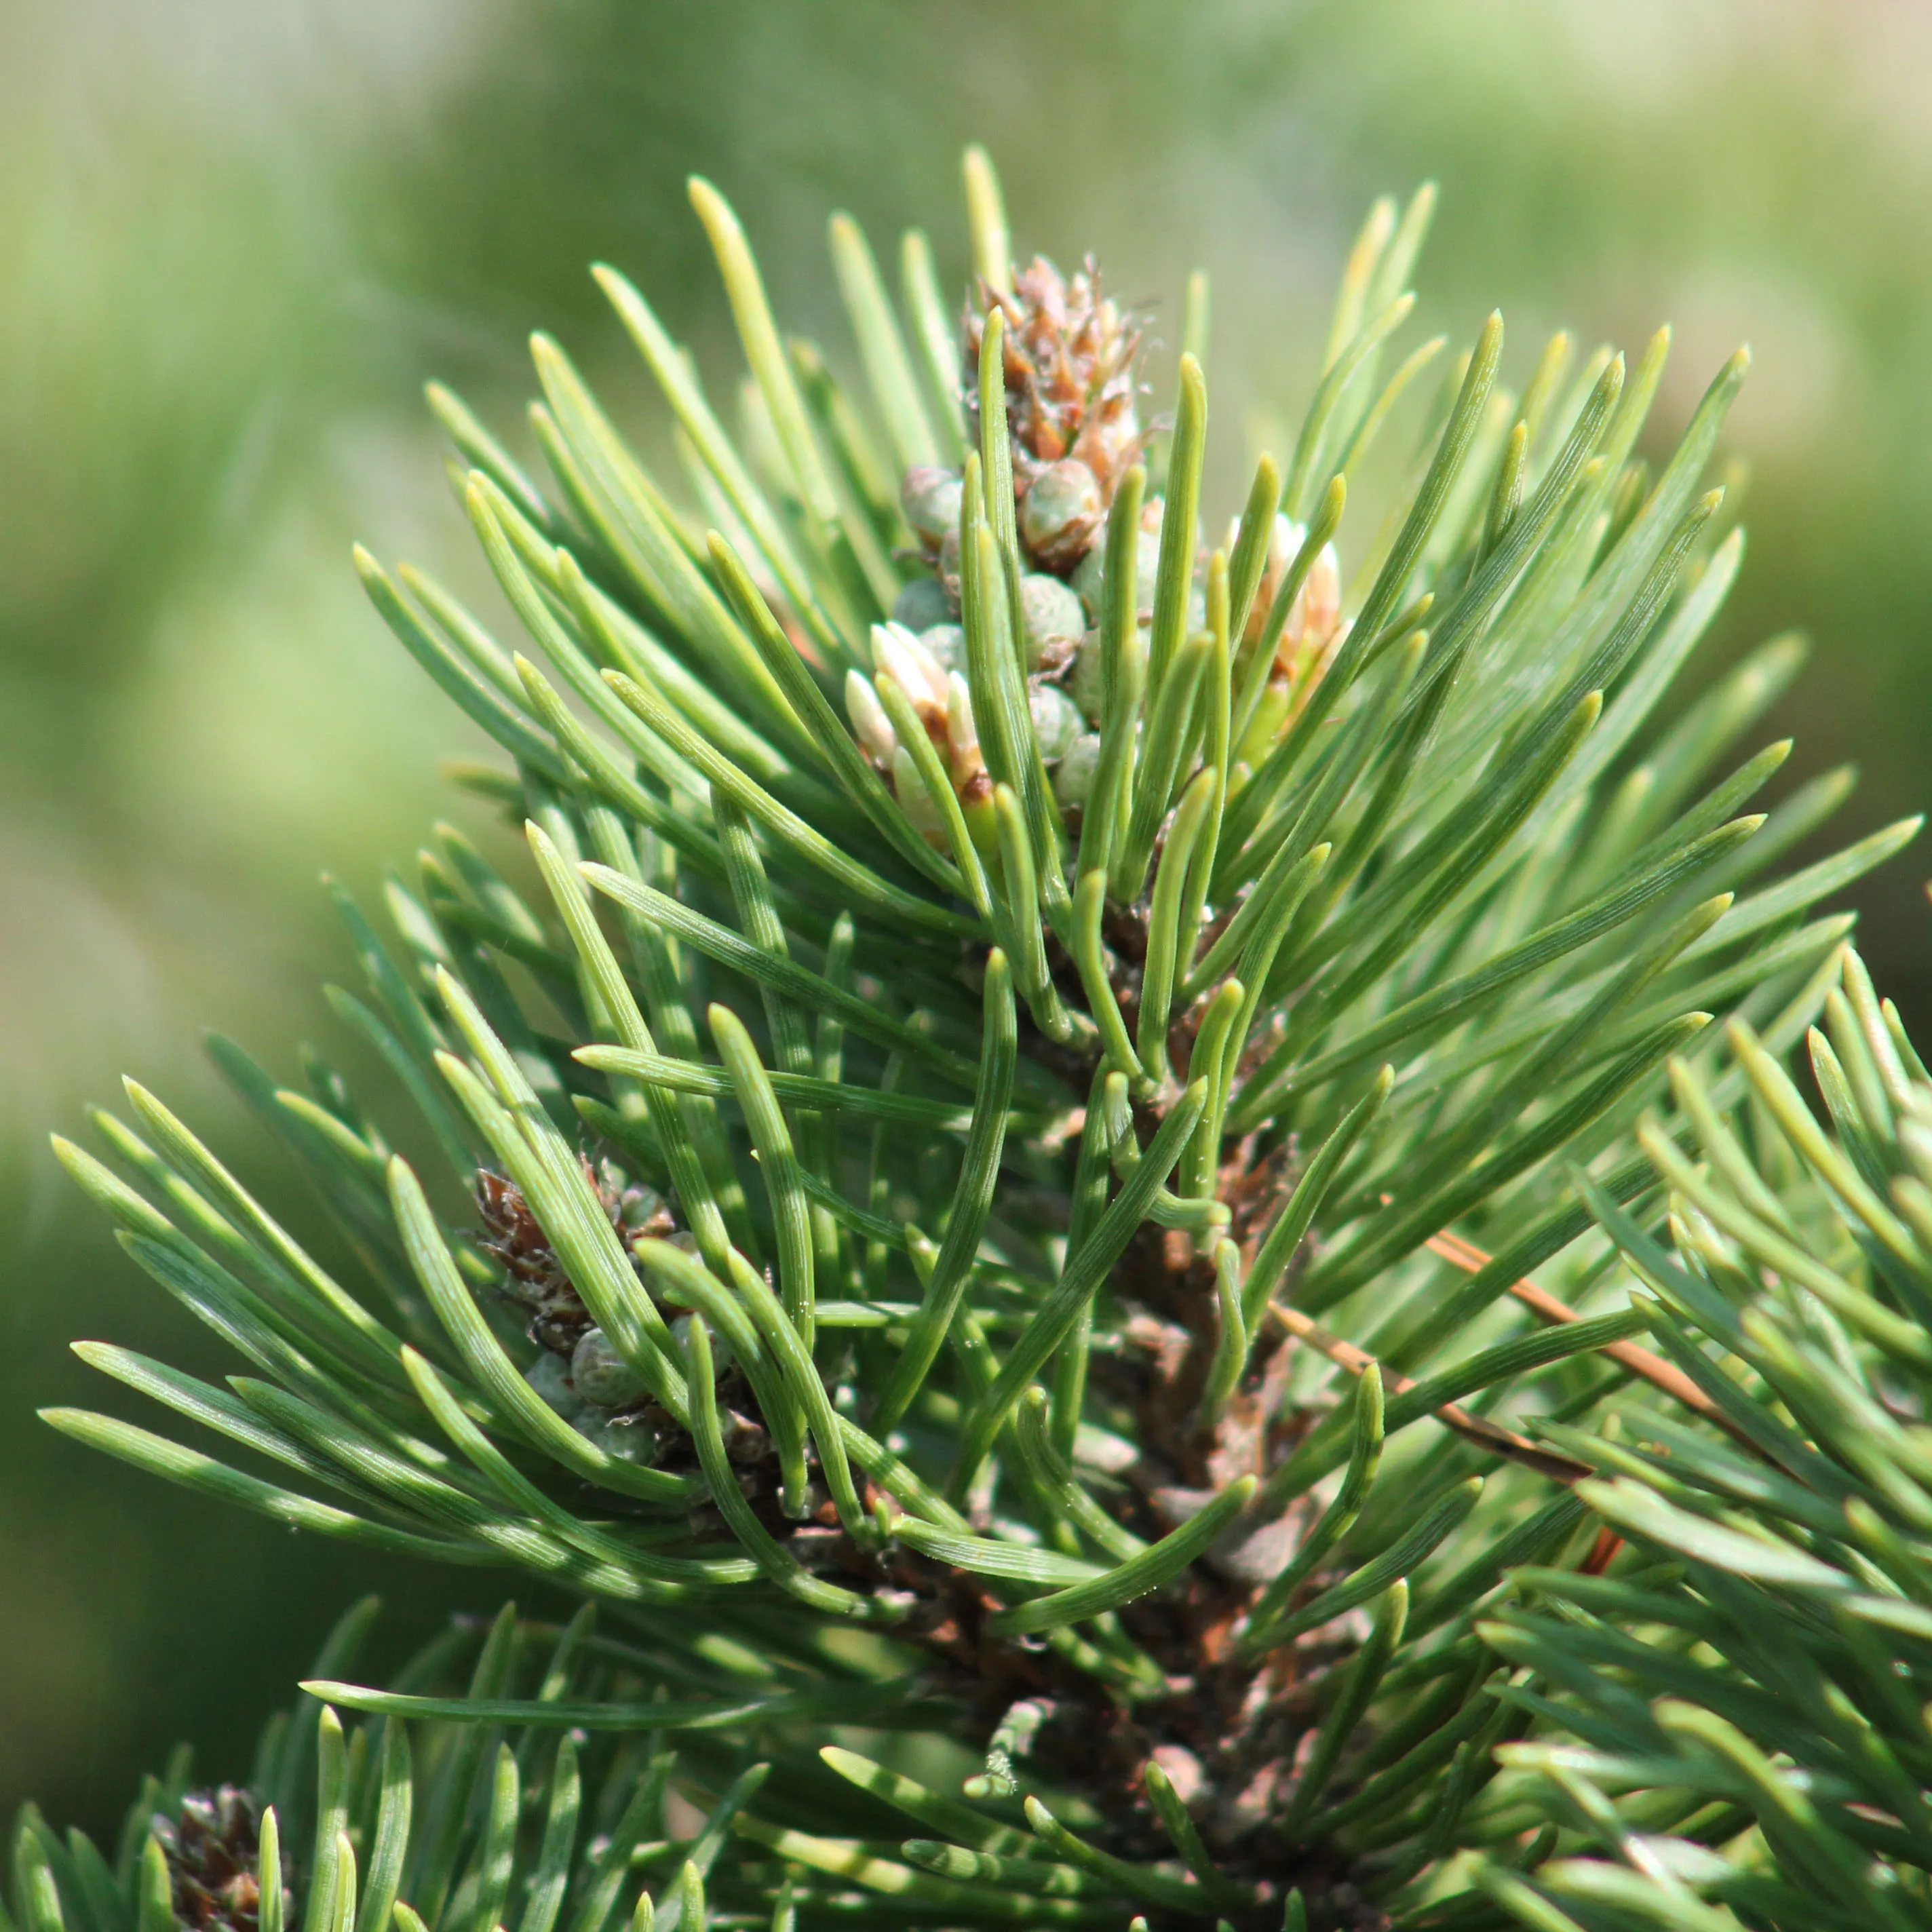
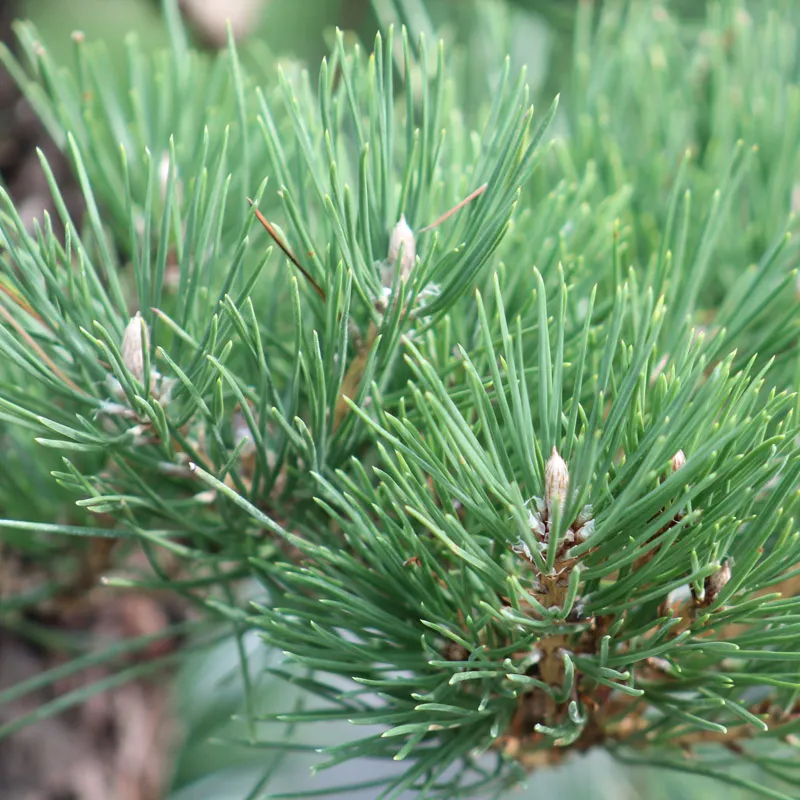
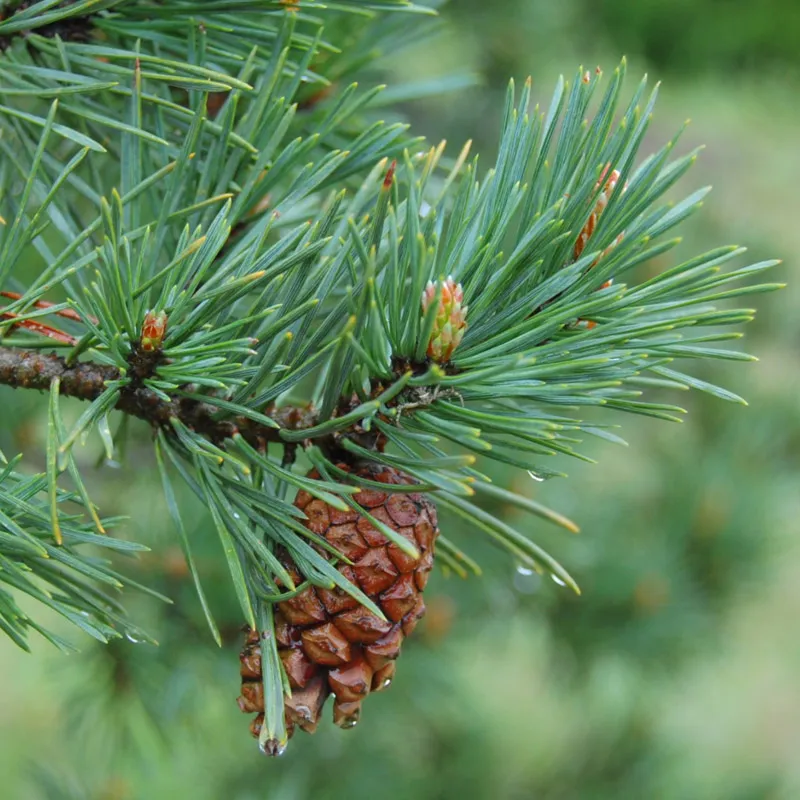
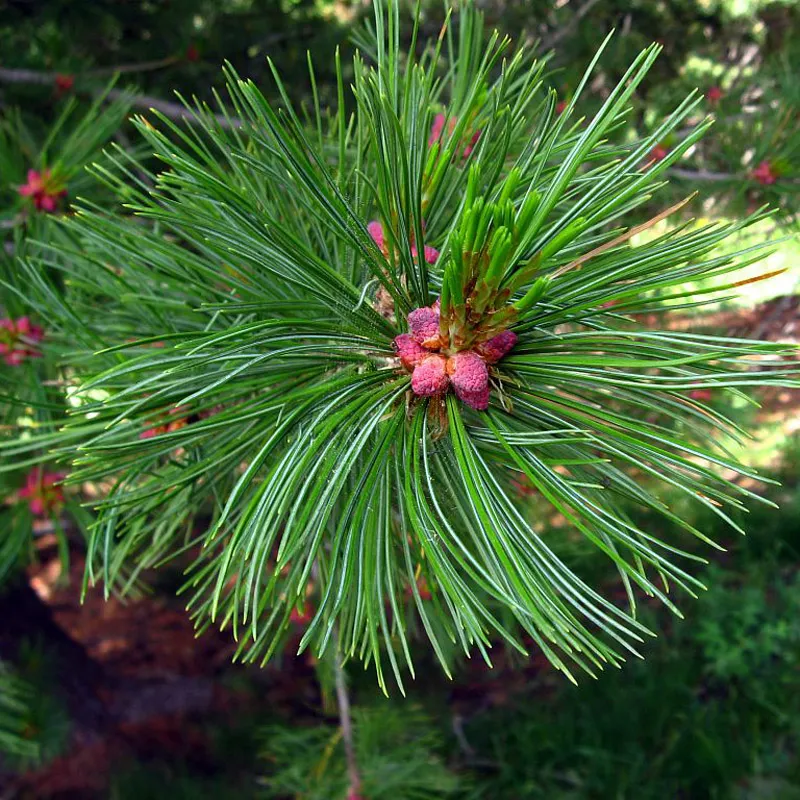
Japanese black pine, pinus Thunbergii
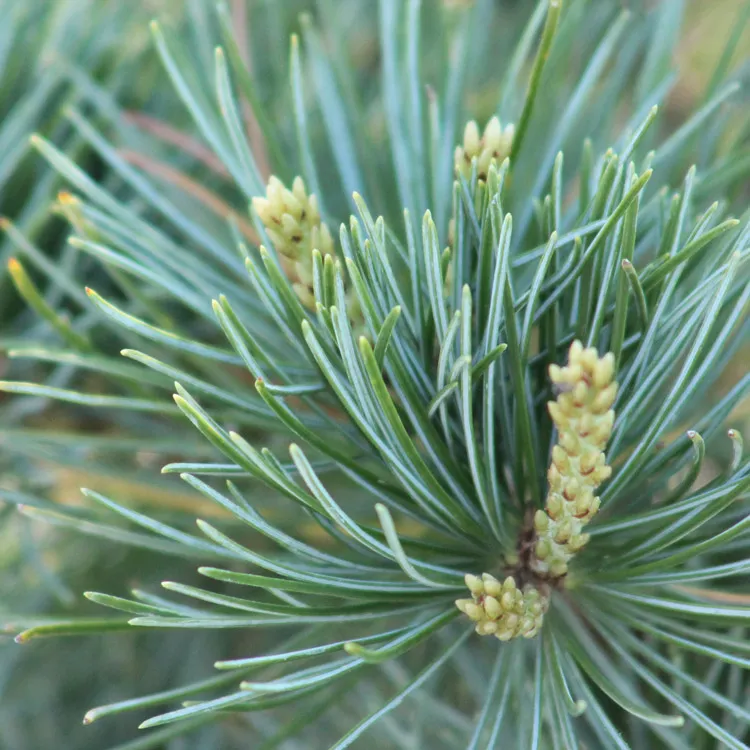
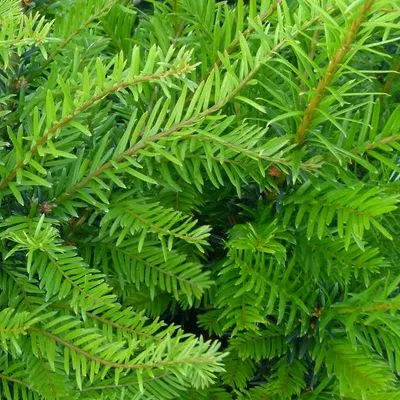
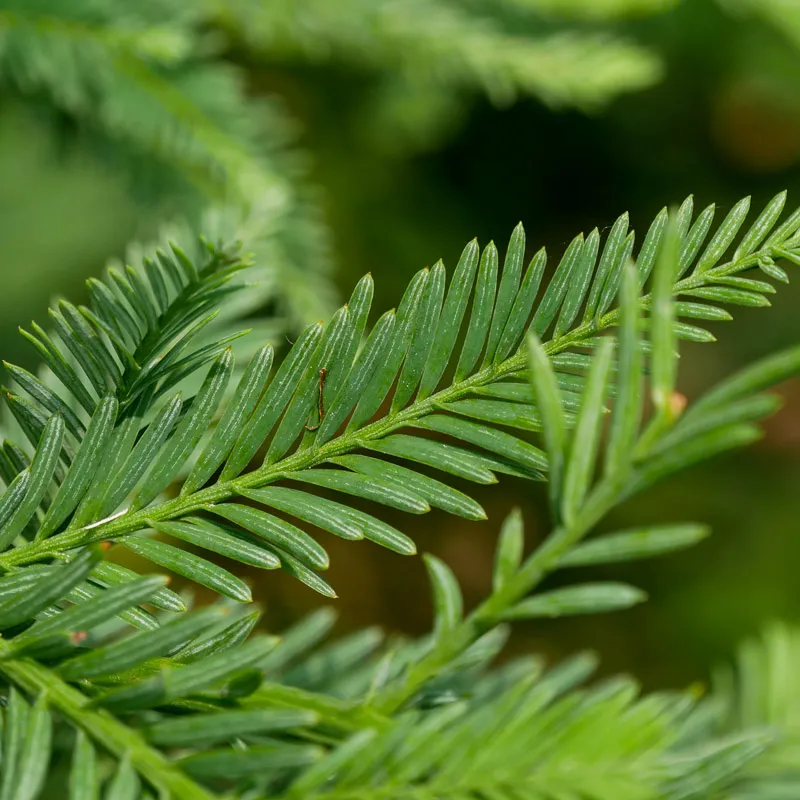
This pine takes its name from the colourof its bark, which is very dark and cracked. It grows naturally by the sea in the southern part of the Japanese archipelago. It therefore tolerates salt spray very well and, as we will see later, it has been able to adapt to this climate and in particular to strong winds and typhoons. It is not a mountain pine, unlike the white pine (pinus Pentaphylla).
It is said to be a pine with two needles, as the needles grow in pairs. Black pine is very vigorous, grows quickly and tends to make large needles, but fortunately these reduce over time. It is so potent that it is able to make two shoots in a year, whereas most other pines make only one shoot.
How do you care for a Japanese black pine?
Location: always outside and in the sun
Pine trees are hardy trees that need to be left outside throughout the year. They tolerate the cold very well, and below zero temperatures are necessary for their good health. They need to feel the harshness of winter to get back on track in the spring.
In summer, leave them in full sun, there is no need to put them in the shade. A lack of sunlight will result in longer needles, with a less bold color.
Watering
Black pines tolerate having a root ball that dries out a little between two waterings. Overwatering is more detrimental than overwatering. Especially during the winter, when there is heavy rain, the pot can quickly become completely soaked with water. If you can, keep your pine tree out of the rain until the drainage takes effect.
Too much water in the spring, when the candles open, will also result in longer needles. Excess water during the winter period is characterized by needles with yellow tips.
Watering pine trees may seem complicated, but in practice, water when the top of the substrate is dry, and avoid excess water, especially during the winter.
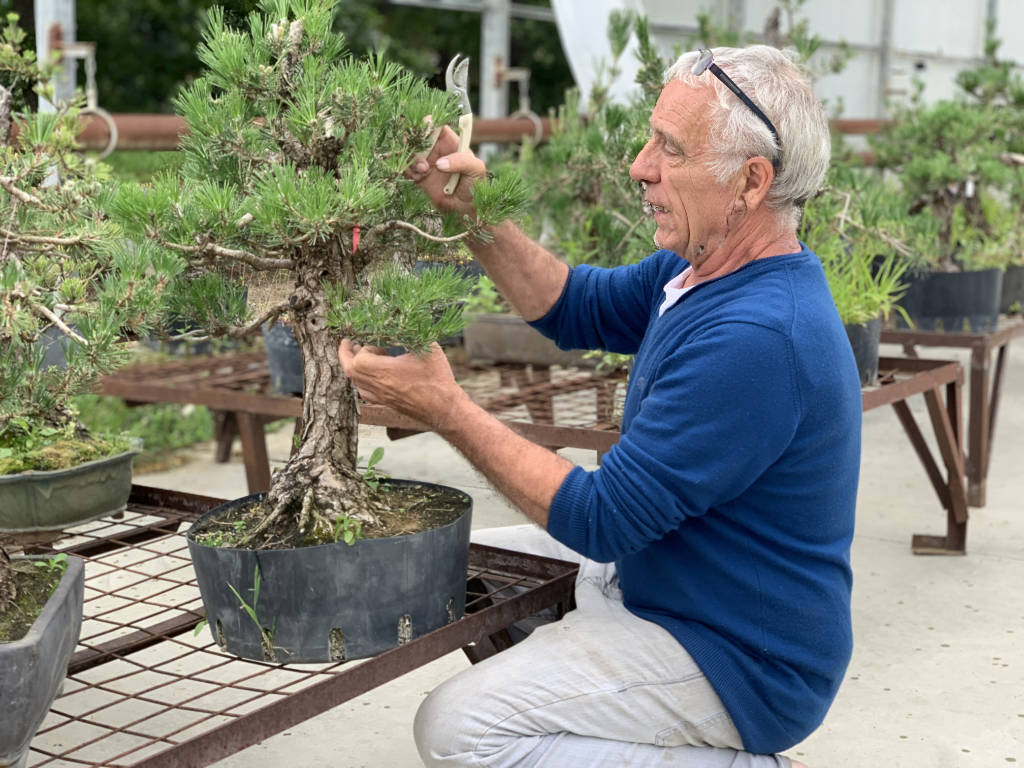
How to Prune a Japanese Black Pine
This is a sensitive subject, as the literature on the subject is vast and sometimes contradictory. Part of the reason for this is that there is no single technique possible. So we're going to explain how we do the nursery. This technique gives good results and is actually quite simple to apply.
First of all, we must consider two states of completion on pines:
- the case of bonsai trees on which the branches are a little long and not very dense. The goal is to bring the vegetation closer to the trunk by making new buds appear on the branches, so that they cannot be shortened afterwards.
- In the case of more successful bonsai, the branches are in place, at the right size and length, we just want to densify the trays.
Diverting to promote rear budding
So we start by laying down the primary branching. For each branch, you have to ask yourself if it has the right length and size in relation to the desired shape. If it doesn't, we don't prune it, but we take it out of the way.
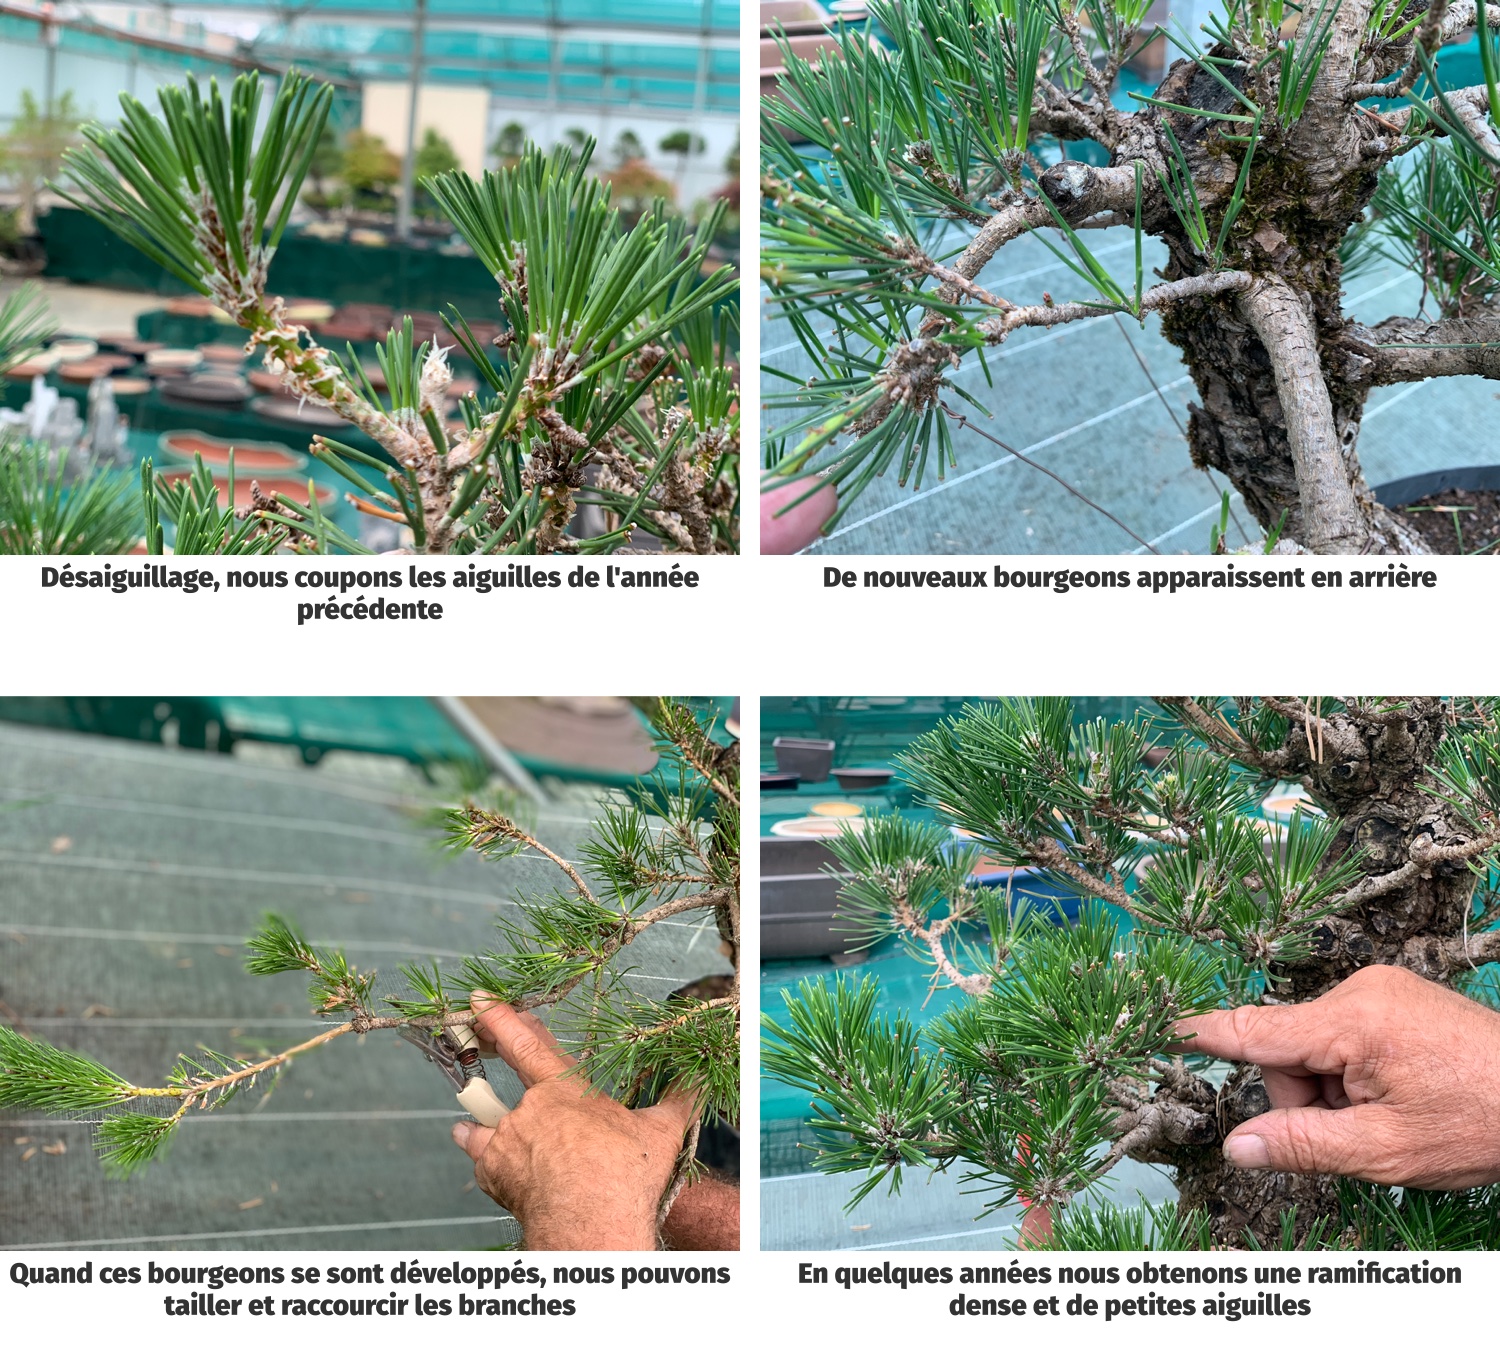
That is to say, in June we cut the needles of the previous year. They are easily recognizable because they are darker in color and grow almost perpendicular to the branch; The hands of the year are a lighter green and form a sharper angle.
We trim the needles with scissors, we never pull on the needles as this may damage the latent buds that are at the base of the needles.
We then let it grow, fertilizing. During the summer, the pieces of cut needles will fall off naturally and you will see buds appear on the bare wood. Some will open up and form needles in the summer; others will not open until the following spring.
We let the tip of the branch develop, we don't touch it because that's what will allow the sap to circulate and promote the appearance of buds.
So the following year, we have a branch that has elongated and developed buds and small shoots. We then have the option of pruning and going back, to continue the formation of the black pine on branches closer to the trunk when they are developed enough to take over.
When we want to make a branch bigger, we let all the buds develop, the new branches grow. The more needles and twigs there are, the more sap will circulate, promoting a thickening of the branch.
Simply with this technique, we obtain an already well-developed branching and small needles.
The pinch of the black pine
Once the main structure is in place, the branches are the right length and size (and only then), we can consider more advanced techniques such as pinching. Pinching the candles of a pine tree in the process of forming is counterproductive because it slows down growth.
The internet is full of more or less complex explanations about pine pinching. The strongest candles should be plucked first, then the weakest 2 weeks later, etc. We do not question these techniques, which certainly give good results. But in our nursery we have hundreds (if not thousands) of black pines. Over the years, we have developed more productive techniques that also give good results.
To get a clearer picture, let's go back to basics.
In Japan; The black pine lives in its natural state by the sea, especially in the southern part. And what happens in June in this region? There are typhoons. Strong winds literally tear up the candles that have just developed. Black pine has adapted to this climate, with the ability to generate a second shoot, new buds and new candles after the passage of typhoons.
Now we're going to ask you a simple question: do you think typhoons say "I'm going to pull out the weakest candles first, then I'll come back in two weeks to pull out the strongest ones"? This question makes you smile and shows how much we sometimes complicate things.
A typhoon rips out most of the candles at the same time, both strong and weak. So we do the same thing. When they are developed, we pinch them, the strong ones and the weaker ones. Only the buds that are not yet open are left in place.
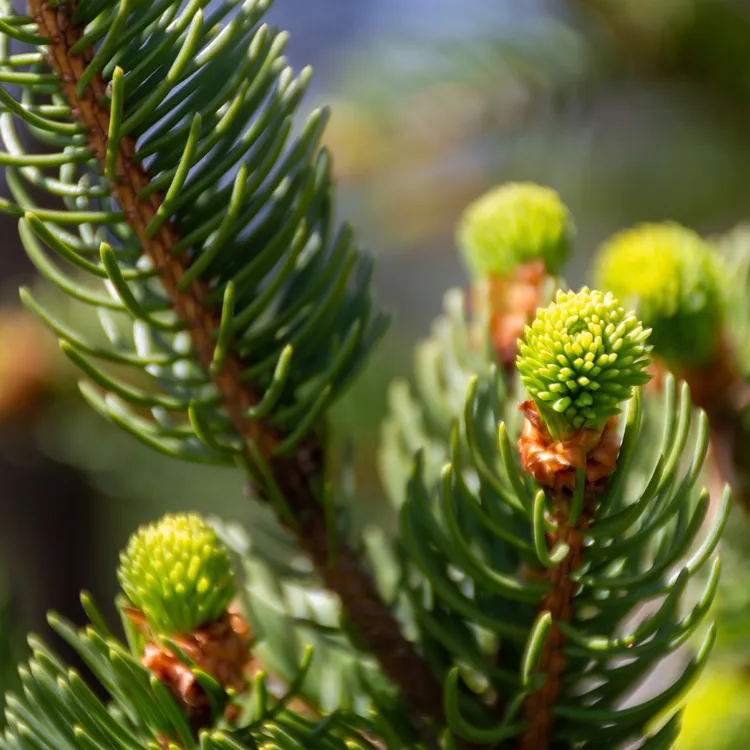
When we want to do a pinch, we don't distort. In spring, the bud opens, the candle goes up. We then start to see the hands appear, they form green dots on the candle. It's a good time to pinch.
We cut the candle completely, leaving just a small piece of about 5mm just above the previous year's needles. A few weeks later, buds appear that also develop into candles that open and reveal small needles.
Balancing Vigor on a Black Pine
Pinus Thunbergii is a very strong, very vigorous pine, and this is quickly noticeable. The tips of the branches and the head have large buds, long candles, while the inside of the tree grows more slowly.
To form a beautiful black pine in bonsai, you need to control and balance the vigor. That is to say, to slow down the strongest shoots and favor the weakest.
What makes long candles? Large buds at the tips of the branches.
What makes big buds? A large influx of sap.
What gives a large influx of sap? Needles that are real energy pumps.
Once you understand this, everything becomes simpler, and even obvious. We can use the number of needles as a lever to control the strength of the shaft. The more needles we leave, the bigger the bud will grow and the larger it will develop a candle. The fewer needles we leave and the less energy we will bring to the bud, so it will develop a small candle.
On a pine tree that is already well formed, in the autumn we will cut more or less needles of the year.
- On a weak shoot, we leave all the needles
- On a very strong shoot (usually at the end of the branch or on the head) we leave only a few pairs of needles
- On a medium-strong shoot, we remove half of the needles.
After a few years, this technique allows the forces to be balanced on the black pine. There are no longer significant differences in the length of the candle and the needles. They are not all the same size, but they are getting closer.
Repotting
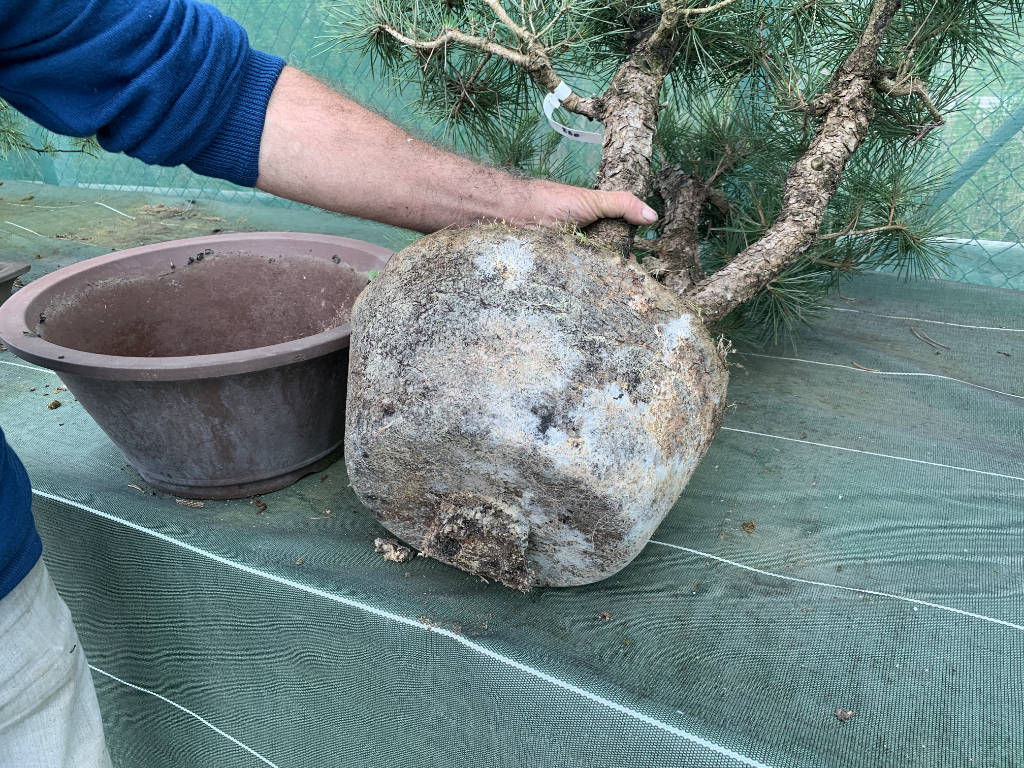
There is something important to understand is that the strength of a pine tree is in the roots. The more roots you cut, the more you're going to weaken it. So you never cut more than a third of the roots on a pine tree.
Then, repotting should only be done when the root bread is well compacted and healthy. Lift the pine tree out of its pot and look at the root ball. It must be full of mycorrhizae, these are fungi that take the form of white filaments and live in symbiosis with the pine, they help it draw nutrients from the soil. You must have a good mushroom smell!
Repotting must be done before the vegetation leaves. As soon as the buds get bigger and the candles start to appear, don't touch the roots.
One of the repotting periods is therefore at the end of winter. But don't repot too early, and this is generally true for all bonsai trees. Repotting in the middle of winter, when the tree is dormant, is not very good because there is reduced root activity.
There is another repotting period that we practice at the nursery, but we do not recommend it for beginners. It's a repot in August. This may seem contradictory to what one can read. However, the month of August is a transitional period for pines; The needles are well formed and they prepare the buds for the following year. It is a resting phase but during which the roots are very active and during which mycorrhizae develop. But repotting at this time means being able to provide good ambient humidity after repotting and not everyone has a watering and misting setup like ours. So only repot in August if you know what you're doing, otherwise go for early spring!
On a pine tree like the ones we sell at the nursery, it is not necessary to get too deep into the root. Just cut the edges, lightly comb the roots but don't force it. And above all, don't get into the heart of the clod!
Finally, scrape the top until you find the first roots. Indeed, the surface layer that you are going to remove has often become hard after a few years, the substrate is clogged by successive watering and by fertilizer. By removing a small centimetre, you ensure good drainage and allow water to penetrate well into the heart of the root ball.
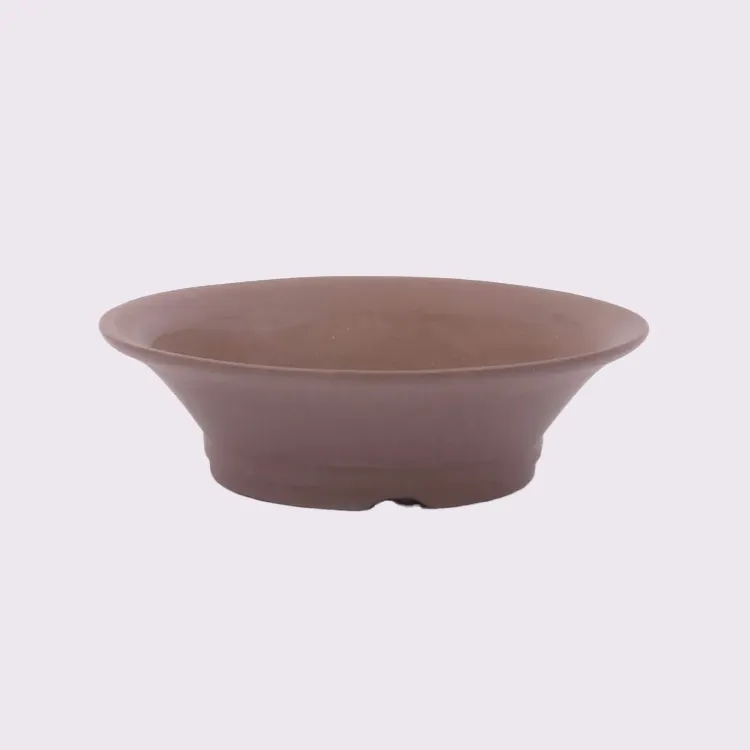
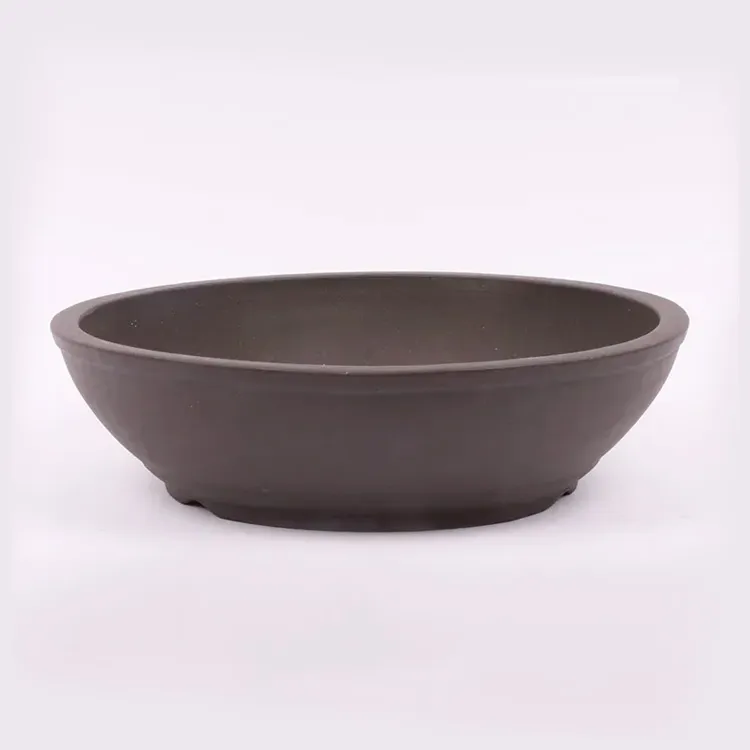
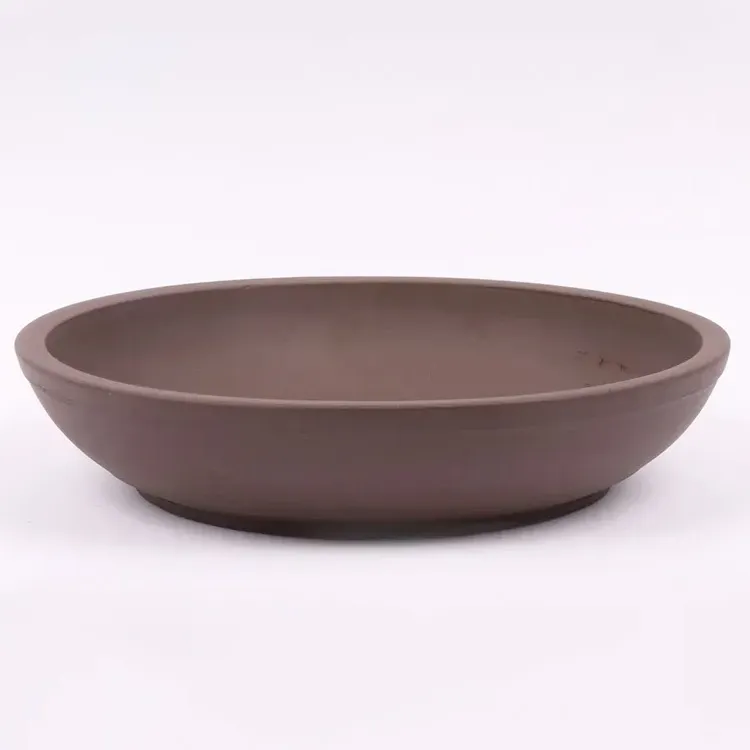
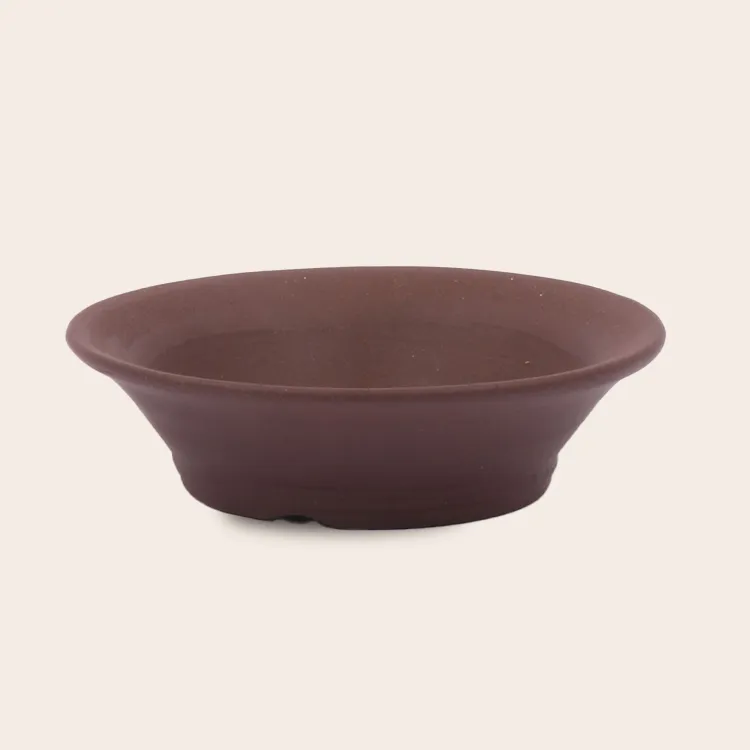
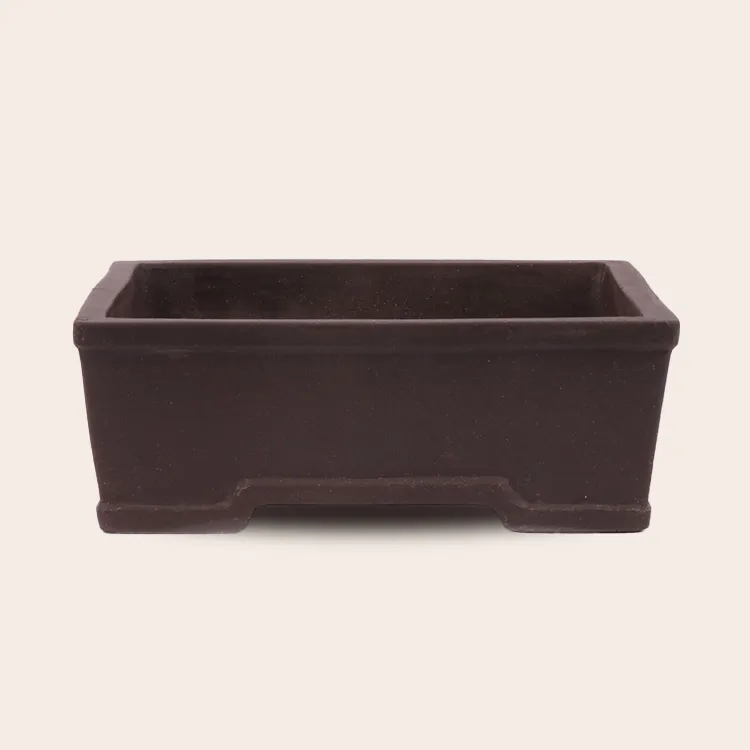
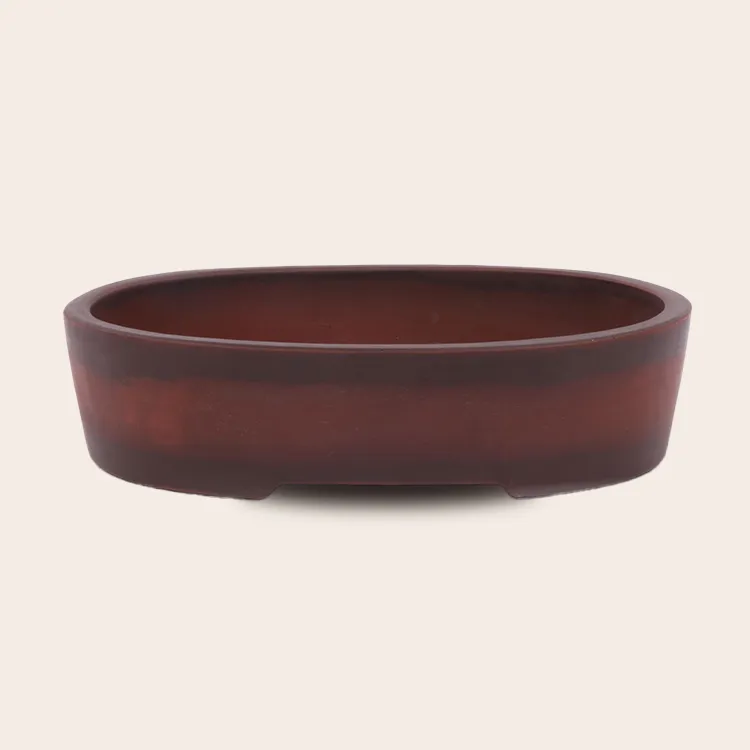
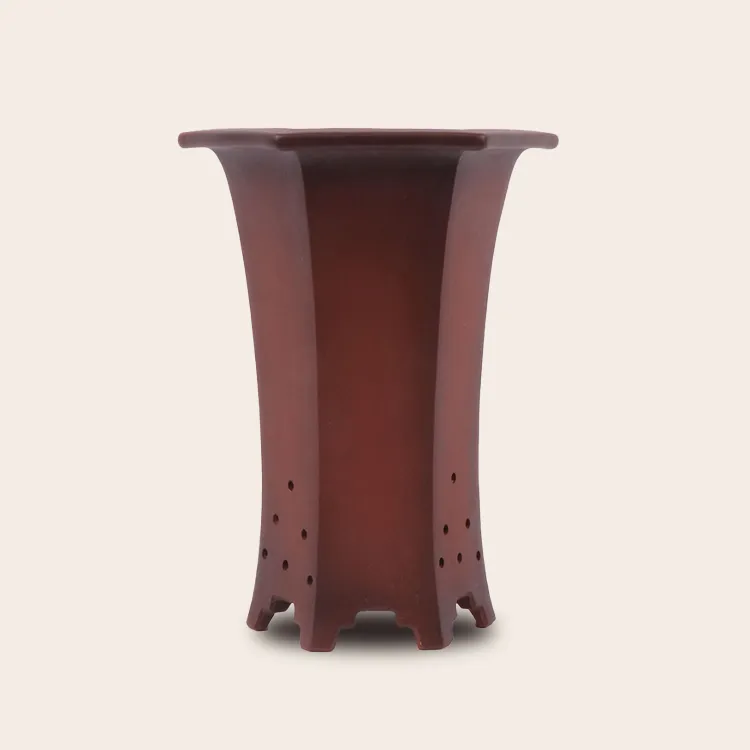
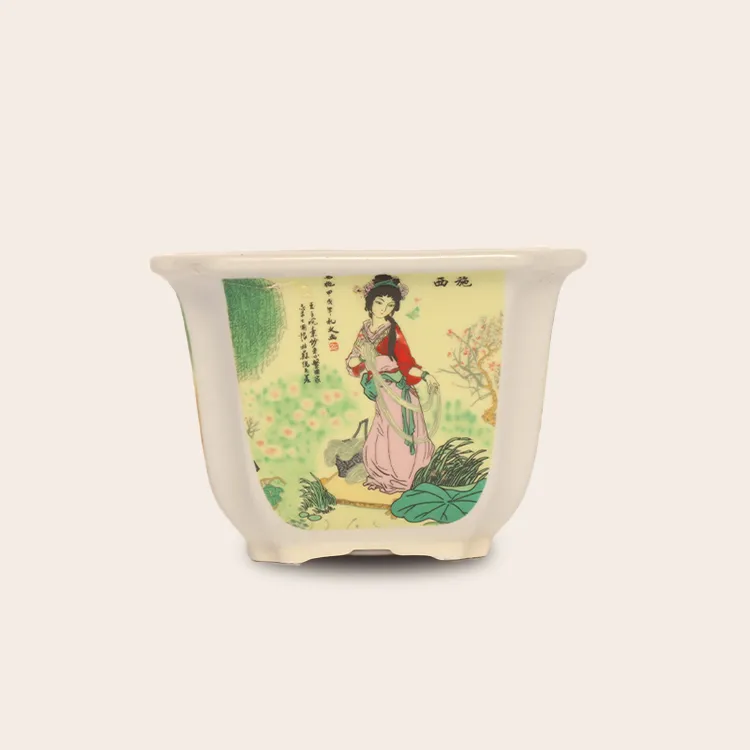
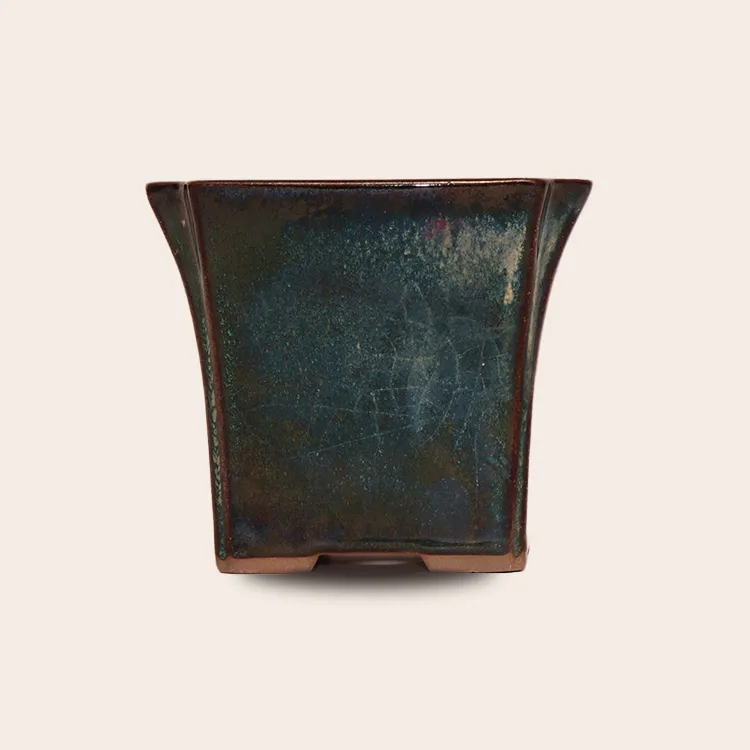
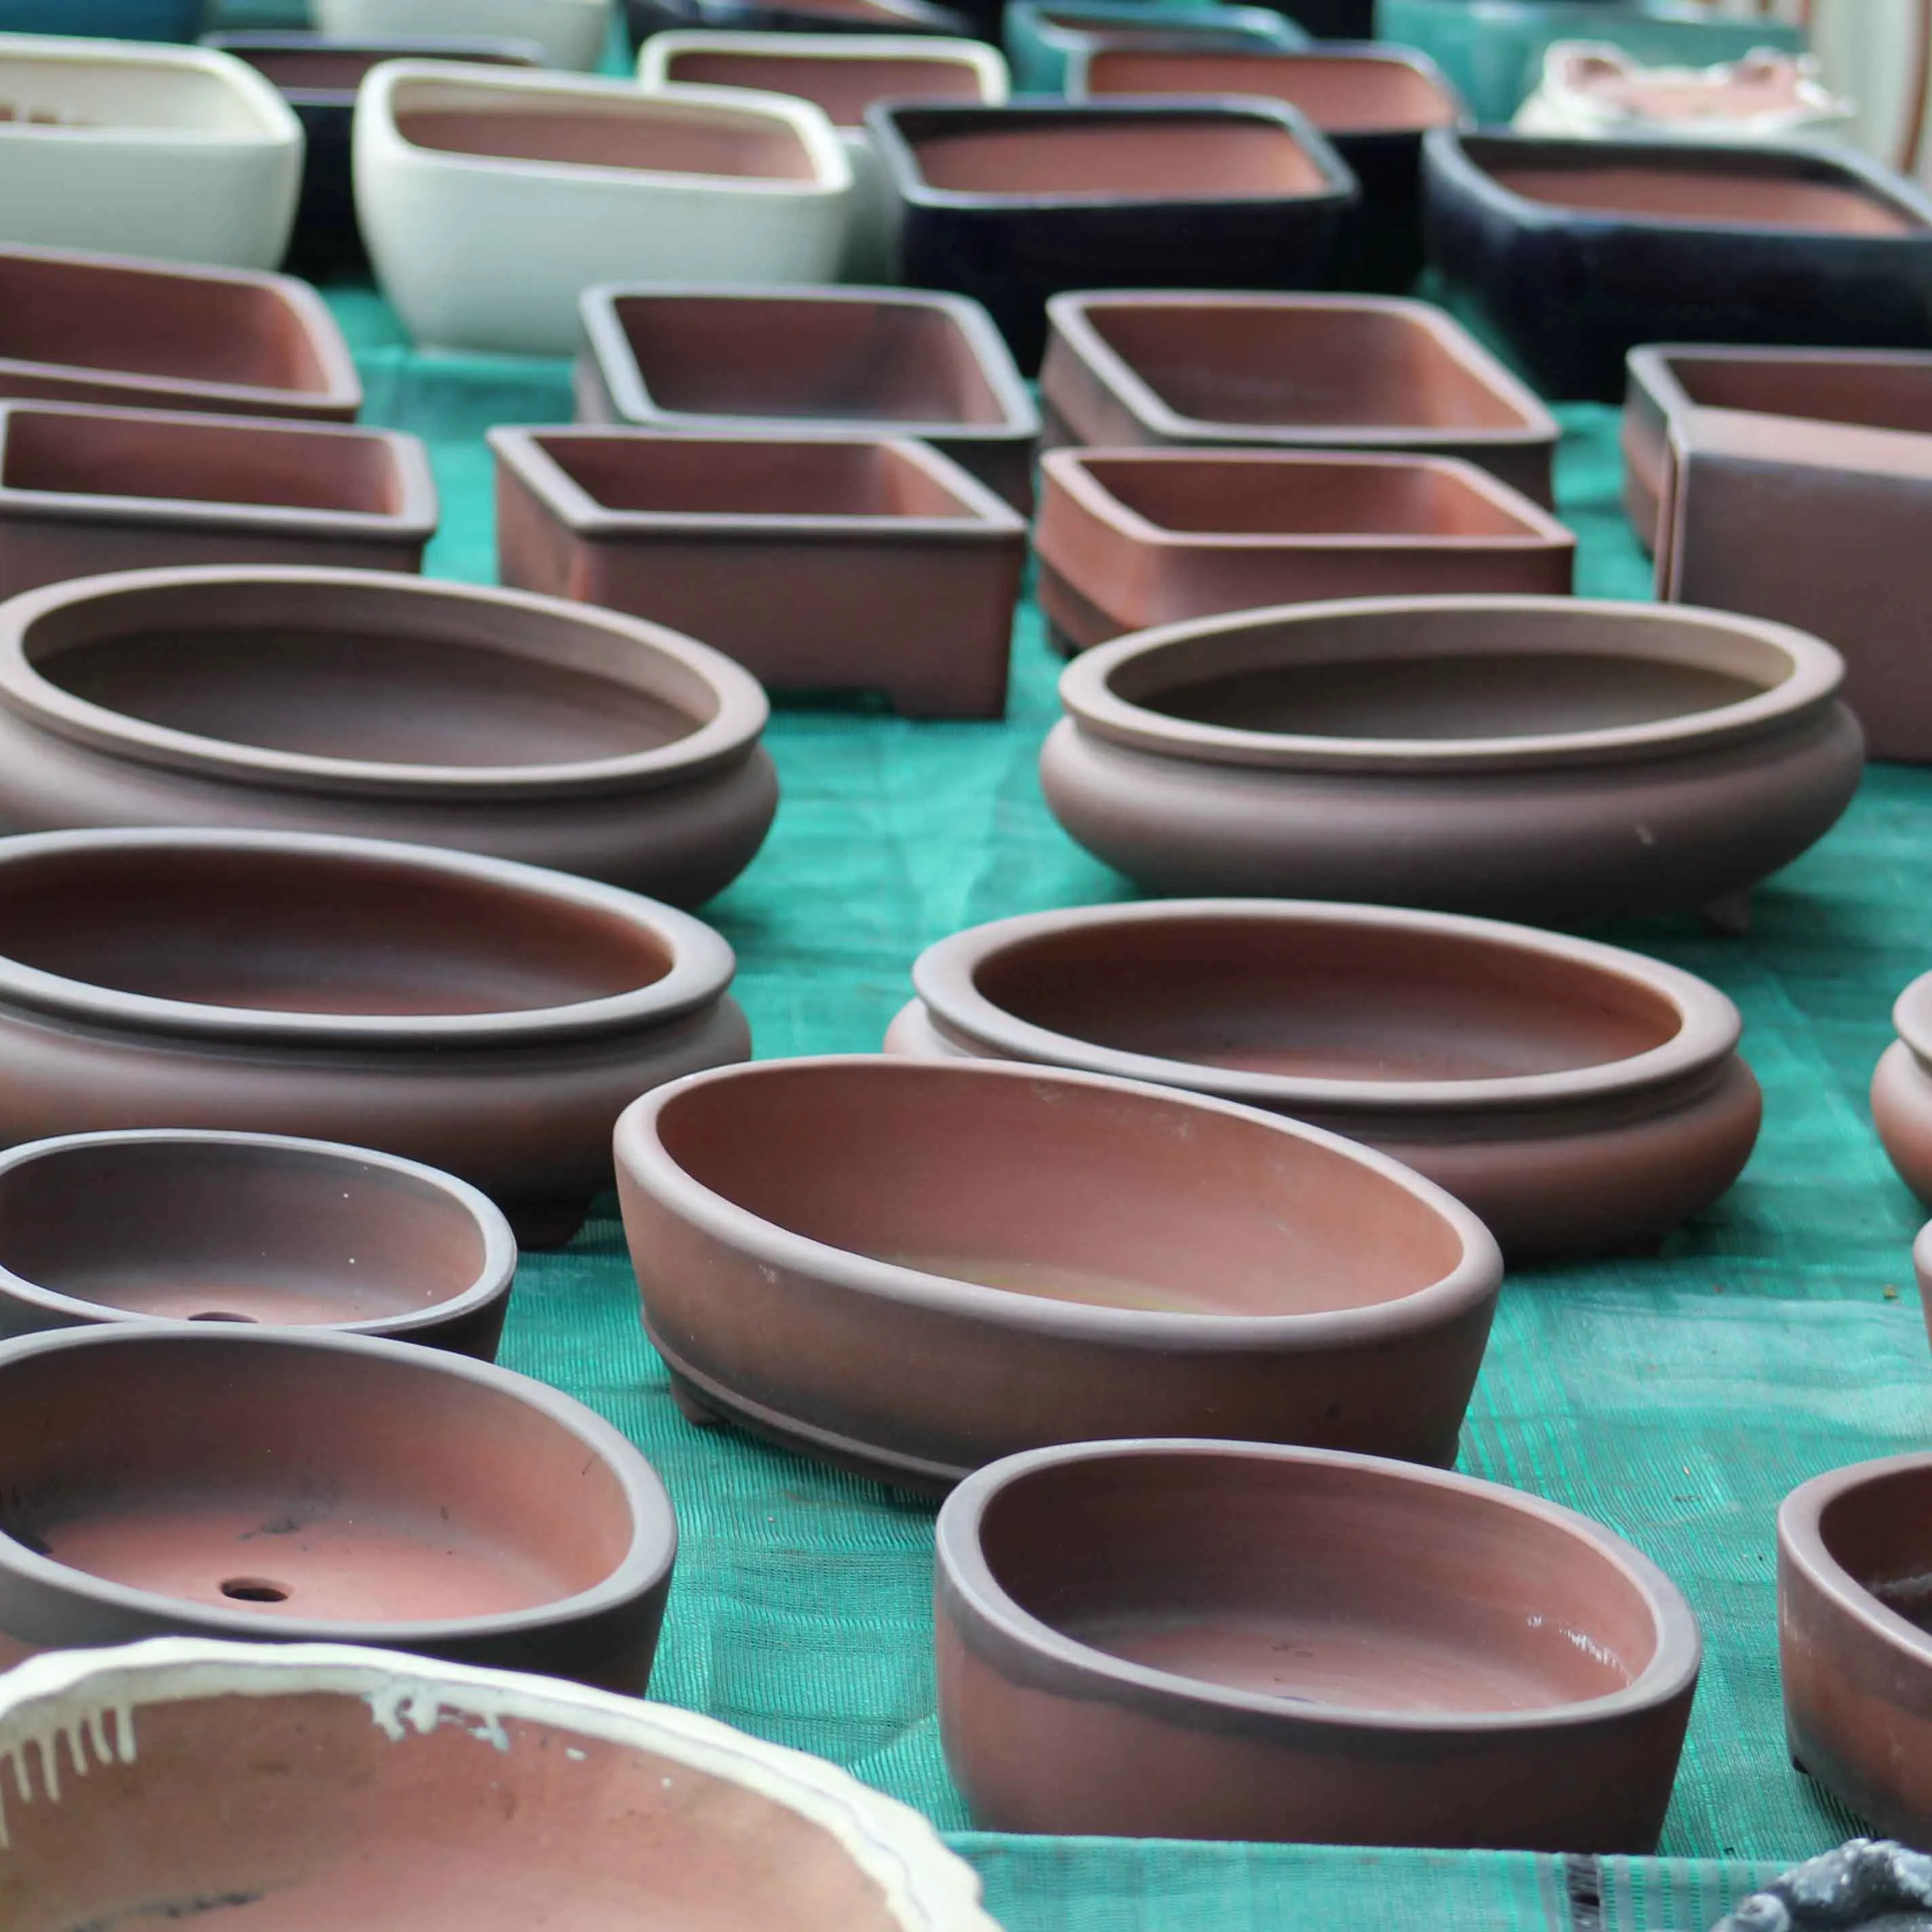
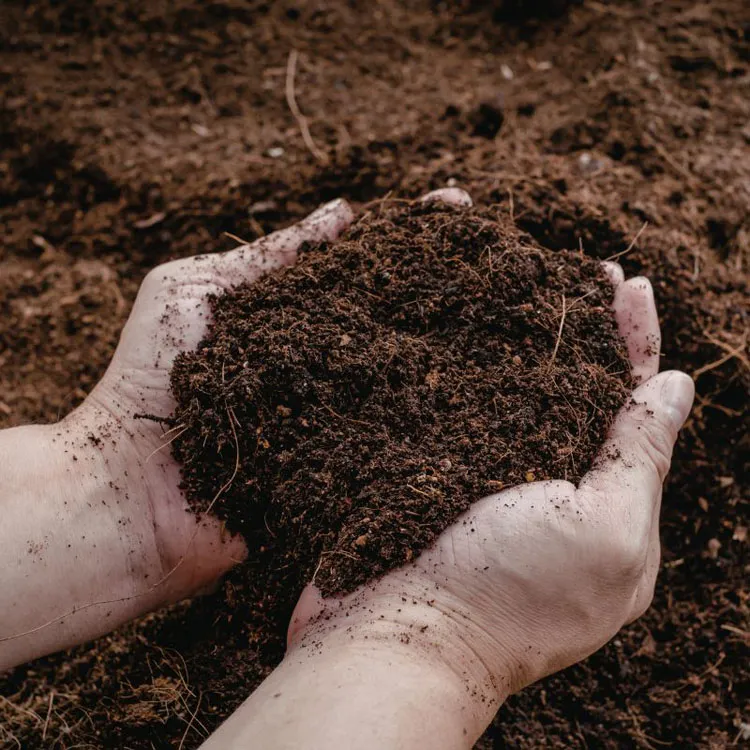
Use a well-draining substrate, pine trees don't like excess water. Finally, pine trees are usually repotted in unglazed pottery, which is brown or brown in color. We will generally choose a rectangular shape, very masculine, to match the power evoked by the pine.
Fertilization
We apply the same fertilization program for the black pines as for the other bonsai trees in the nursery. We use both an organic fertilizer that we supplement with a chemical fertilizer with low nitrogen. We apply fertilizer from April until the beginning of winter, every two months.
When you have an established bonsai bin, you may not start fertilizing until mid-summer, but if you really want to create back budding then apply the fertilization program as early as April.
Ligature
Pretty pines are formed by the ligature, but allow time to lay the wire on all the branches. Depending on the size of the tree, you can easily spend half a day there. Because the ligature is the final step, the one that must be done when the primary and secondary branches are created and all that remains is to densify the plateaus.
Wood is quite flexible and allows for many shaping possibilities.
During the training period, you can also use guy wires to lower the branches and allow light to enter the inside of the tree. Because in order to have back buds, the sun must be able to reach these places. Guying does not allow for complete shaping, but it is an easy and quick technique.